Chicago-Style Half Smokes

chicago style half smokes

In honor of Obama’s re-inauguration, we set out to create a Barack-inspired dish that highlighted his ties to both Chicago and our lovely DC.  This Chicago-Style Half Smoke combines the prez’s roots in Chi-City with his new home in DC.

The half smoke is an interesting sausage, popularized by DC’s Ben’s Chili Bowl and named aptly because it is usually half pork, half beef.  We found a half smoke that was produced in the DMV, and the nutrition facts are kindly out of focus, just like my mind treats all sausage.

DSC_0312

So what happens when you load a DC-native half smoke onto a poppy seed bun and heap on Chicagoan toppings?  A culinary mixture fit for the President himself!

You’ll need:

8 Poppy Seed buns (make your own with our recipe here!)
8 half smoke sausages
Tomatoes
Atomic relish
Dill pickle spears
Chopped onion
Yellow mustard

Once your poppy seed buns are out of the oven, this recipe is really all about assembly.  Heat the half smokes on a grill or on the stovetop, just until they have a bit of color and are heated through.  Then pile your Chi-Town toppings- tomatoes, relish, yellow mustard, a dill pickle spear, and chopped onion.

Since we couldn’t decide between a 312 and a DC Brau, we treated ourselves to both!

Poppyseed Hot Dog Buns

Well Hot Dog, these buns are delicious.  The best part?  You get to personalize the bun size.  And everyone deserves a perfectly sized bun for their sausage.  We adapted this recipe from Serious Eats and pulled our dough together in a Kitchen-Aid mixer, although you could use your hands!

You’ll need:

1 cup lukewarm water
2 1/2 teaspoons instant yeast
1 tablespoon sugar
1/4 cup instant mashed potato
1 teaspoon salt
2 cups bread flour
1/4 cup semolina flour
1 tablespoon olive oil
Poppy seeds
Egg wash

To start, combine your water, yeast, sugar, and instant potatoes in your stand mixer.  Let this mixture stand for 15 minutes to allow the yeast to activate.  Then, add the salt and flours, kneading until the dough is smooth.

yeast and mixture

Cover the bowl and let the dough rest for about 20 minutes.  Knead the olive oil into the dough, cover the bowl again, and let the dough rest for about 30 minutes, until it has doubled in size.  DSC_0199

When the dough has doubled, knead it on a floured surface, then divide the dough into 8 equal pieces.

DSC_0304

Form these 8 pieces into cylinders, then brush with egg wash and sprinkle with poppy seeds.  You’ll notice that we tried a few different sizes, not really knowing how each would expand or contract during baking.  It really depends on the size of your sausage, but we liked how  the shorter, fatter buns turned out.

DSC_0306

Pop the buns into a 350 oven for about 30 minutes, then slice down the middle and fill with your favorite sausage-y treats.

DSC_0329xoxo,

Hungry Texans


easy marinara

DSC_0213

This marinara is so quick and easy, it has become a fast friend in my kitchen.  You can add to it whatever ingredients you like and have on hand- fresh zucchini, carrots, or basil are just a few.  I’m rarely picky about my canned food brands, but in this case, don’t settle for anything less than San Marzano.  I use their crushed tomatoes to eliminate the blender step, but feel free to use the whole tomatoes.  As long as they’re San Marzano.  Ok, plug over.

You’ll need:
1 cup diced onion
3 cloves garlic, chopped
2 large cans San Marzano crushed tomatoes
1 tbs butter
1 tbs olive oil
1 tbs died oregano
1 tbs basil

In a large pot, melt the butter and add the onions and garlic.  Let cook for about 7-10 minutes, stirring with a wooden spoon, until the onions and garlic are soft and translucent.  Add the crushed tomatoes and dried herbs.  Stir and let simmer on low for 30 minutes, or until ready to serve.  Before serving, stir in olive oil and season with salt and pepper.

Chicago Style Pizza Marinara Sauce

Use as pizza sauce, over pasta or veggies.

xoxo,

Hungry Texans

chicago-style deep dish pizza crust

Chicago Style Crust Ingredients

The Hungry Texans are pro-pizza.  Round, square, cracker-thin crust, New Haven style- we’ll take a slice of anything.  And now, we’re proud to have a Midwest pizza crust recipe in our back pockets- and with good reason!  This recipe, adapted from Cook’s Illustrated, will make enough for one deep dish pizza, so we recommend doubling it.  Because, trust us, you’ll want more than one of these crispy, flavor-filled pies.

You’ll need:

1 ½ c + 2 tbs all-purpose flour

¼ c cornmeal

¾ tsp salt

1 tsp sugar

1 packet instant yeast

½ c + 2 tbsp water (room temp!)

2 tbsp + 2 tbsp melted butter

1 tsp olive oil


Chicago Style Pizza Crust 1 Start by combining your dry ingredients (flour, corn meal, yeast, sugar, & salt) in the bowl of a stand mixer. Chicago Style Pizza Crust 2 Add your water & melted butter. We started with the paddle attachment & transitioned to a dough hook once the dough began balling up. Knead your dough in the mixer for 6 to 8 minutes or until the dough is a discrete ball & no longer sticky to the touch (it should be leathery & smooth!). Chicago Style Pizza Crust 3 Transfer your ball of dough to an olive oil coated bowl with enough room for expansion. Let your dough rest & rise at room temperature for about an hour or until the ball has doubled.Chicago Style Pizza Dough 4 Once your dough is doubled, it’s time to get hands-on & tactile with it. Place your ball on a clean work surface (don’t worry about flouring it!). Roll your dough into a  7 x 9ish rectangle, and then brush your rectangle with butter (exclude the outer 1/2 inch perimeter). Roll your buttered rectangle up into a log, place the seam of the rolled cylinder closest to the counter, & then smush your cylinder so it’s more rectangular than cylindrical. Finally, fold your long rectangle into an “s-like” shape (if we’re being fancy, this step is called “laminating”). “S-like” shape, you ask? To achieve this, fold over the top third of your rectangle & then fold under the lowest third of your dough. Voila! “s-like” lamination! Chicago Style Pizza Dough 5 Place your dough back in its oiled bowl, cover the bowl tightly with plastic wrap, and pop it in the fridge for at least another hour (dare that dough to double again!) or until you’re ready to roll it out as a real life deep dish pizza crust.   When you’re at a pause in your dough-making process (we recommend during its first rise!), get your sauce a simmering and toppings ready.  Here’s an easy recipe for the most delicious marinara!

After the dough has doubled again (probably 40 minutes), roll it out into a 13 inch circle and place it into your olive-oil-rubbed pizza pan.  We used a springform pan and it worked purrfectly.  Then, layer your cheese first (so important!) and your sauce and toppings next.  
Chicago Style Pizza in Pan

Bake at 350 for 40 minutes.  Then let your pizza rest for 10 minutes and pop it out of it’s springform.

chicago style deep dish pizza

That’s it!  Easy as pie 🙂

xoxo,

Hungry Texans

nommable: scratch dc

scratch_dc_boxMaybe one of your resolutions for 2013 is to cook at home more often.  And maybe it isn’t.  Either way, Scratch DC is making it easier for busy Washingtonians to cook a seriously stellar dinner for a fraction of the time and money required.

Here are three reasons Scratch DC is awesome:

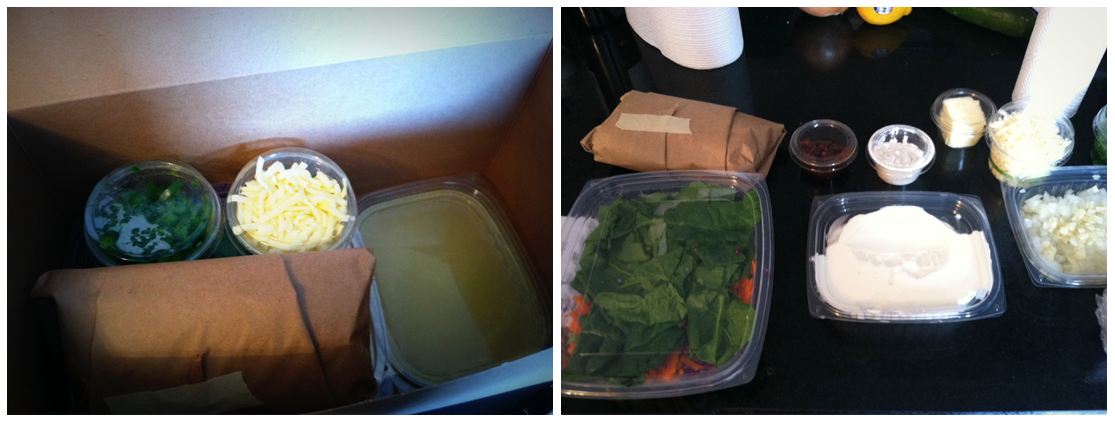
1. Price per ingredient.  The ingredients are fresh and locally sourced.  They even outline which farms their cheeses & produce came from (ours were from Farmdale Organics, Natural by Nature, Trickling Springs Creamery, and White Swan Acres, all in PA).  The price for our two-person brunch (full disclosure: we got a great dinner offer with friends Friday night, so we made our bundle for brunch this afternoon.  even more disclosure, we poached eggs and threw them on top) was only $26.00, and I can easily see myself spending twice that at Whole Foods on the same meal.  But since Scratch pre-portions all of the ingredients, there are no leftover bunches of parsley or sad can of chipotle peppers of which you only used one.  Genius!

2. Time saver.  Ordering is easy as pie online, delivery is free and straightforward, and the cleanup & prep work that Scratch DC takes care of for you is incredible.  From start to finish, this took us 40 minutes.

3. It’s nom-nom-nommable!  The fresh ingredients shine and the guys at Scratch are not afraid of flavor.  They tell you which ingredients are most spicy or powerful so that you can add to taste and the components are marinated and seasoned well.  Plus, they now include general nutrition facts for each meal.

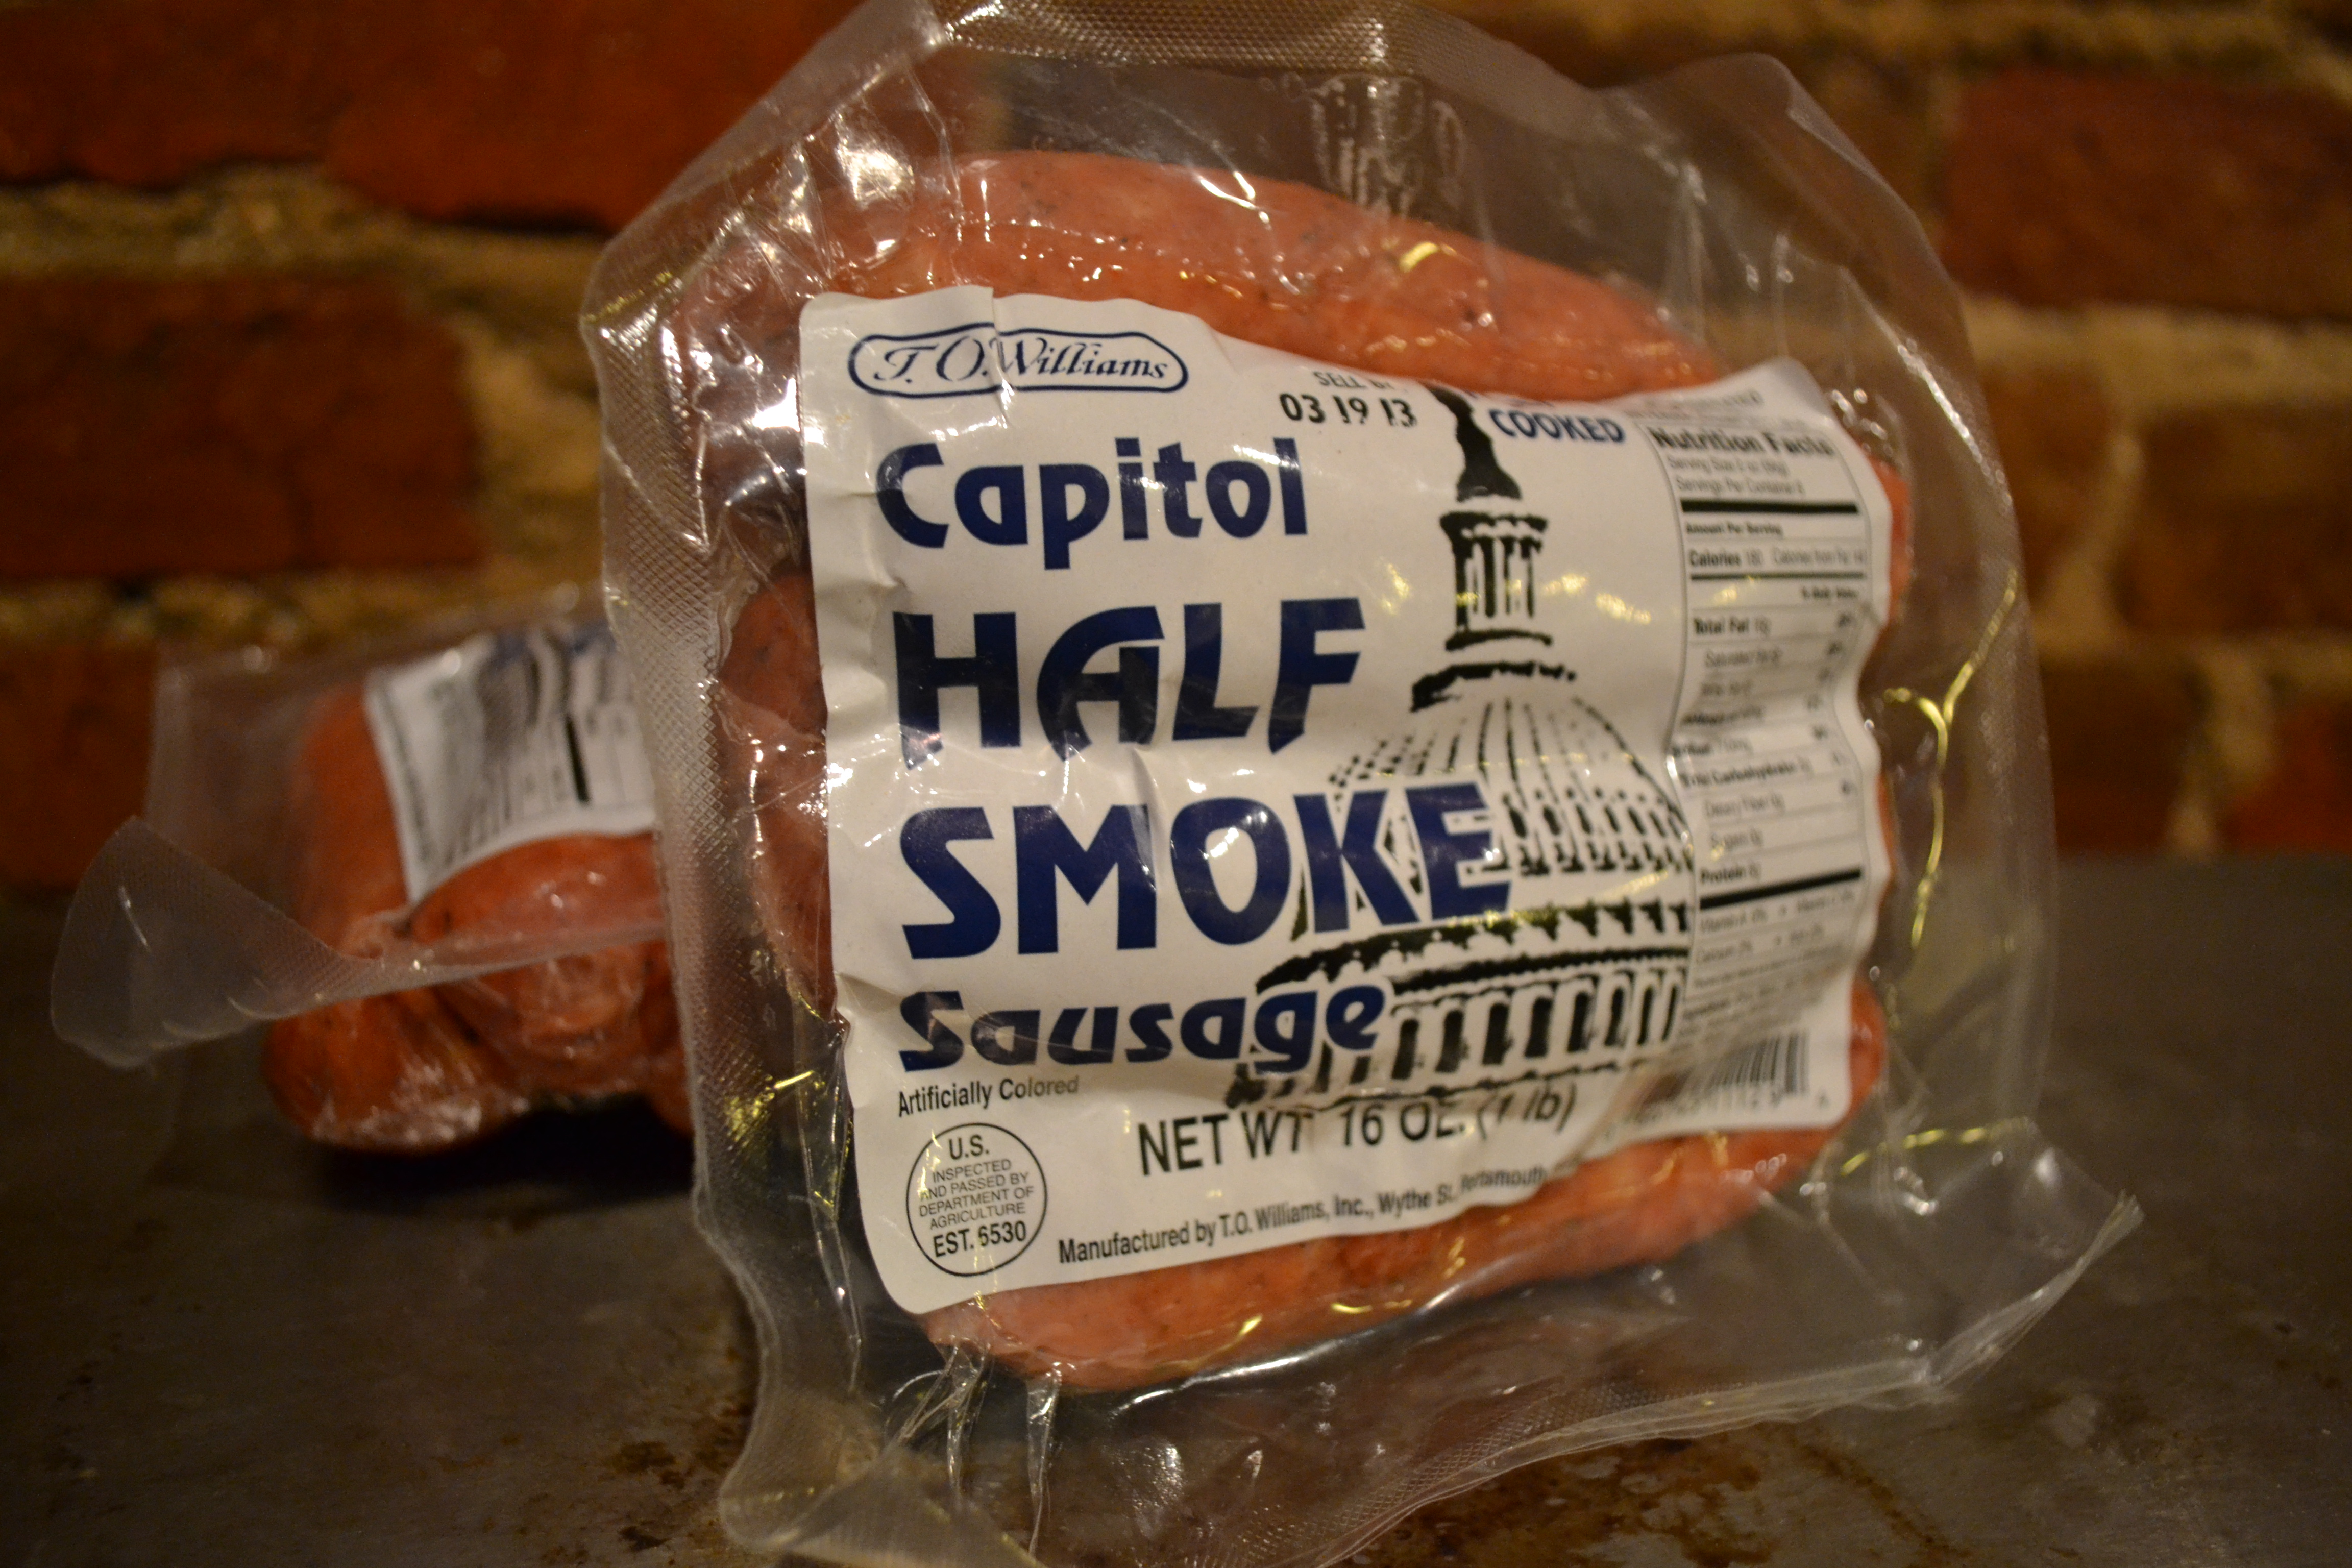
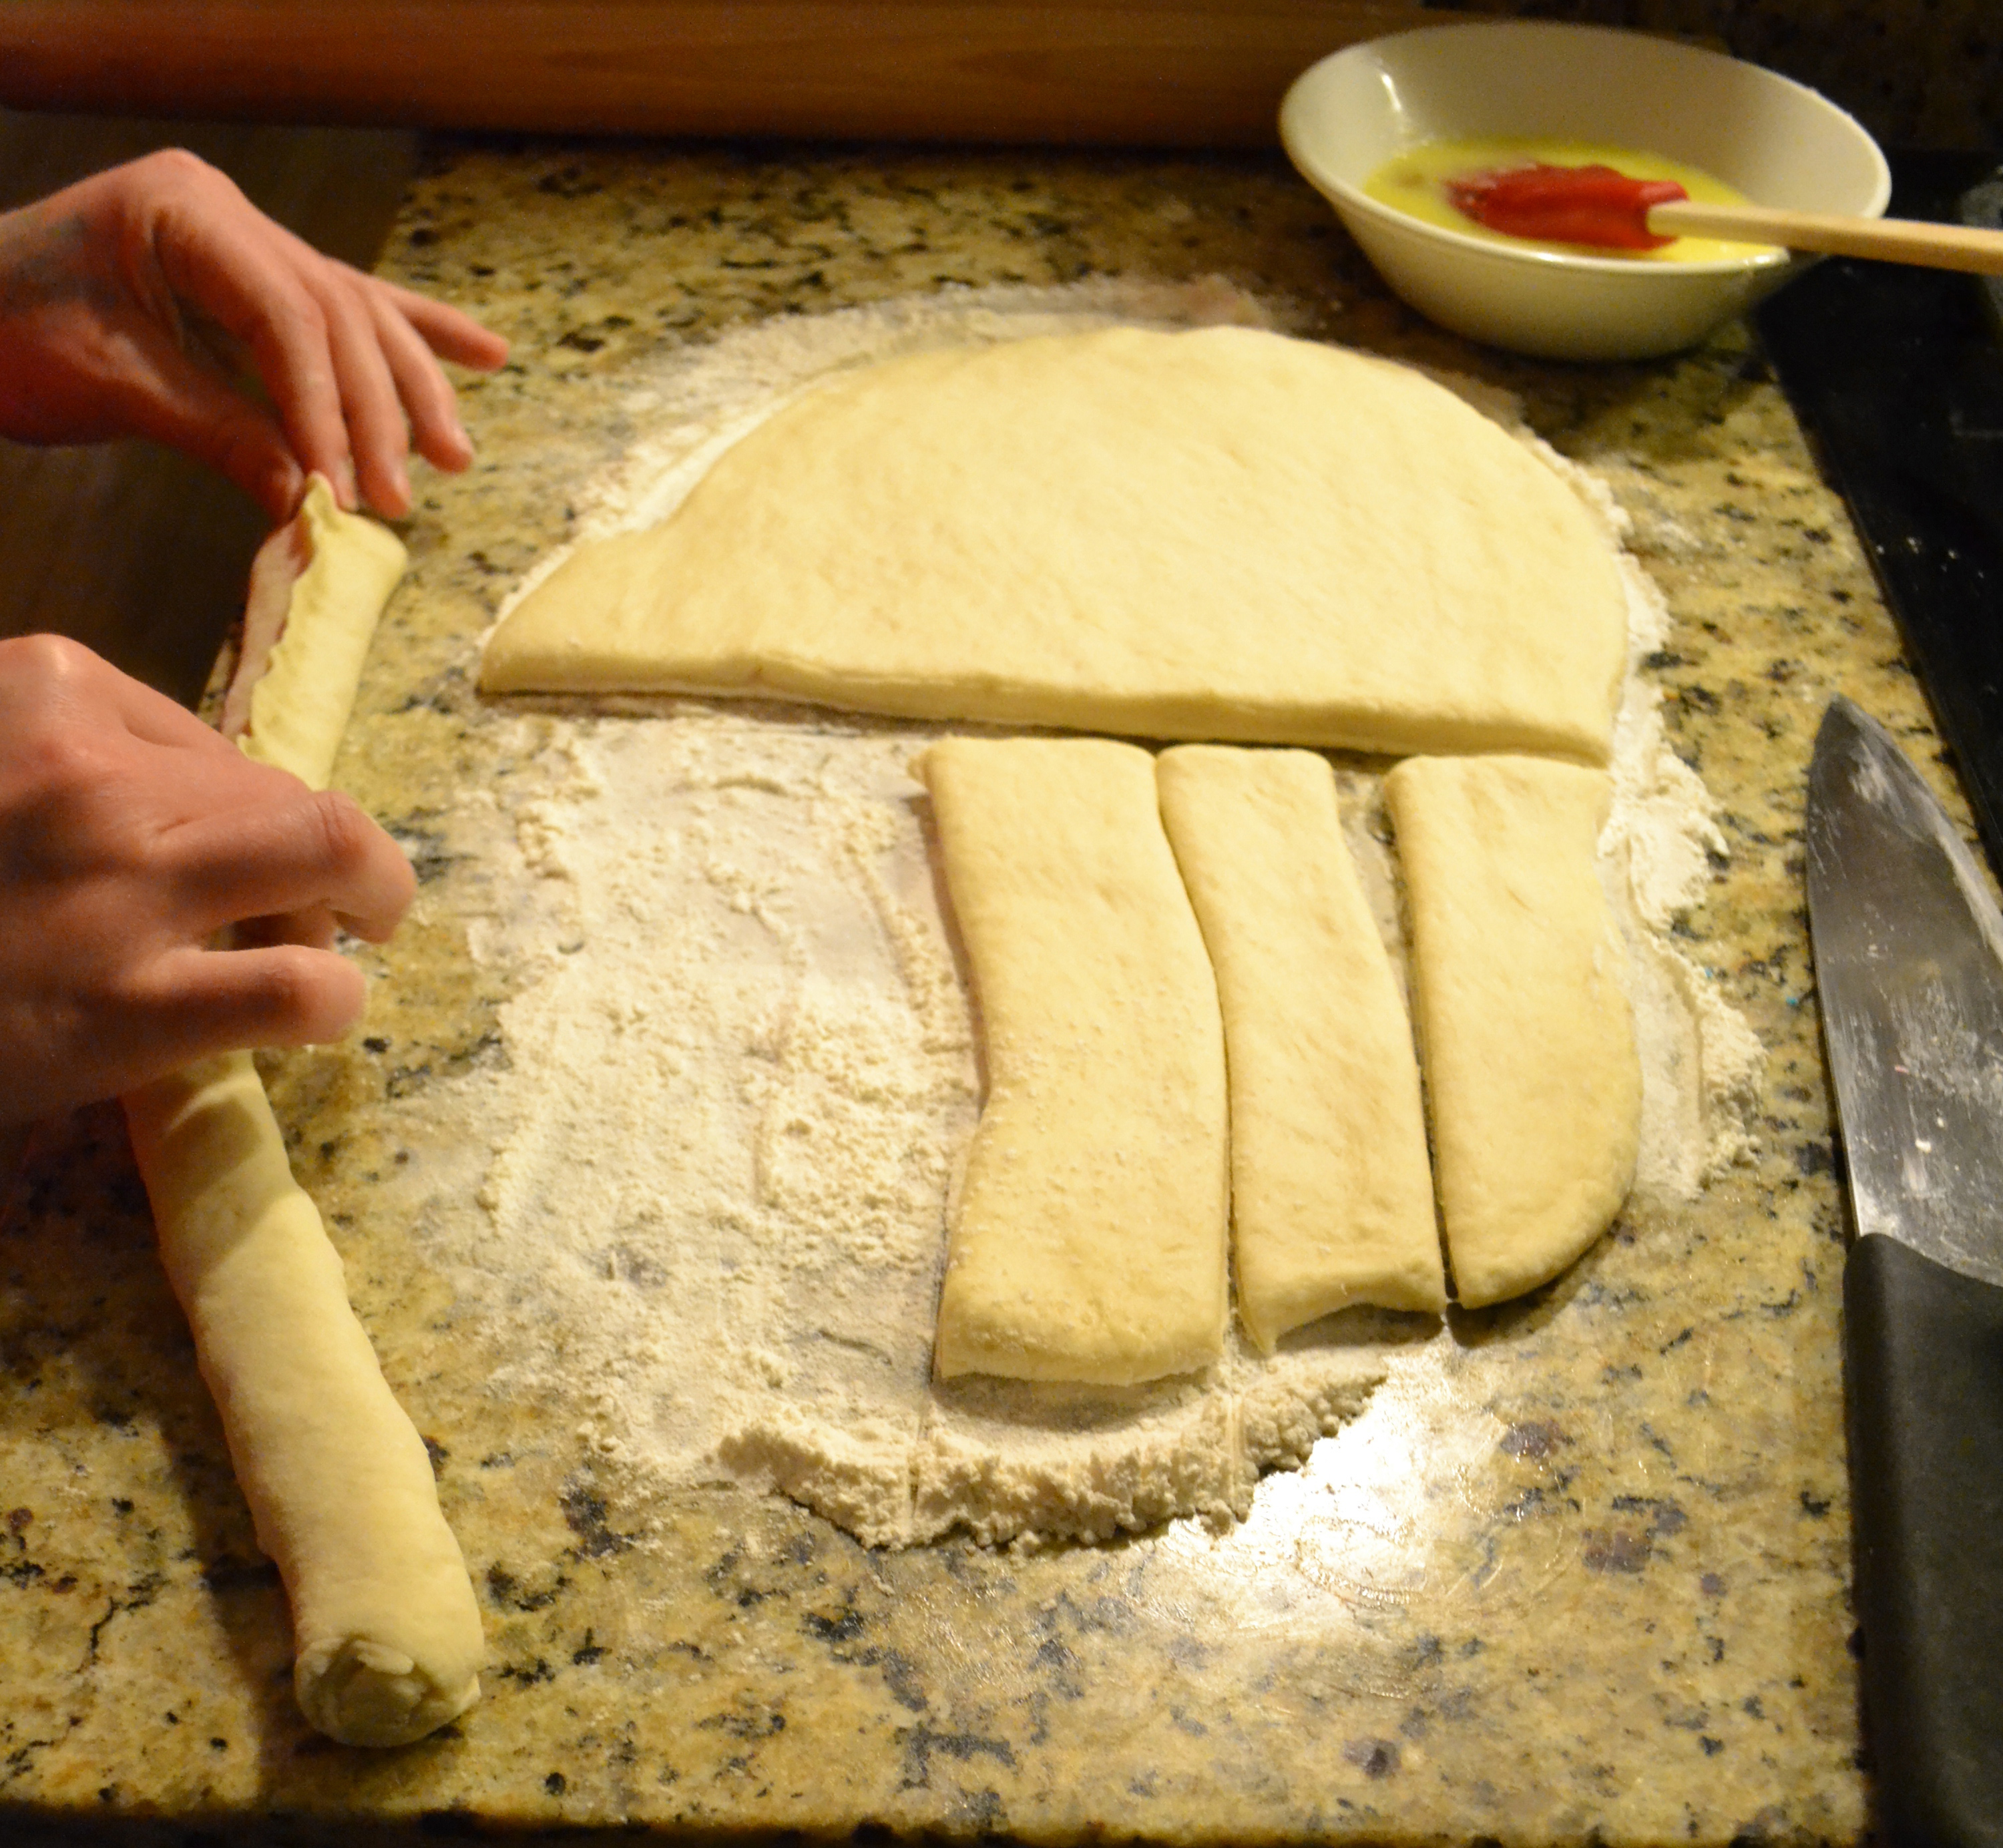
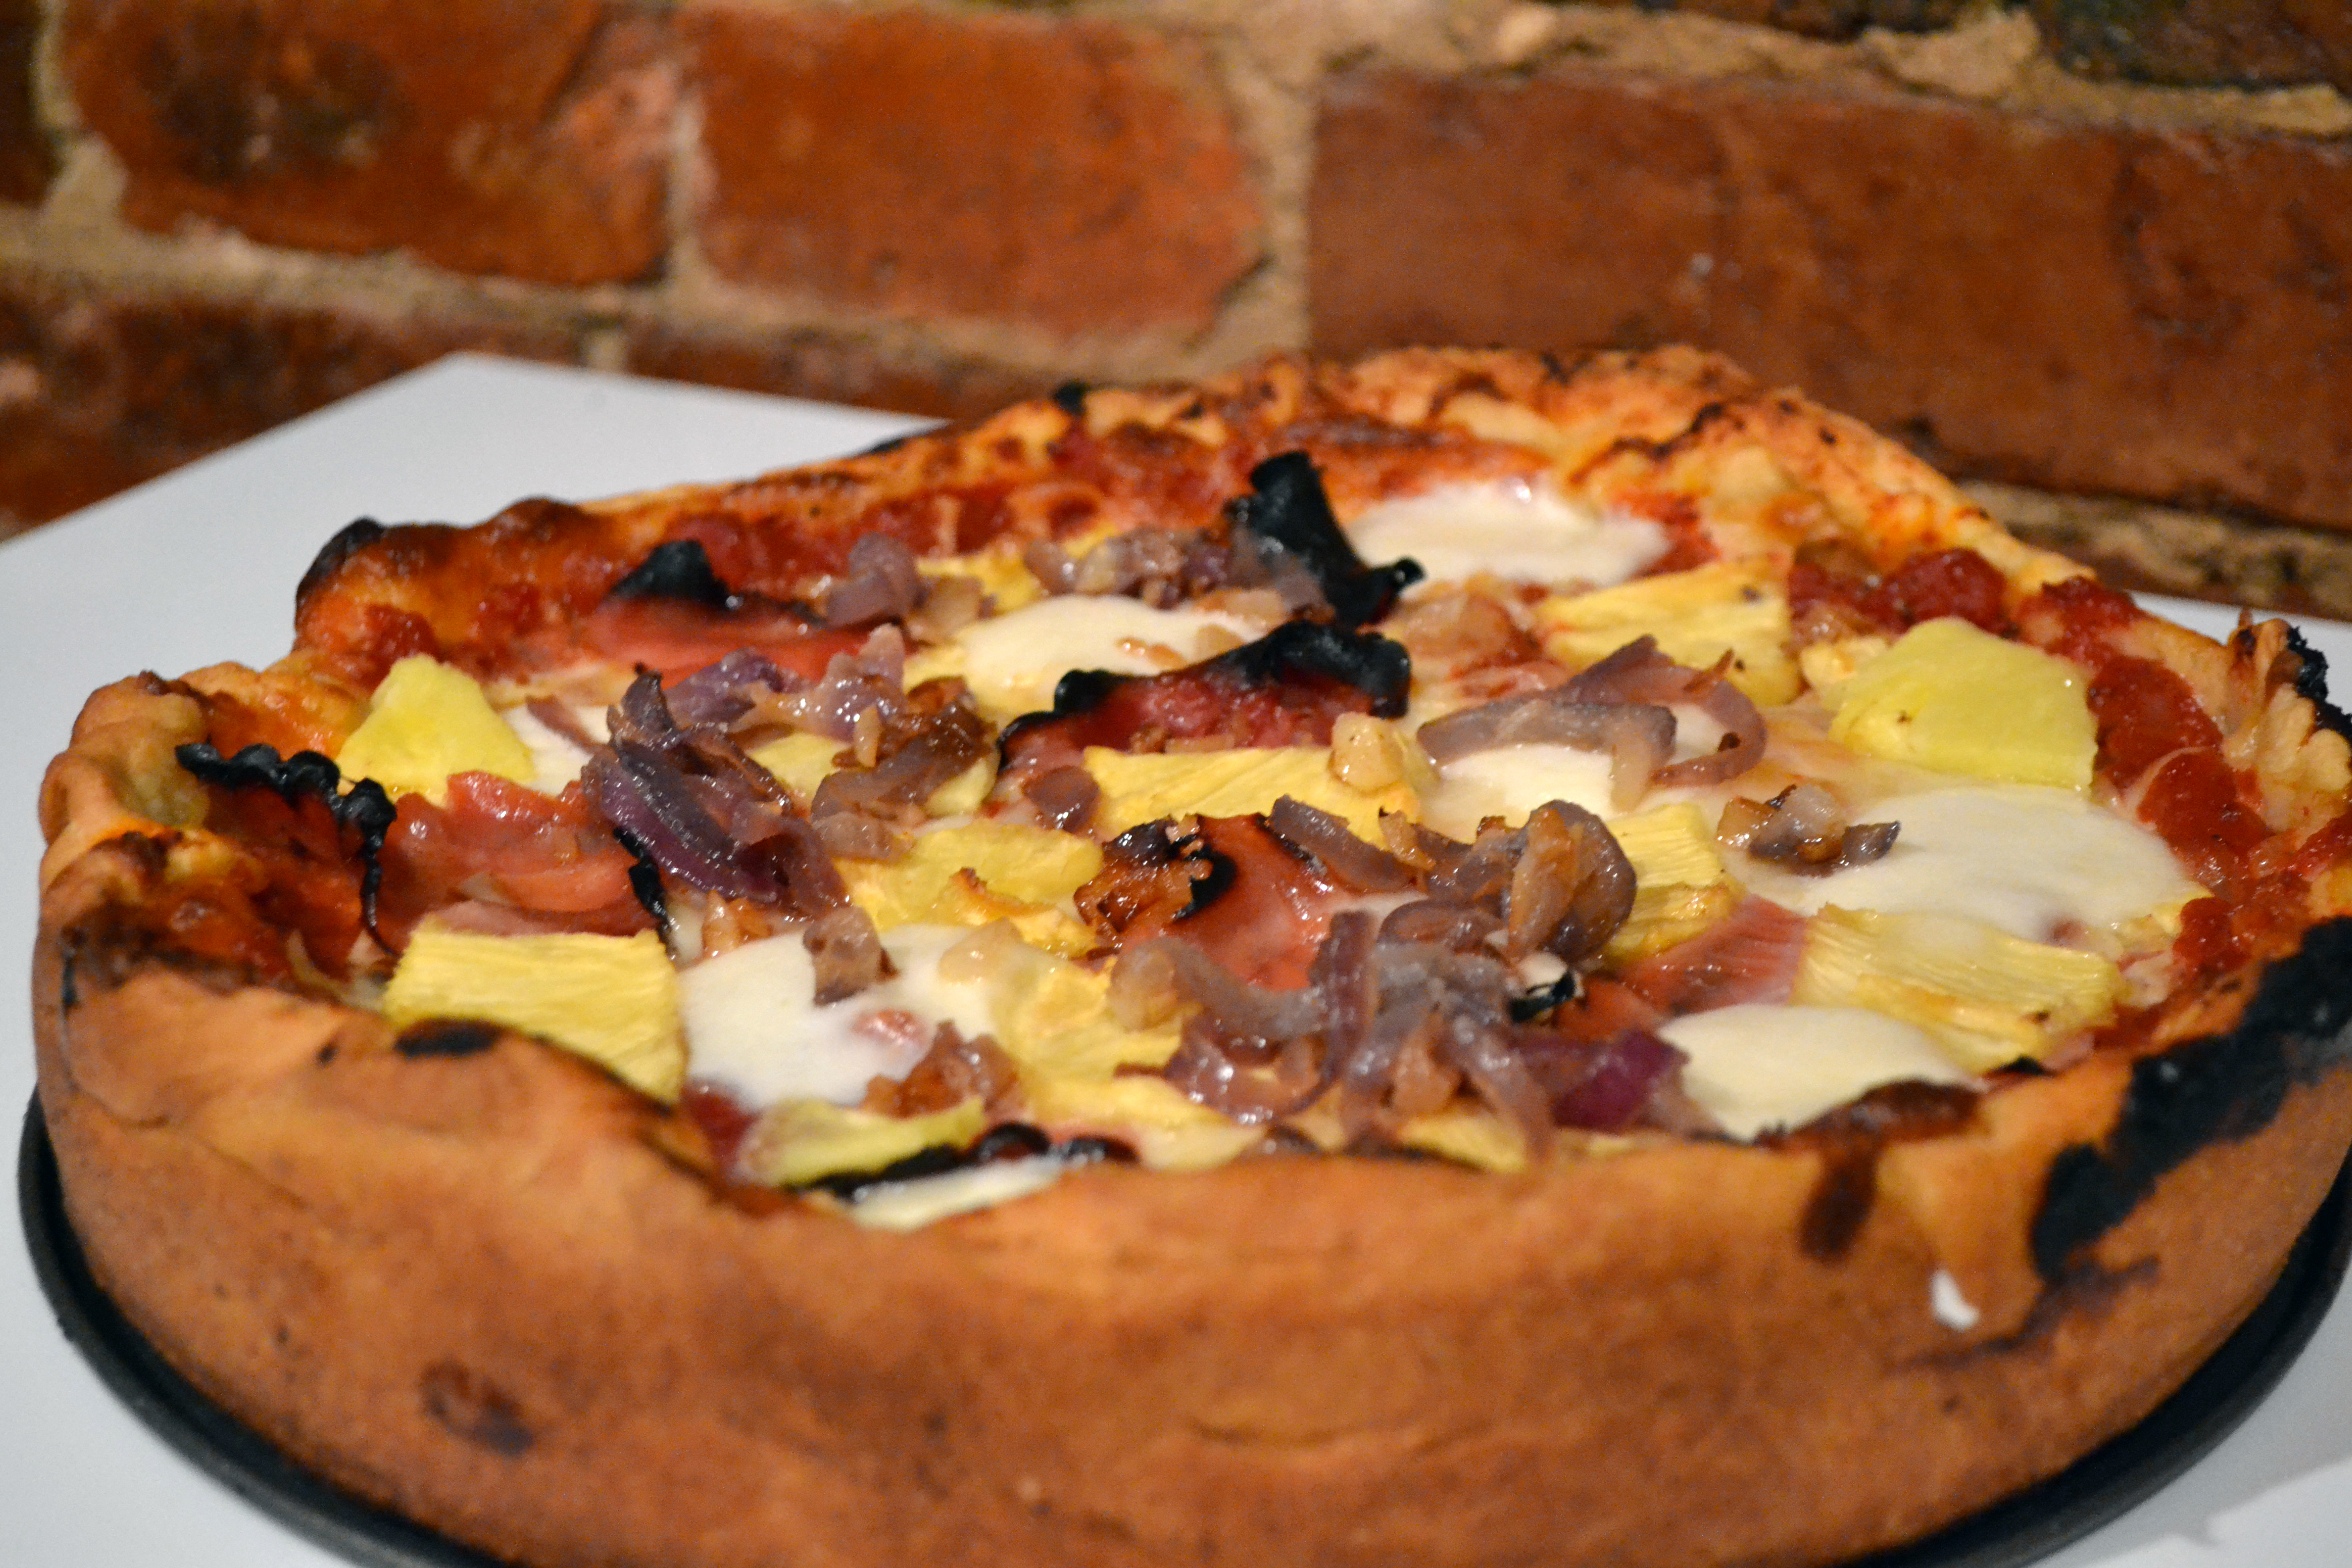
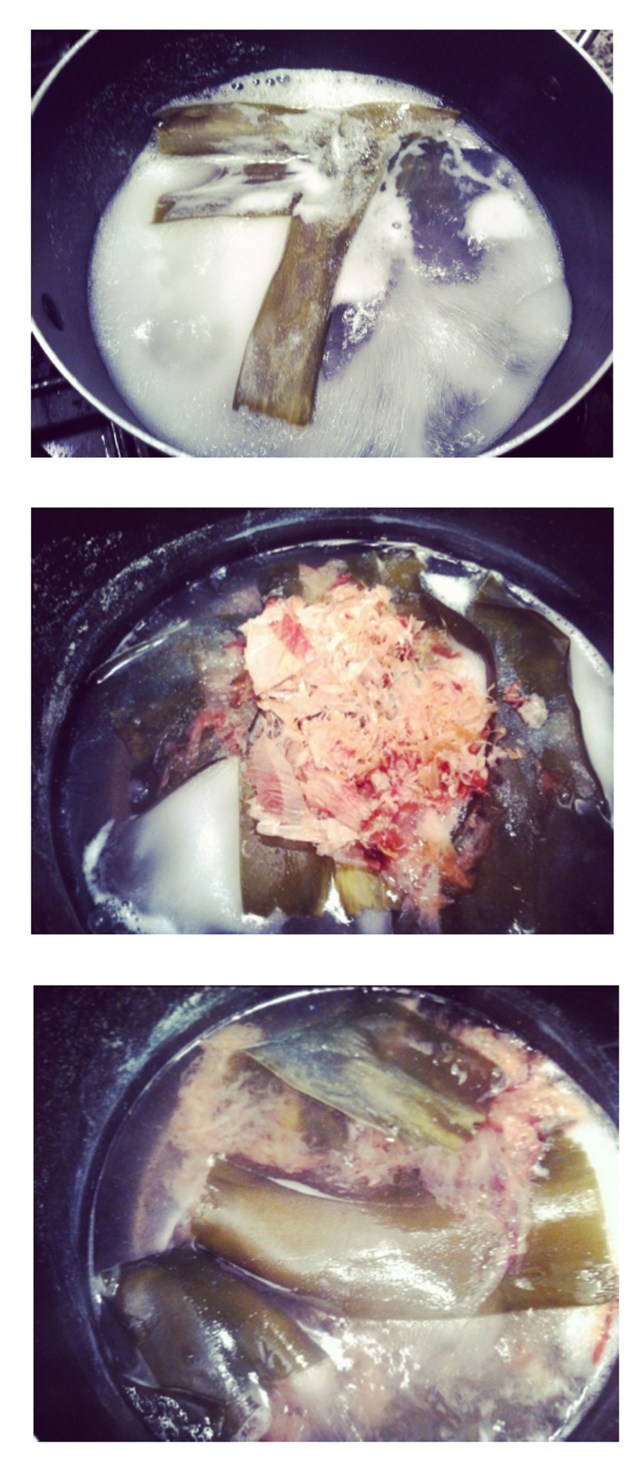
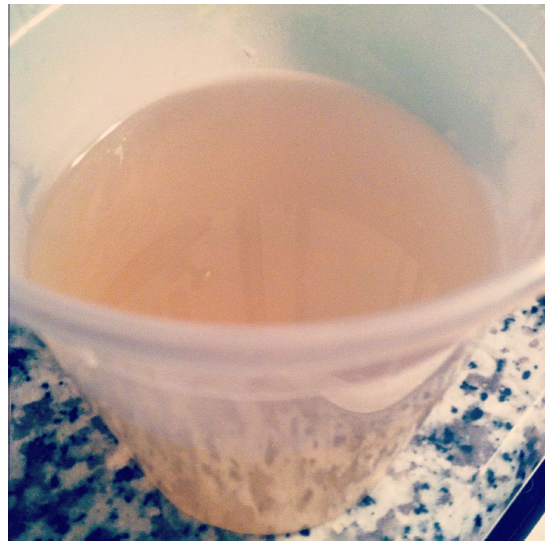
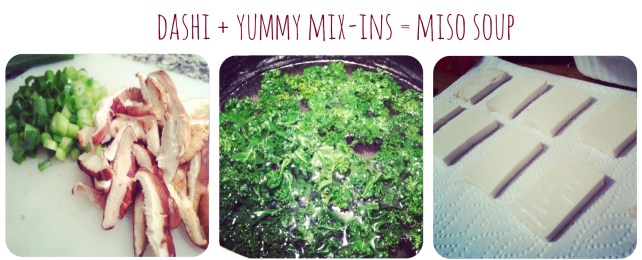
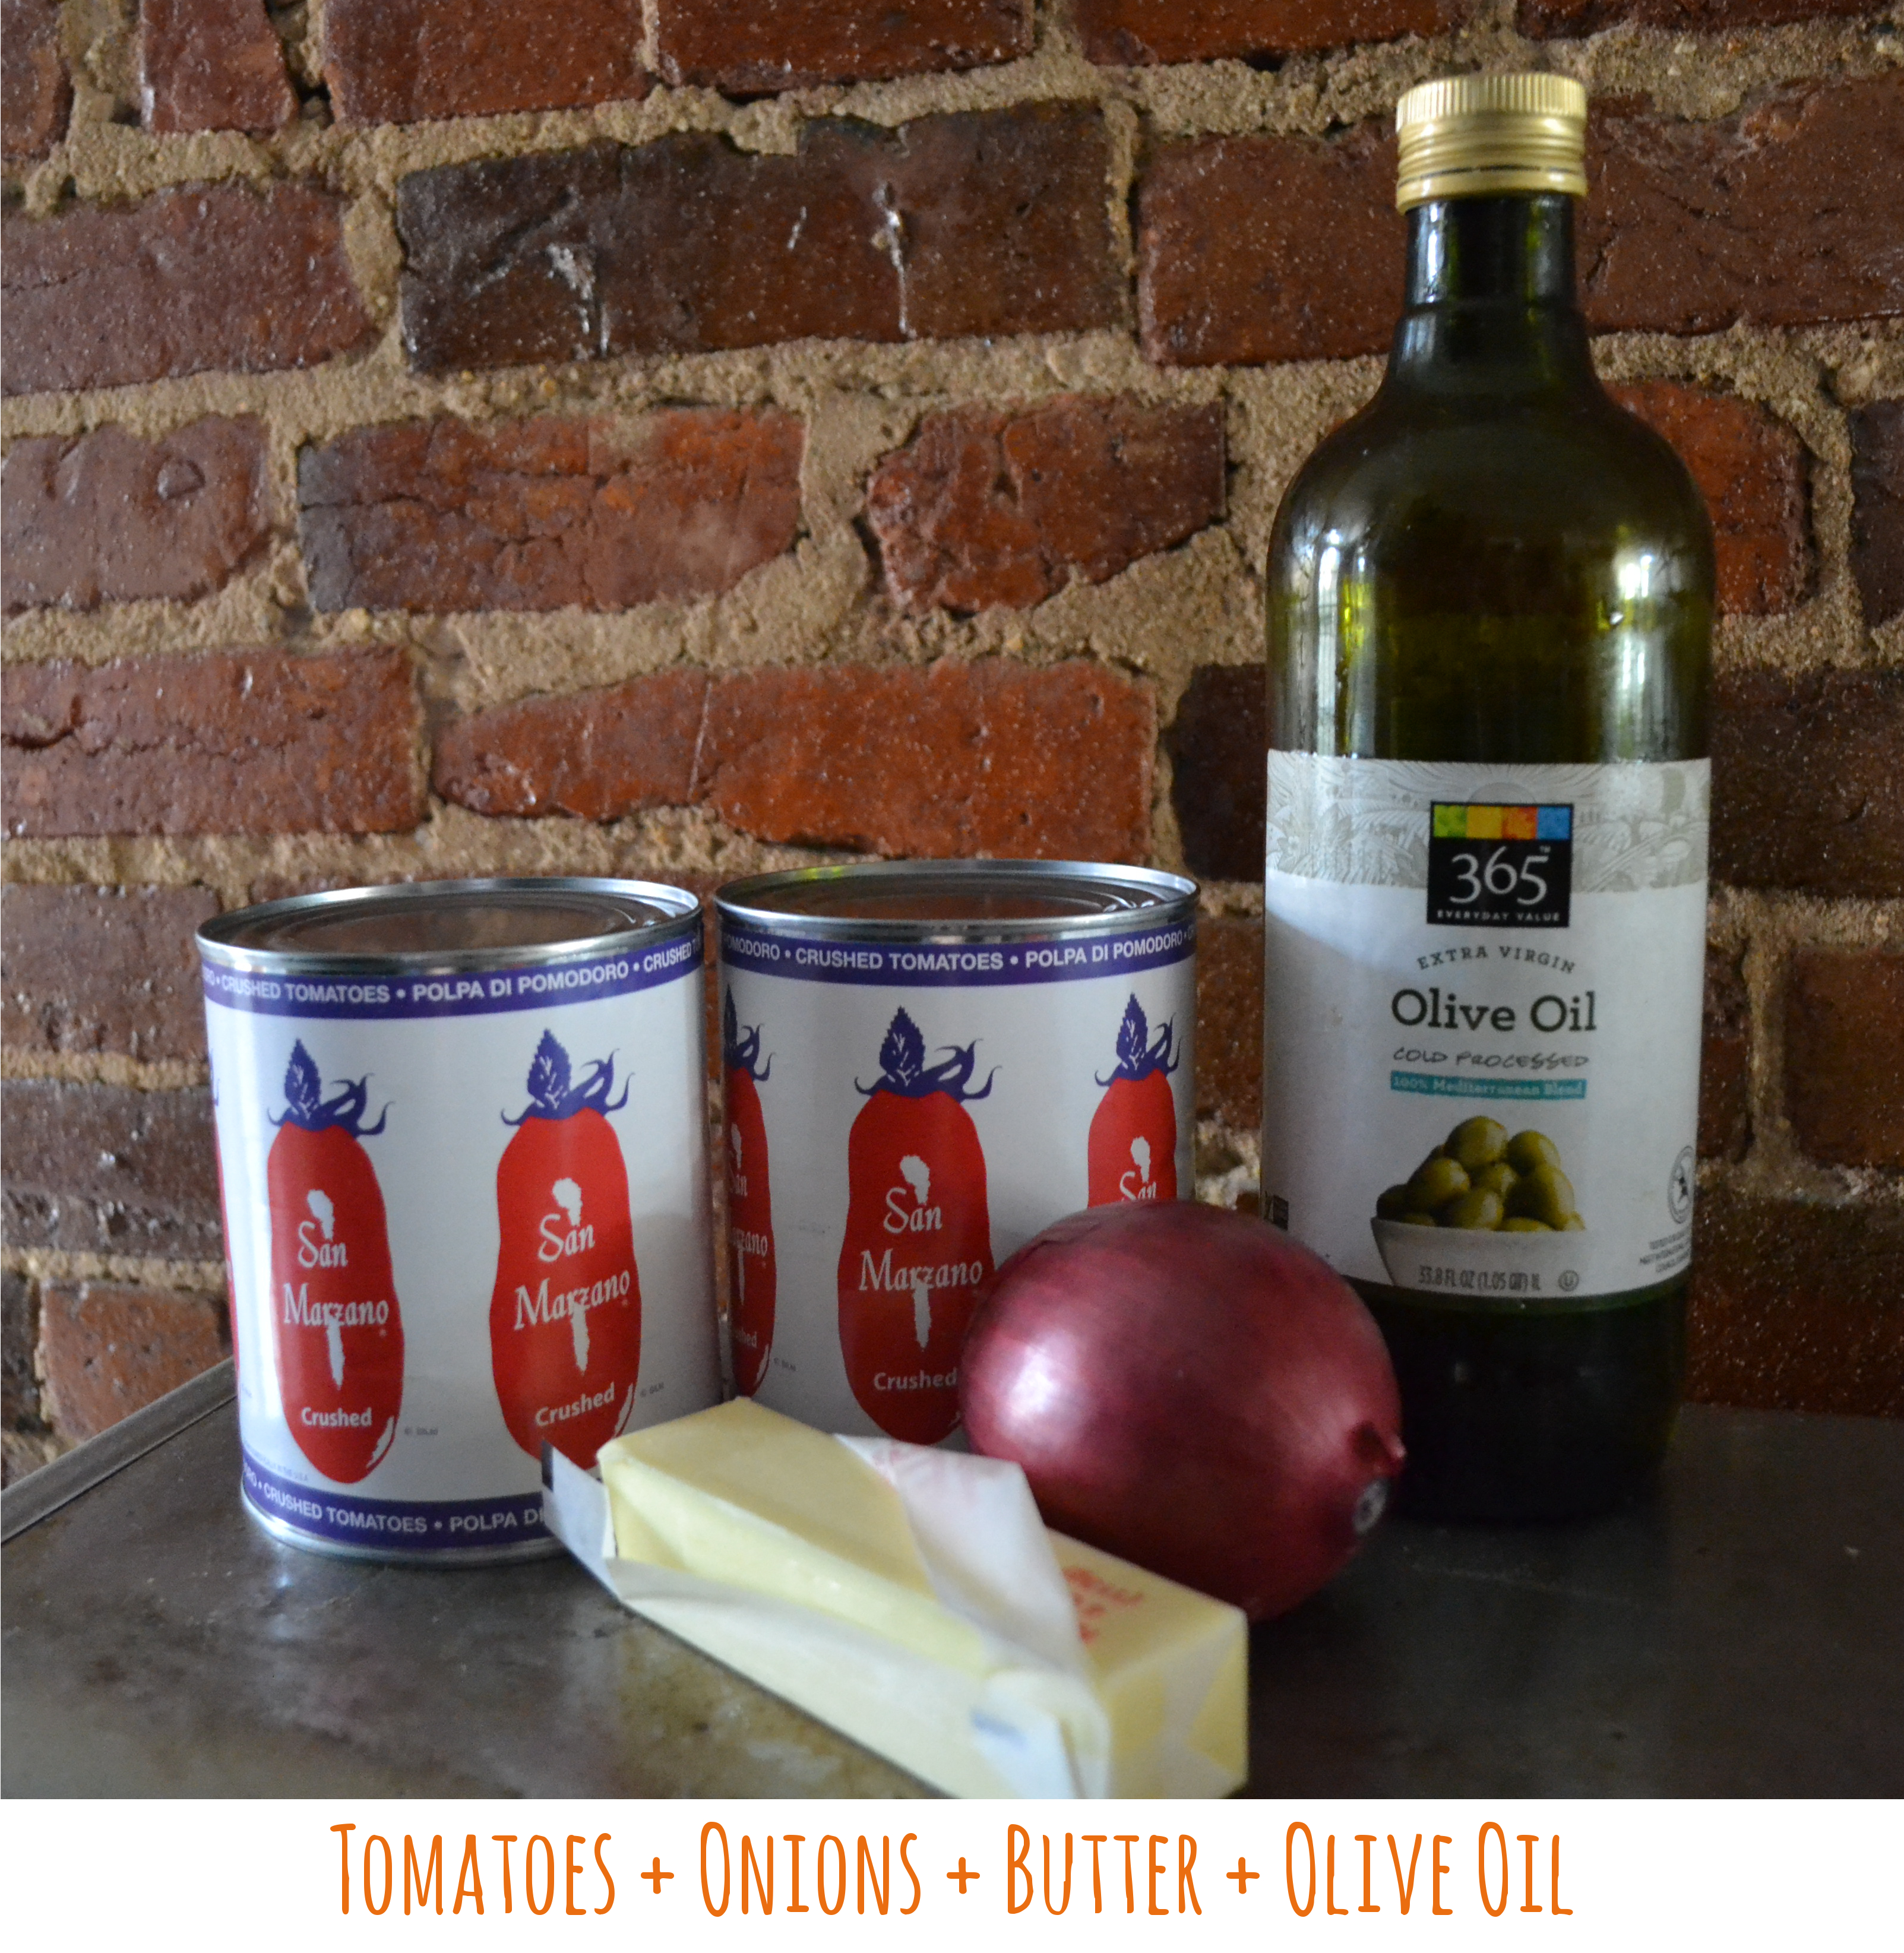
We chose Friday’s meal- Shrimp and Veggie Enchiladas with a Creamy Jalapeno Sauce.  And listen- I’m a Hungry Texan, people, so shrimp and enchiladas are my life blood.  I make shrimp of most every variety, and these enchiladas were truly great.  Here’s our story in pictures:

The bundle is cute, succinct, and biodegradable:

Scratch_DC_Ingredients 2

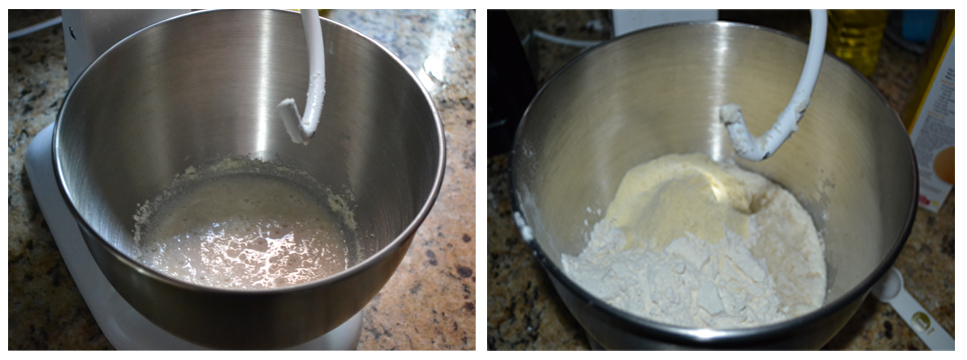
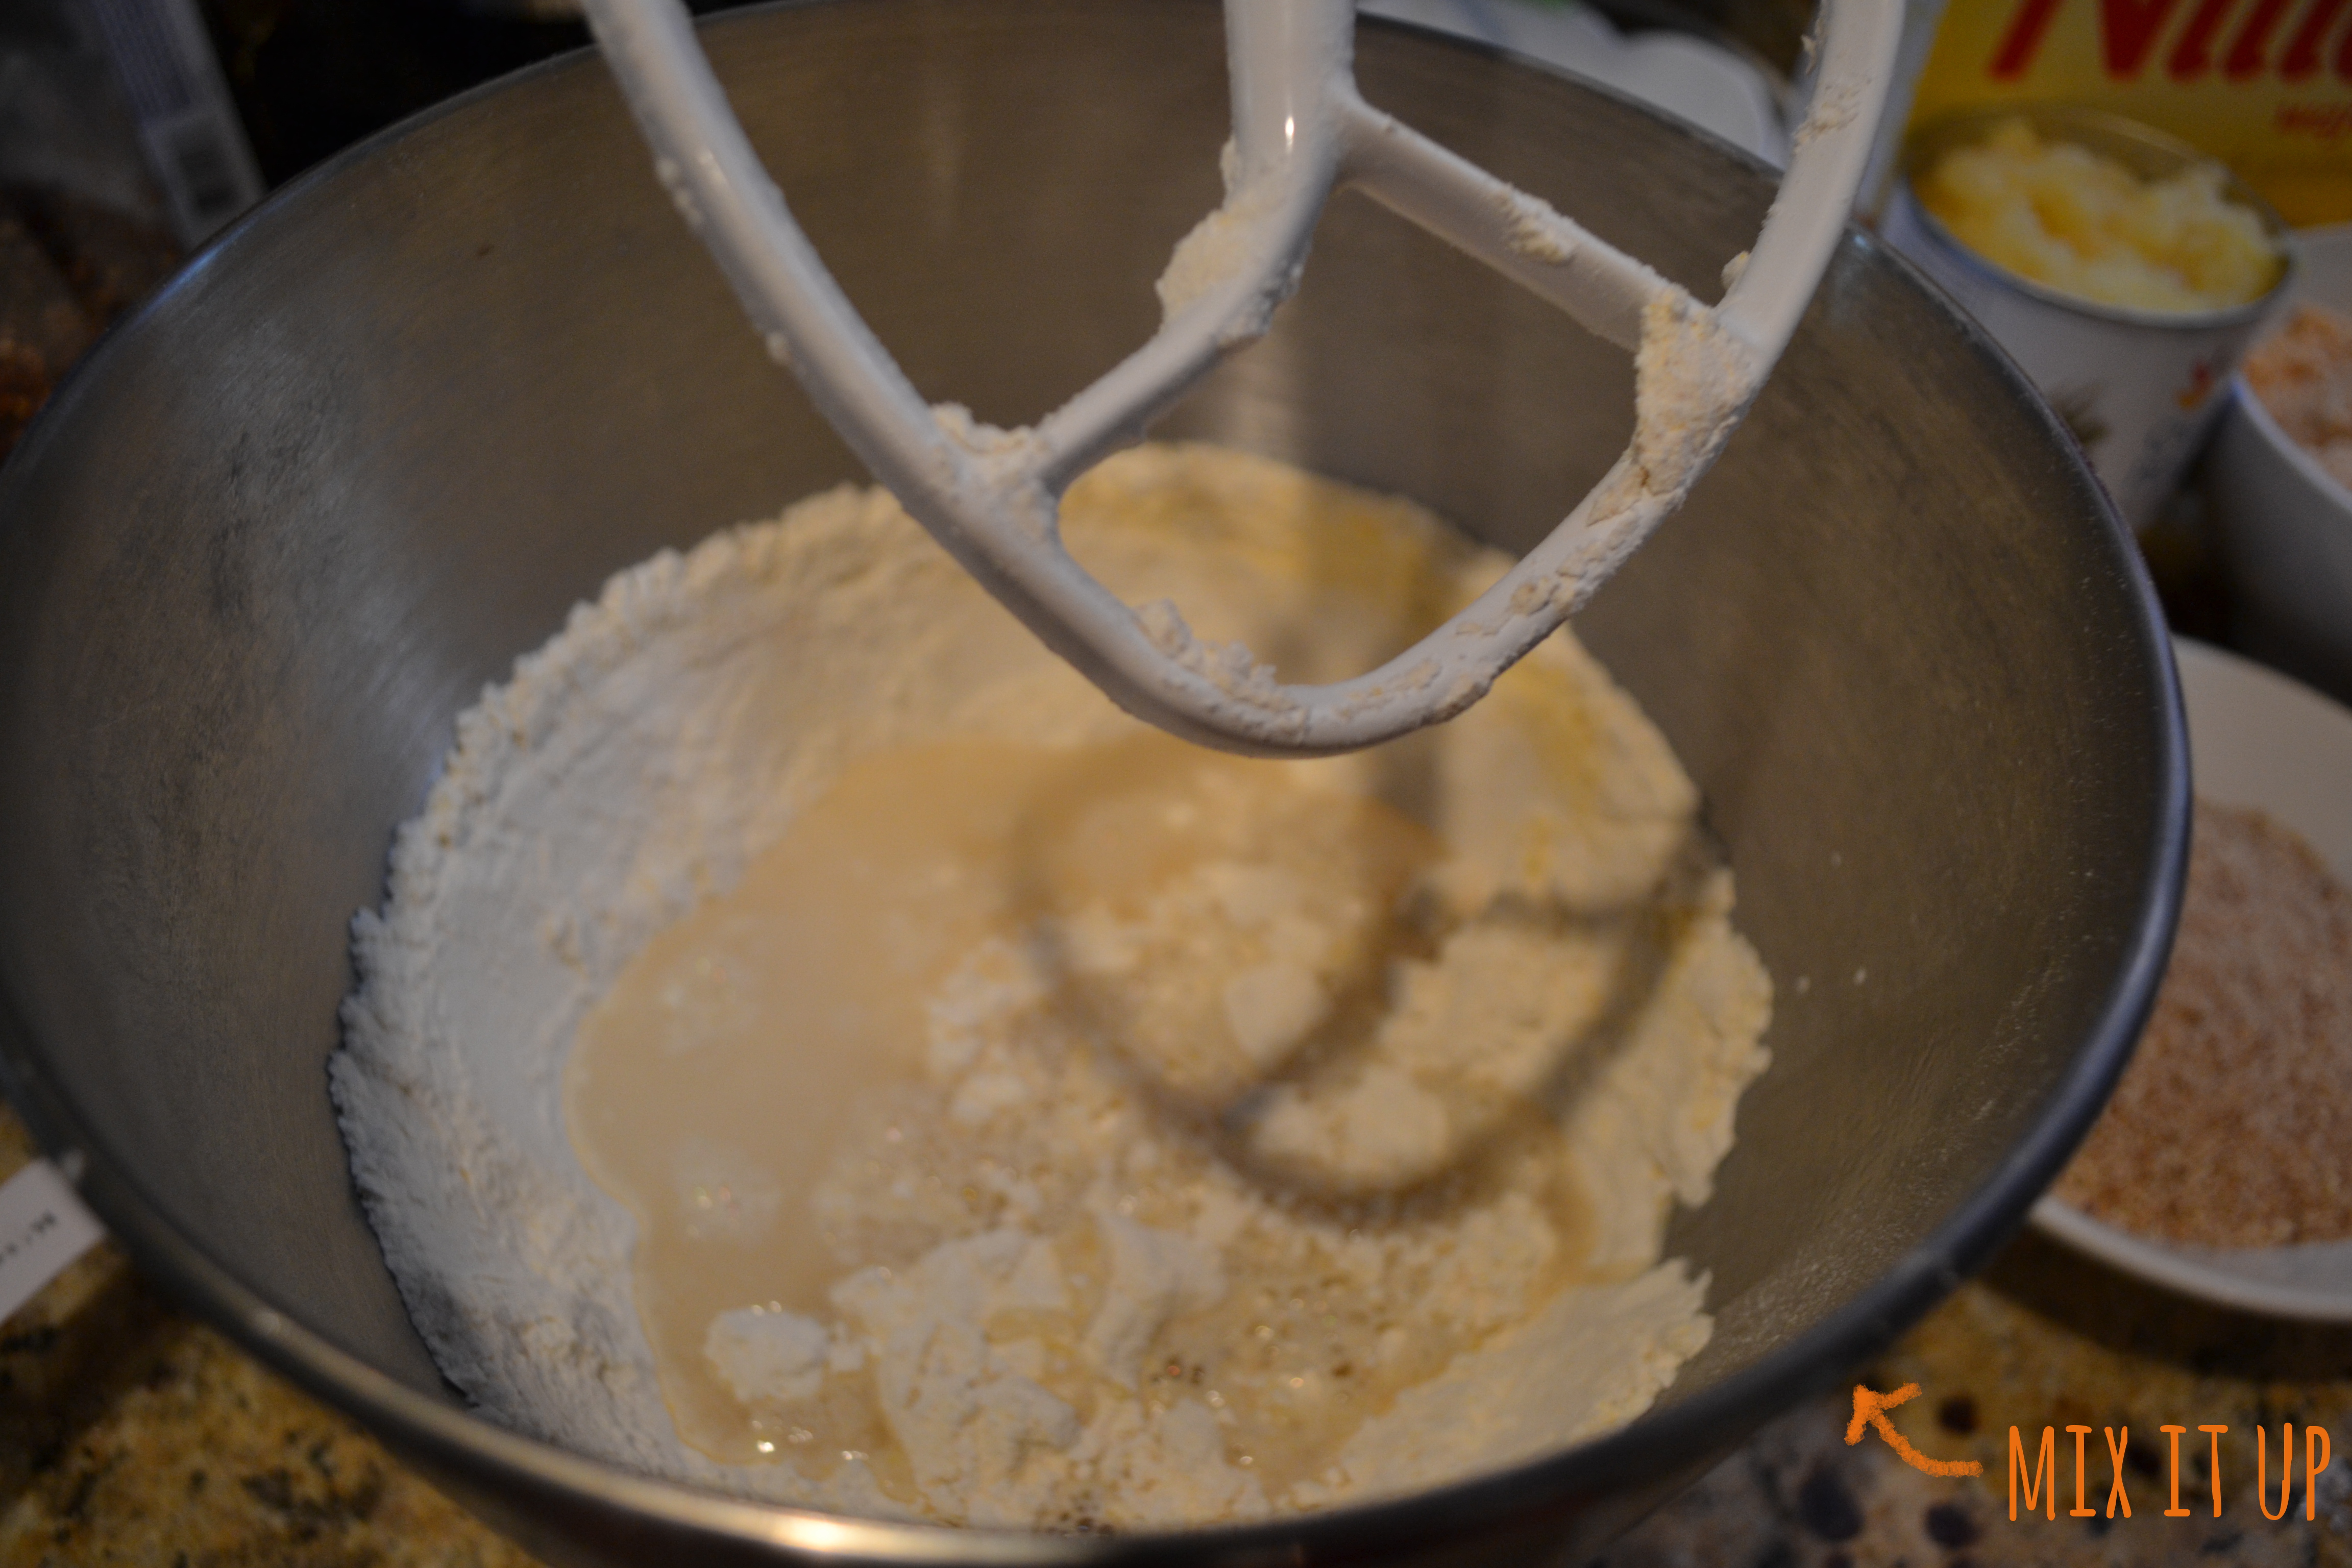
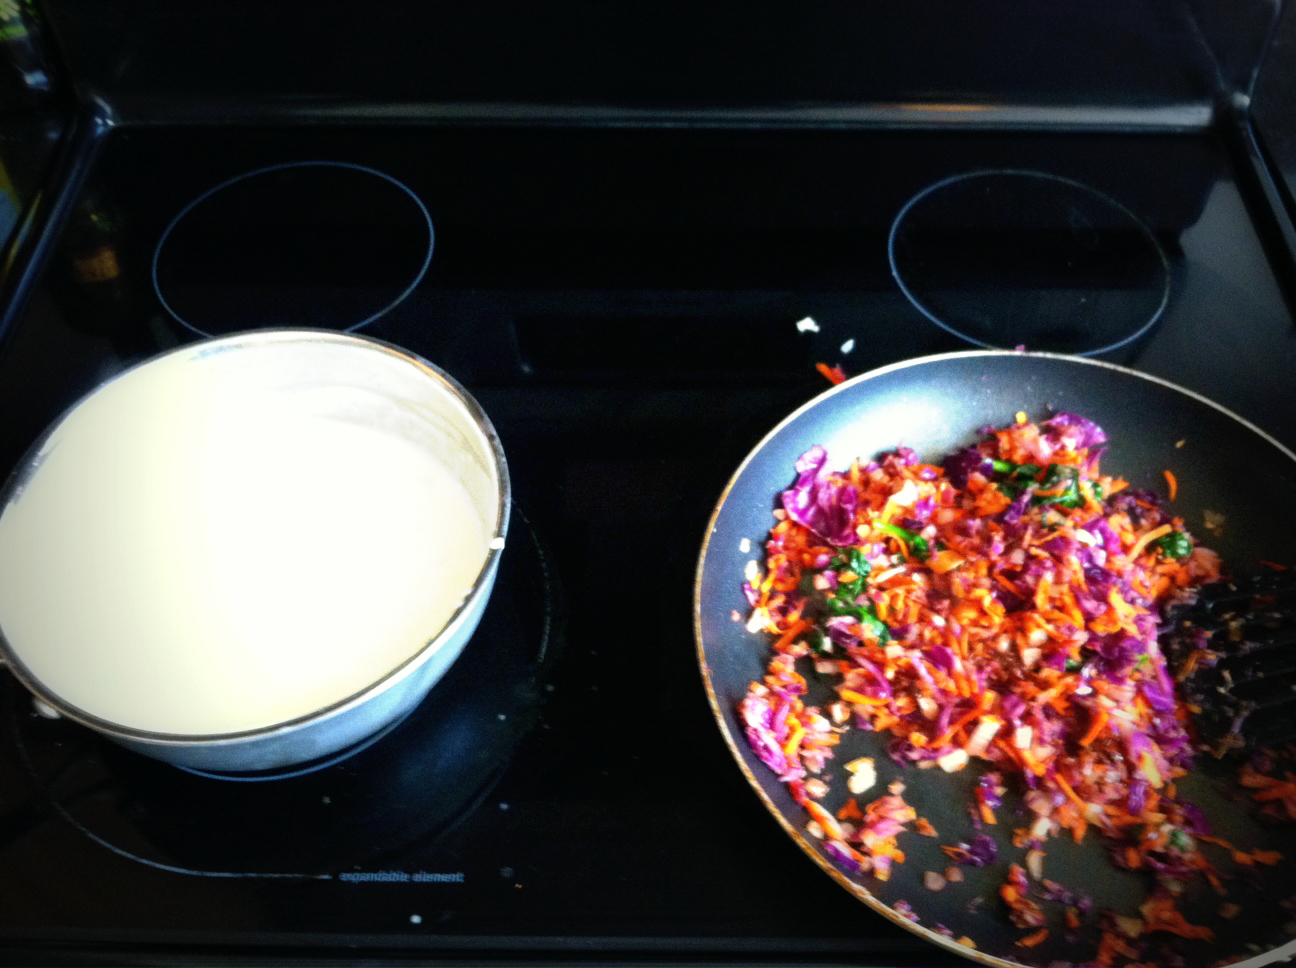
We made our sauce from the sour cream, chicken stock & jalapenos and sauted our cabbage, spinach & carrots.
scratch_dc_veggies_sauce

And thanks to Scratch’s surprises & delights, we enjoyed surprise cookies and mimosas

(the cookies were a gift from Scratch, and since we didn’t have to worry about prep, we could focus on mimosas!)

scratch_dc_mimosas_cookies

And the whole thing turned out beautifully!

scratch_DC_enchiladas

Sure, there were a couple things they need to improve on- pictures in the instructions would be nice for unseasoned chefs who don’t make roux on the reg.  But this is the first iteration of a company that is fit to succeed.  Can’t wait to try it again!

xoxo,

hungry texans

new year’s day supper: grilled pork chops with apple & peach chutney

pork title

Pictured clockwise, from pork: Grilled Pork Chops with Apple-Peach Chutney (progress), Braised Cabbage (wealth), Pan Seared Red Kale & Rainbow Chard with Bacon (prosperity), Black Eyed Peas (luck), Potato Mash (yummy), Ginger-Cabbage Potstickers (multicultural wealth).

Whew!  We sure felt lucky this morning.  Was it from finishing up a year full of adventure and friendship, starting countless new projects, or finishing up the year with old friends?  Maybe.  Or maybe it was the symbol-ripe supper we whipped up last night.    We covered all of the basics- pork for progress, cabbage for wealth & black eyed peas for luck.  And we even found new meaning for mashed potatoes (potato –> irish –> famine –> perseverance?)  Special thanks to Man Chef Alan for bringing his perfect pecan pie and Tex-Pat & Boston Boy for peeling themselves away from the couch long enough to churn out a few cabbage dumplings.

This recipe is for the grilled pork chops, but more New Year’s Day recipes will follow.  I urge you to try this pork for your next lucky supper or just a quick weeknight dinner!

You’ll need:

4 thick, boneless pork chops (you can use bone-in if you’d like)

For the Brine:

4 cups water

1/2 cup apple cider vinegar

1/4 cup brown sugar

1 tsp red pepper flakes

IMG_1926

Combine ingredients for the brine in a large bowl.  Place pork chops in a large ziplock bag, then add the brine and be sure the pork chops are covered in the liquid.  Let them sit in a bowl overnight.

For the Chutney:

2 apples, diced

2 peaches, diced

1 jalapeno

2 tbs brown sugar

2 tbs vinegar

2 tbs minced ginger

1/2 cup red onion

1 tsp curry powder

Heat olive oil in small pan and add red onion and jalapeno.  Cook until soft, then add other ingredients and cook over low heat for 20-30 minutes, until soft.  Mash with a potato masher or with an immersion blender, leaving the mixture slightly coarse.

IMG_1925

Remove the pork chops from the brine ~30 minutes before cooking.  Season both sides with salt and pepper.  Heat your grill (or a cast iron grill pan) to medium low heat and cook the pork chops for 4 minutes on each side.  After ~10 minutes, glaze the chops with the apple chutney on both sides.  Pork gives me a bit of anxiety because I’m always afraid to overcook it, so I use a meat thermometer and take it off the heat when the internal temperature is 160°.  Let them rest off the grill for 10 minutes before serving.

leek & fennel bread pudding

leek and fennel title pageSavory bread puddings can render a few funny looks, but this Leek and Fennel Bread Pudding couldn’t be a more appropriate addition to a family style dinner (I made it both for Thanksgiving and Christmas).  The first time I made it, I followed Thomas Keller’s recipe to the very last sage leaf.  And trust me, it did the trick.  I let the leeks steam under a parchment lid, carefully toasted my brioche (Whole Foods makes an excellent one if you don’t have an extra day to make this recipe), and used his exact measurements.  But we did notice a couple of improvements to be made- namely that there could have been more leeks.  So the second time I made this recipe, I doubled the leeks.  And why not?  Leeks are a delicious little savory treat, perfect with the gruyere and cream.  And as an added level of substance in an otherwise decadent cream-filled bread pudding, I threw in a bulb of sliced fennel.  I also tried using a challah as an alternative to the brioche.  Both are sweet and eggy and somehow dense and light at the same time, so both worked for this bread pudding.  The following recipe is a combination of my two attempts.

You’ll need:

12 cups brioche or challah, sliced into one inch cubes

4 large leeks

1 bulb fennel

4 tbs butter

3 eggs

3 cups milk

3 cups heavy cream

1 cup shredded gruyere cheese

Salt, to season

Preheat the oven to 350.  Slice your brioche or challah into one inch cubes and spread out on a baking sheet.  Pop into the oven and let toast for 20 minutes.

IMG_1861

While the bread is toasting, slice your leeks and fennel.  You only want to use the white part of the leeks and the bulb of the fennel.  Slice into 1/3 inch thick slices.  Place the leeks and fennel into a large bowl and cover with water.  Let them soak for a couple minutes to allow the sediment to fall out into the bottom of the bowl (they are, after all, root veggies).

IMG_1862

Lift the vegetables out of the water and place them into a large pan over medium heat.  The water will release from the leeks and allow them to start steaming.  After 5 minutes, add the butter and stir.

IMG_1863

Create a parchment lid (the second time around, I didn’t have parchment so I just used a lid- the world didn’t end) and set on top of the mixture.  Reduce heat to medium low, add a bit of salt, and let cook, stirring occasionally, for 25 minutes more.

parchment lid

While the leeks are simmering, whisk eggs, milk, and cream in a large bowl to create the custard.

custard YUM

When the custard is made and the brioche is toasted and the leeks are soft, it’s time to combine them all.  Toss the leek mixture into the bread cubes and add ½ cup of shredded gruyere cheese.  Pour out into a 9×13 baking dish and pour 2/3 of the custard over the mixture.  Press down to be sure that the bread soaks up the custard, then let sit for 10 minutes.
IMG_1868

Pour the remaining mixture over the bread and add the rest of the gruyere.  Sprinkle with salt and pop into the oven for 80-90 minutes. 
IMG_1869


silky moroccan eggplant soup

title page

I found this recipe at the back of the most recent issue of Food & Wine and it looked too spectacular not to try myself.  I love the idea that it’s a spin on a traditional mezze, incorporating eggplant, lemon, radish & green peas.  Between steeping your garlic in half & half and roasting your eggplant, the soup is going to take a little over an hour to make properly, but it’s definitely worth it.

You’ll need:

2 large eggplants
2 cups half & half
6 cloves of garlic
1 rind of parmesan (although I just used a handful of parmesan)
1 lemon
1 cup sliced radish
1 cup green peas

Start by preheating your oven to 450.  In a small saucepan, combine the half & half, garlic, and parmesan and bring to a simmer.  Turn the stove off and let the mixture sit, off the heat, for 1 hour.

steeping

Oh, you have an hour to kill while the garlic steeps in the cream?  I have the perfect suggestion to help pass the time- roast an eggplant or two!

Slice your eggplant (hotdog style) and brush each cut side with olive oil and a sprinkle of salt.  Place the eggplant cut side down on a parchment-lined baking sheet and roast for 45 minutes, until the inside is tender.

eggplant roast

While the steeping and the roasting is happening, slice up your radish and thaw your green peas.  Store them in cute measuring bowls like the ones pictured below until you need them for garnish- if you don’t have cute measuring bowls, then you probably need to get a boyfriend who has sweet grandparents who will give some to you for Hanukkah.  But that could take a while, so just put it on the backburner.

bowls

After an hour of steeping, put the half & half mixture through a sieve, tossing out any solids. seive

When your eggplants are ready, scoop the insides into a food processor or blender (discarding the skin) and puree until smooth.  Food & Wine says to pass this mixture through a sieve, but I quite like the texture of a few eggplant seeds so I omitted.

eggplant puree

Stir the eggplant mixture into the half & half, add juice of lemon, and bring to a simmer, until the soup is heated.  Season with salt and serve with radishes & green peas.

basics: homemade applesauce

applesauce title page

Happy Hanukkah,  everyone!

I’m sure all of my fellow shiksahs in the kitchen can agree that the holidays can be a doozy.  As much as you love to cook, you’ll never shine a light to the recipe that has been passed down by tough critics.   I’ve made my fair share of high-holiday-hiccups (starting with a milchigs fork mix-up and ending with bringing a butter-laden bread pudding to Thanksgiving) but this applesauce is not one of them.  It’s the perfect way to preserve your apples and requires only two added ingredients.  And during Hanukkah, you won’t find a better topping for your potato latkes.

You’ll need: (for 2 cups applesauce)
4 apples, mixed
1 tbs honey
1 tsp cinnamon
1/4 cup water

ingredients

We used Red Macintosh and Pink Lady apples for this recipe.  You can use whichever are in season (the farmer’s market usually has enough apple samples out to give you a tummy ache), but I recommend a mix of apples to elevate the depth of flavors.  Start by peeling your apples roughly (a little apple skin never hurt anyone) and chopping them into cubes.  Add them to a saucepan with the water over medium heat, until they’re just simmering.

apples in pot 1

Add the cinnamon and honey and stir.  In the past, I’ve used white sugar for the sweetness in my applesauce, but switched to honey because, well, apples and honey taste great together.

Let the whole mixture simmer, stirring occasionally, for about 20 minutes.  Then, using a hand potato masher (or a food processor if you’re looking for a really smooth sauce), mash the apples until they look like applesauce.

apples in pot 2

Serve over freshly-fried latkes and or just enjoy as a sweet snack.

applesauce final

xoxo,

the hungry texans

miso soup

Title pageOk this was an exciting night in the Hungry Texans kitchen- our foray into dashi!  The classic Japanese seafood stock is the base of so many dishes, including one notorious cure for an annoying cold… miso soup.  I’m not going to lie, I thought of dashi as the japanese equivalent of chicken stock, but it’s quite different.  It’s smoky and earthy and tastes (and smells) like the sea.

It’s also quite easy to make, if you have a bit of time.  The miso soup, from start to finish, took about 1 hour to make.  So pop open a bottle of sake and get cookin’!

for the dashi, you’ll need: 

3 quarts cold water

3 kombu stalks

1 handful bonito flakes

for the miso soup, you’ll need:

2 quarts dashi

1 quart water

1/4 cup white miso paste

1/2 cup scallions

1 cup shitake mushrooms

1 block tofu

2 cups kale

Start your dashi by filling a large pan with cold water.  Add your kombu stalks and bring to a boil.  Once the water is boiling, reduce heat to low and let simmer for 30 minutes.  After 30 minutes of simmering, add your bonito flakes.  Stir and bring to a boil.  When the whole mixture reaches a boil, turn the stove off.

kombu and bonito flakes

Drain the dashi through a colander. Alright, you’re ready for Top Chef!

dashi

To start your miso soup, add your dashi to a soup pot.  Add your miso paste and stir until it has dissolved.  Throw in sliced shitake mushrooms & scallions, sliced thin.  De-stalk your lovely kale and chop it into small-ish pieces.  You can add the kale directly or blanch it quickly first.

mix ins

If you are making dashi with the hopes of turning it into miso soup, then slice your tofu and let it drain onto paper towels while your making the dashi.  Then, slice into small cubes and add it to the miso pot.

Ok, now are you ready?  This is the hardest part.  Stir it once and cook for about 5 minutes over medium heat.  Then, you’re done.

soup!

xoxo,

the hungry texans