In honor of my darling best friend Julia’s birthday and in honor of peaches being abundantly available and ripe this weekend, I knew a fruity dessert was in order. Since we had made plans to visit a couple vineyards on Sunday with our sweet friends Amy and Ryan, this dessert also had to be easily portable. And it had to be adorable. Whew- no pressure!
As it turns out, a perfectly peachy, easily transportable dessert was well within my reach (and yours!). All it takes is a trip to the farmers market, a quick spin in the Kitchen-Aid, and a few mason jars to make these Gingered Peach Cobblers.
For the Filling (makes 4 individual pies):
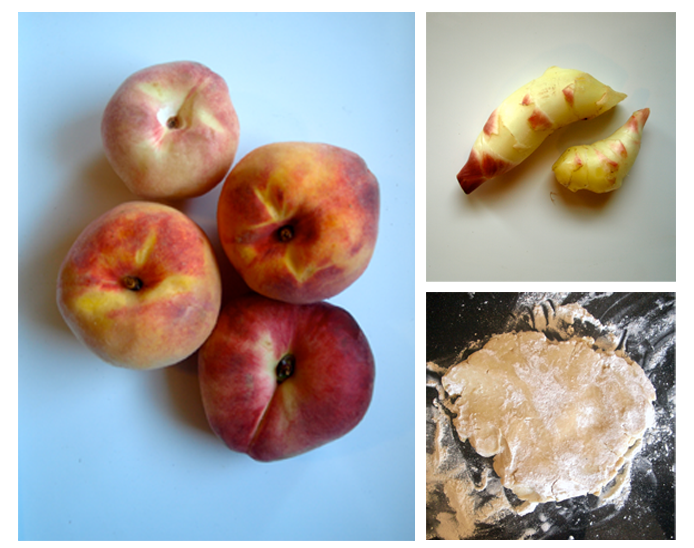
- 4 peaches
- 2 tbs sugar
- 1 tbs fresh ginger
For the Pastry Dough:
- 1 ¼ cup flour
- ¼ cup ice water
- 1 stick cold, unsalted butter
- 1 tbs sugar
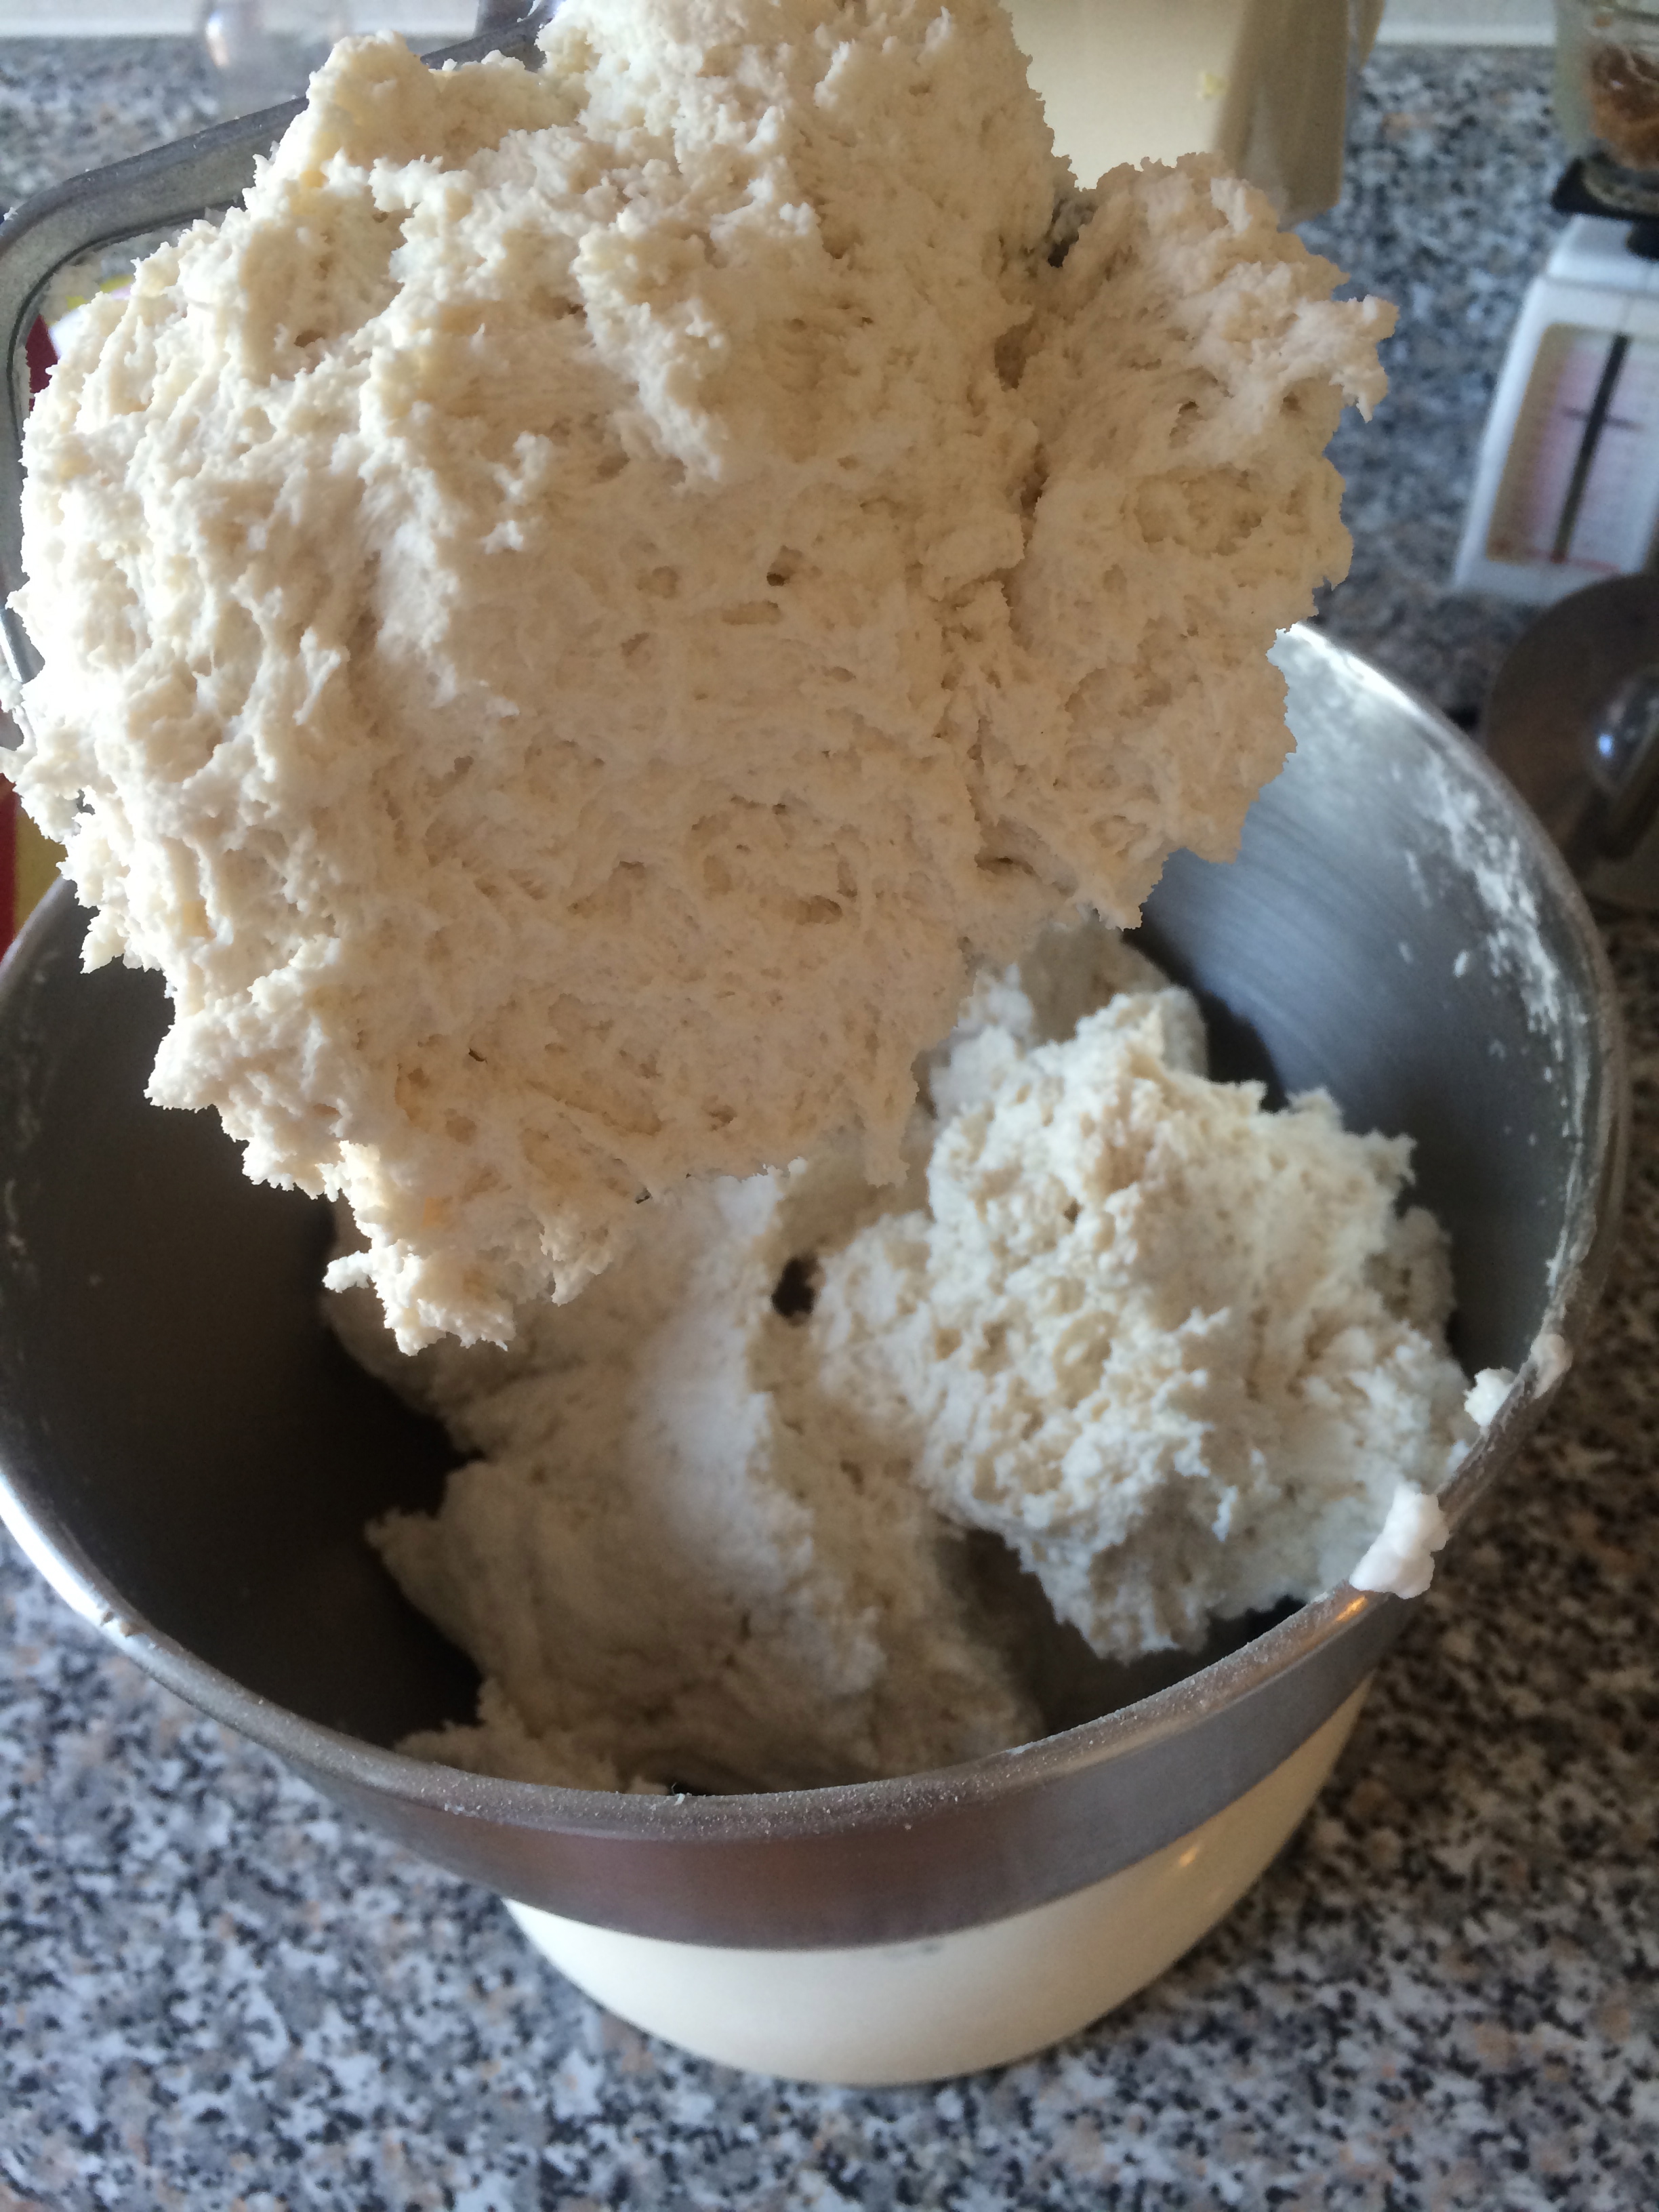
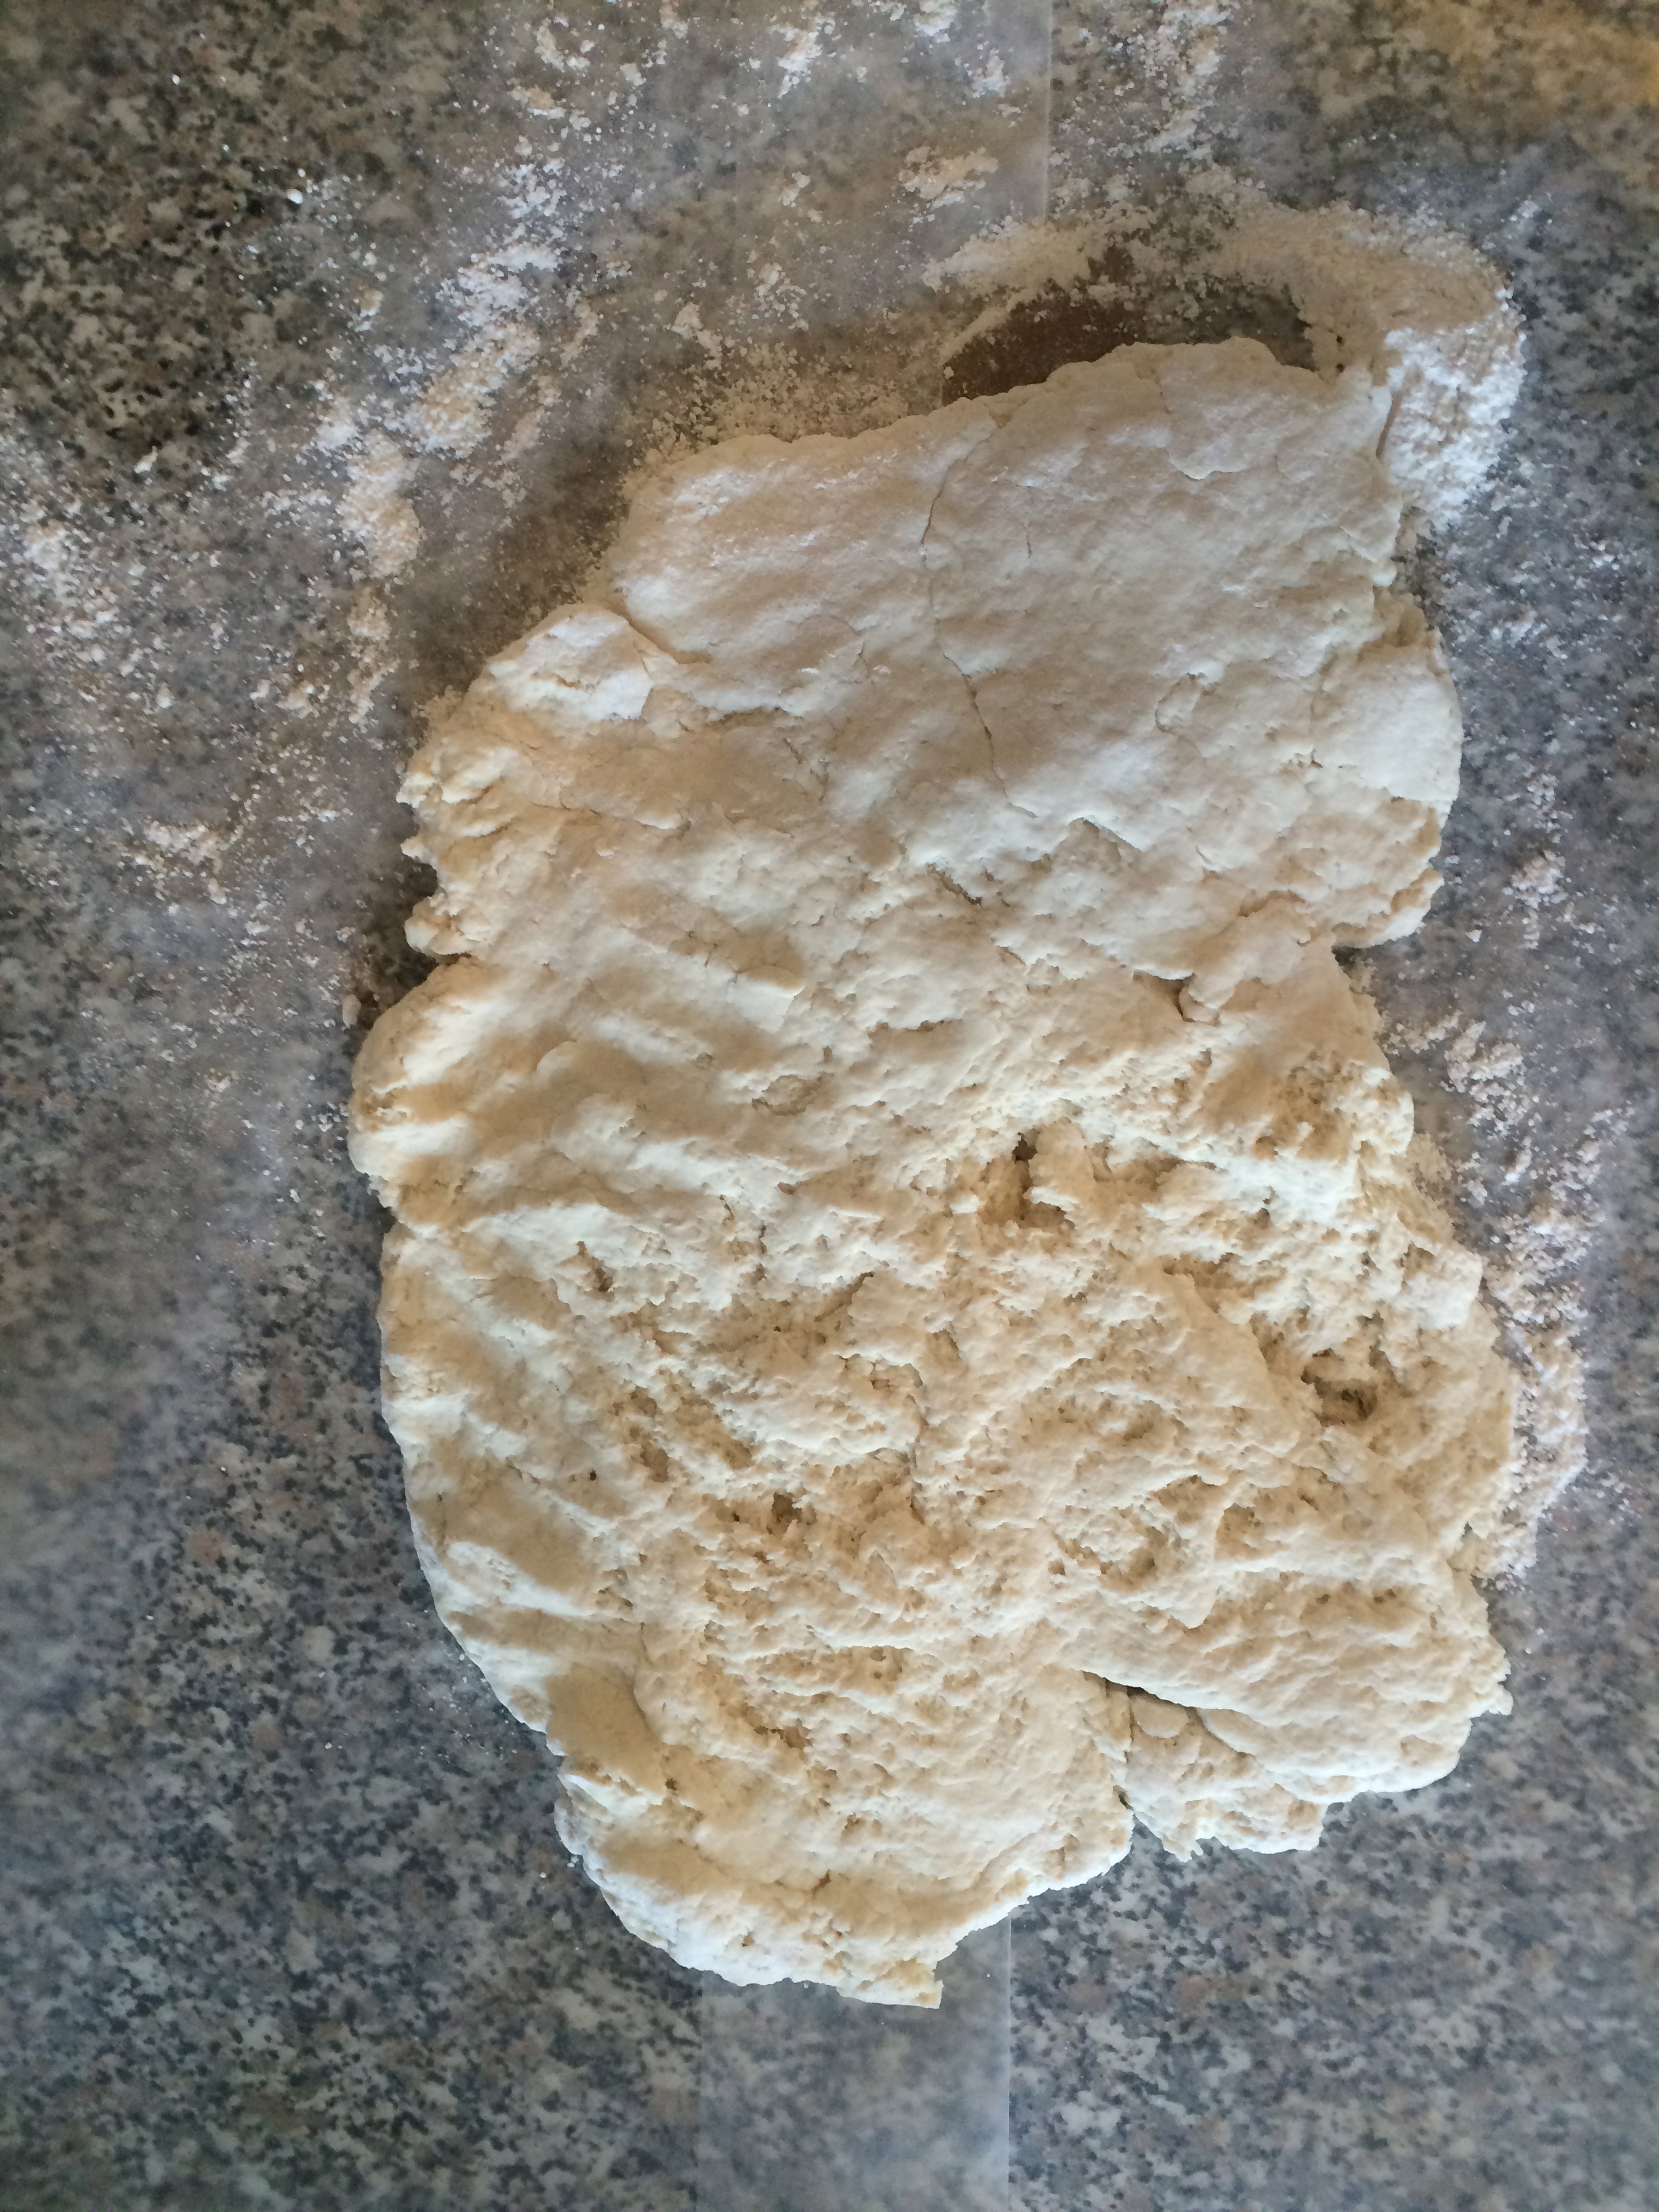
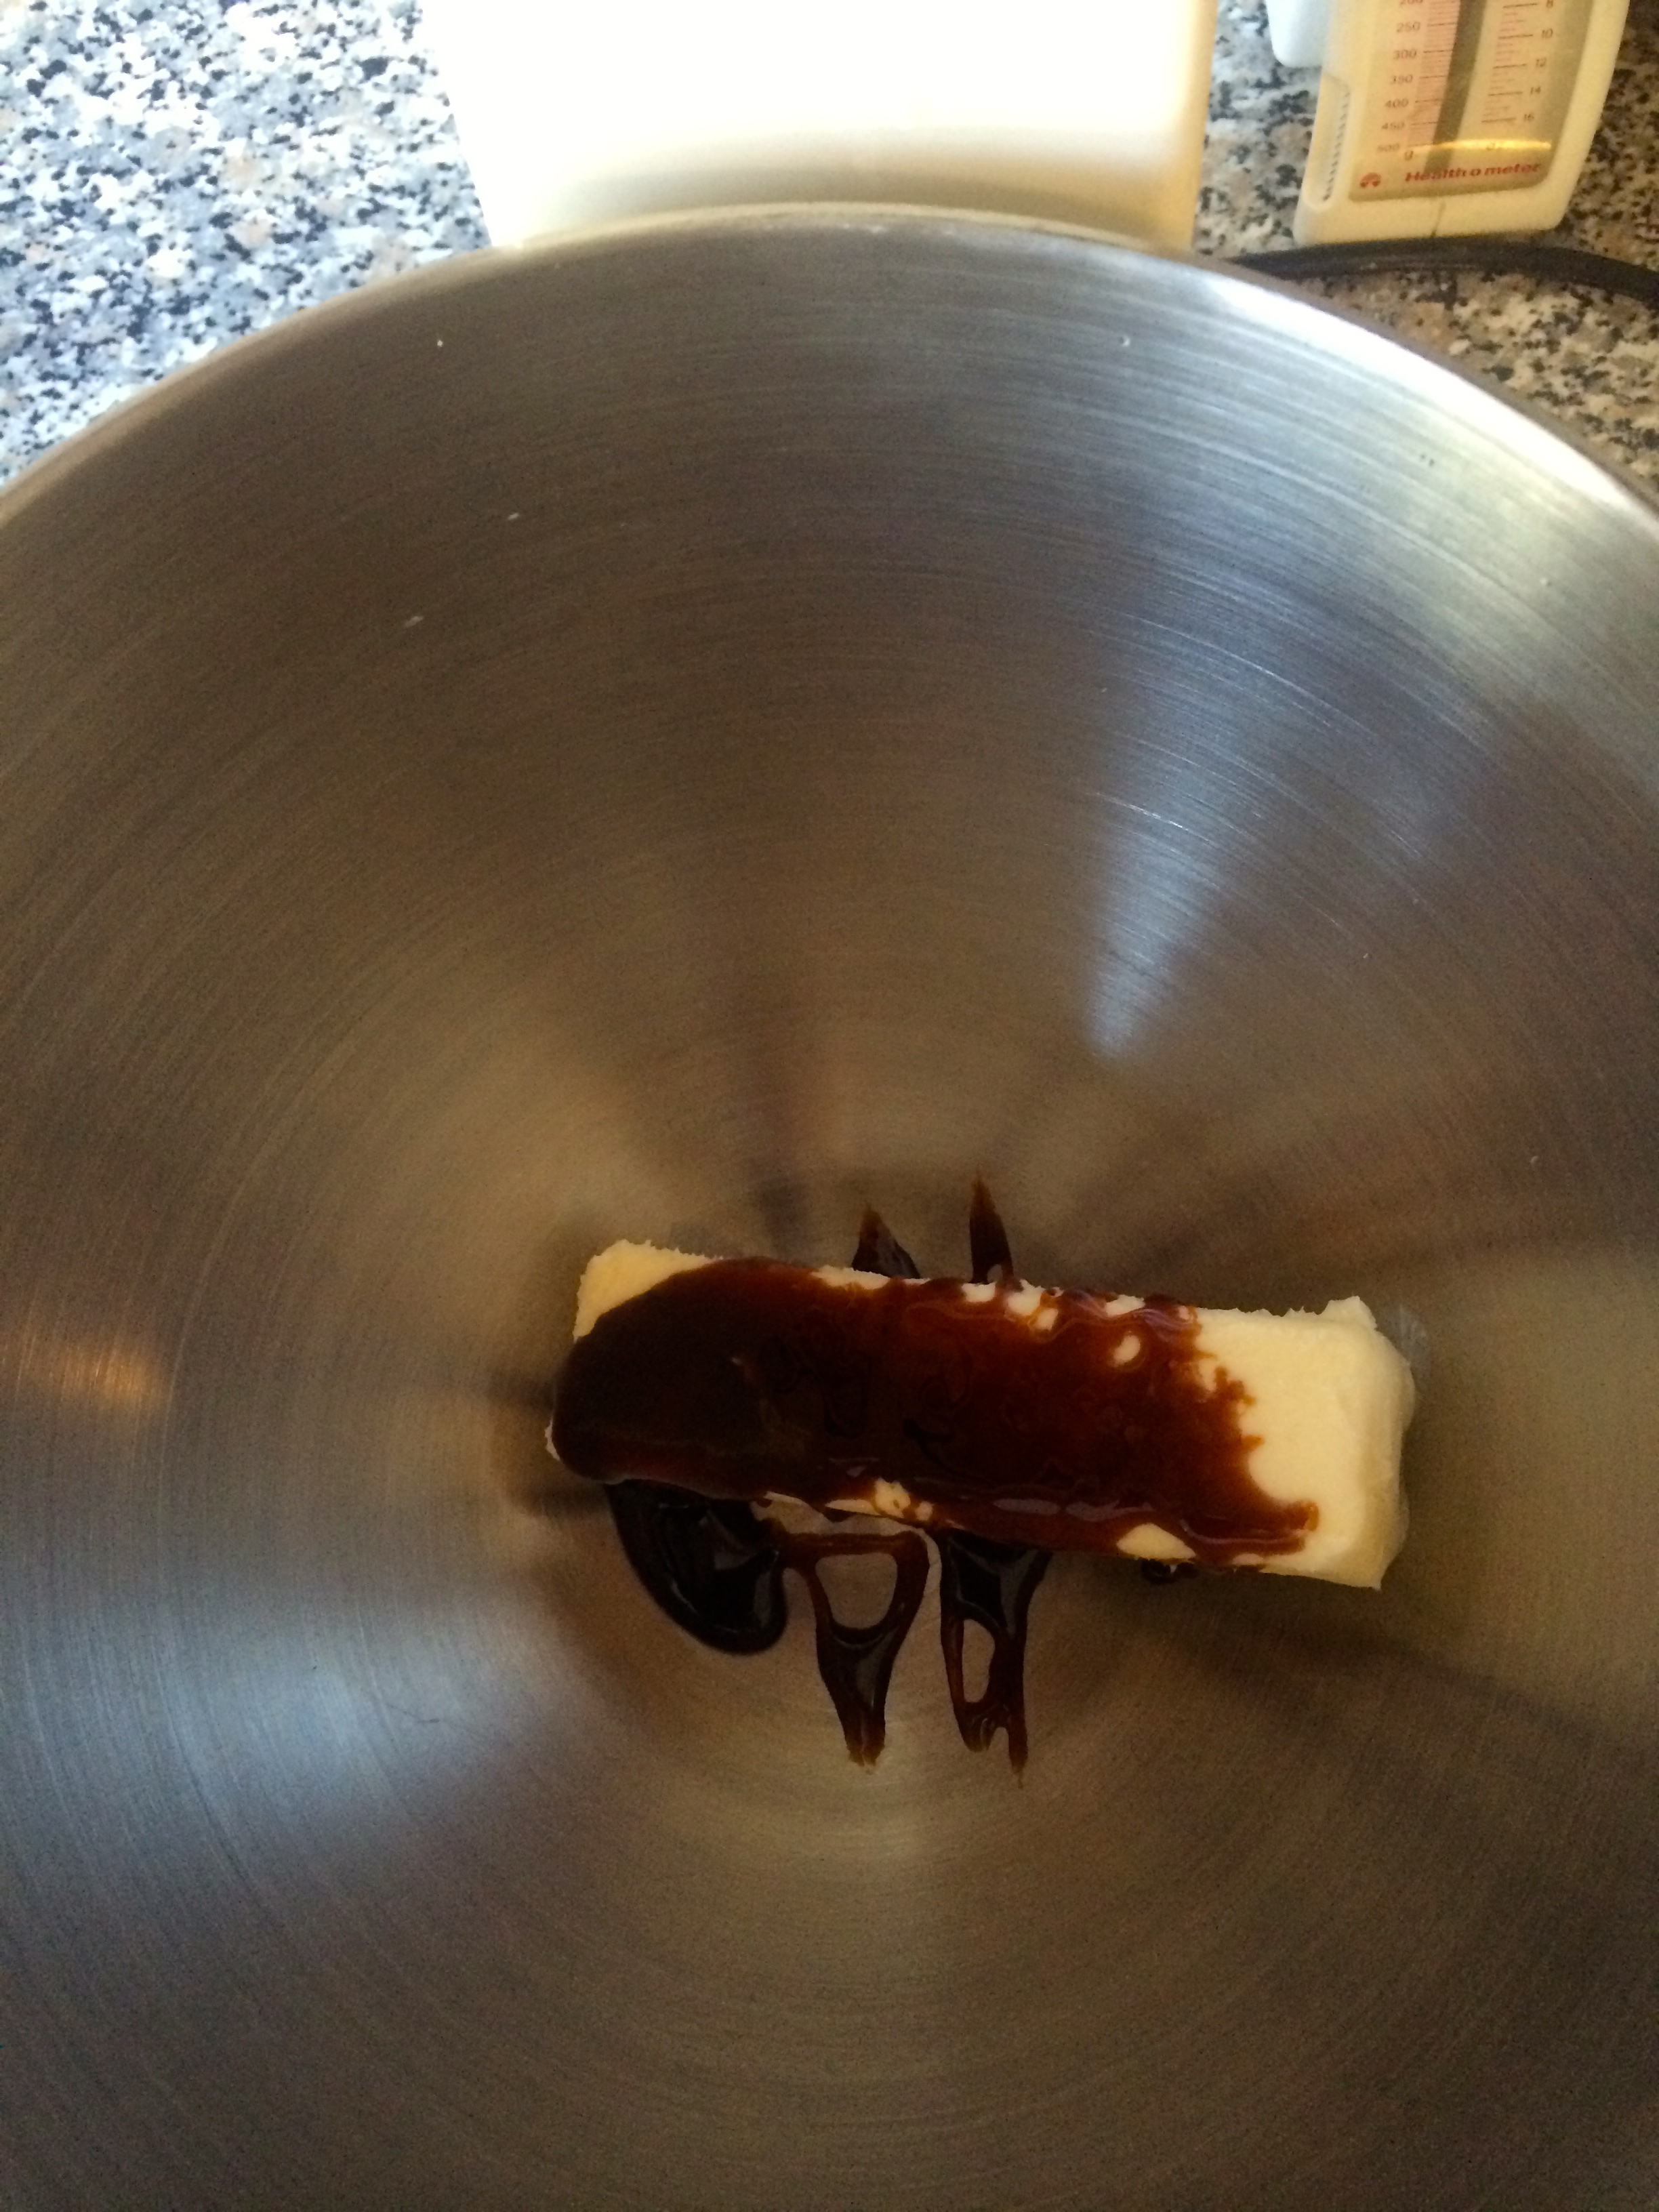
To make the Dough:
I have to admit, I’m no baker- I usually leave the sweet treats up to Julia. But I’ve been pushing myself to mix flour + water instead of trudging to the store for some mediocre pre-made dough, and this recipe couldn’t be simpler. Just combine your flour and sugar in a food processor or stand mixer. Add the cold butter (with the mixer on a speed-2), one tablespoon at a time, until the mixture resembles sand. Then, add your ice cold water and mix for ~15 seconds. I made my pastry dough the night before the wine tour, and refrigerated it in plastic overnight.

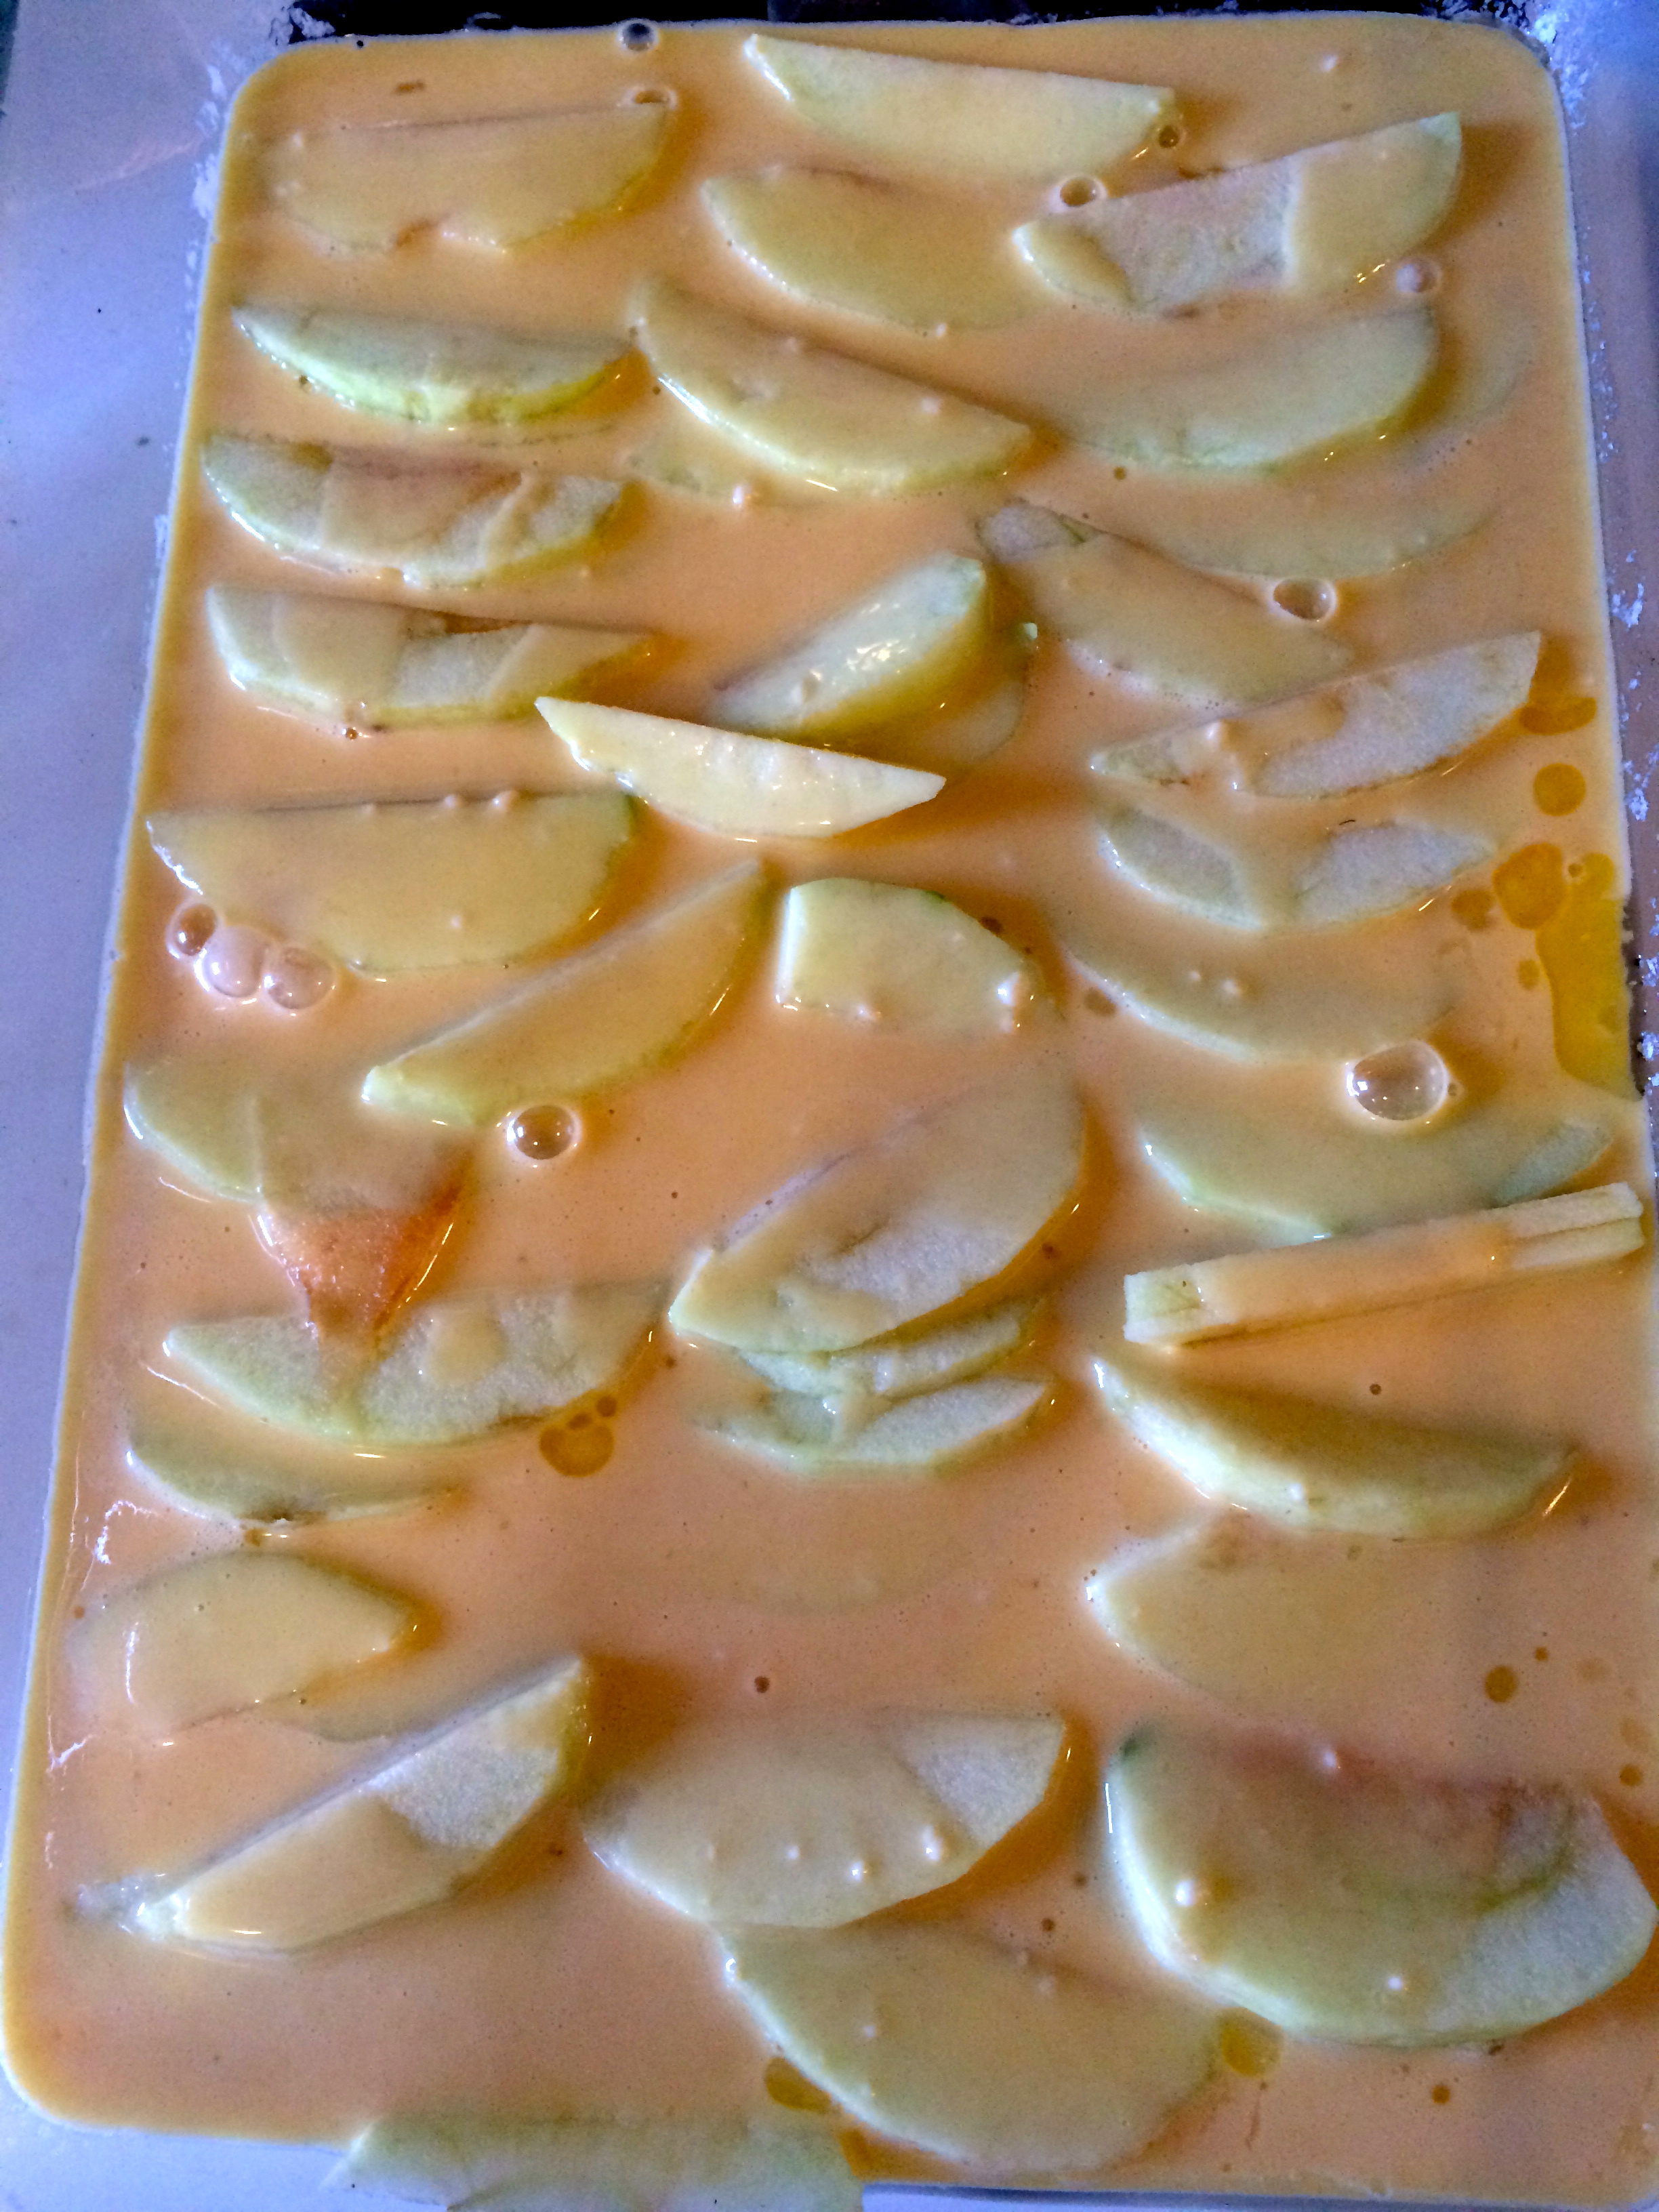
To make the filling:
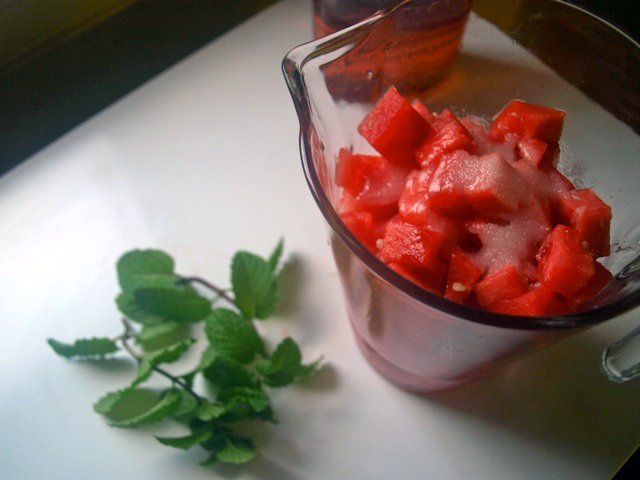
When you’re ready to make your cobblers, grease the insides of four mason jars with butter. Slice your peaches and place them in a sauce pan with 2 tbs sugar and 1 tbs ginger. Give them a good stir and let them simmer over low heat for ~10 minutes until they’re syrupy and delicious.

While those peaches are simmering, let’s talk produce! Since there are really only 4 ingredients in this recipe- flour, butter, peaches & ginger- you can have some fun with the fillings. I got three different peach breeds- Donut, Yellow, and White- from the farmers market. And I was inspired to add ginger after finding this incredible baby Hawaiian variety. No peeling necessary? I can freeze you? Hello, new favorite ingredient.

Once your peaches are finished simmering, take them off the heat and let them cool a bit.
Peach Cobbler, Assemble!
Cut the pastry dough into two unequal parts. Roll out the smaller half, then use the mouth of a mason jar to cut 4 rounds. These should be thinner, because they’ll be on the bottom of the cobblers. Roll out the larger half, which should be the thicker cobbler-toppers, and cut four more rounds. Place the thin rounds of dough carefully in the bottom of your mason jars and bake at 400° for ~5 minutes.

When the dough is a bit cooked, fill the jar up to the top with peach filling, and finish with the thick round on top.

If you want to be really cute, and who doesn’t, use some leftover dough to form hearts or initials to pop on top. Brush the whole thing with an egg wash and place in the oven (on a baking sheet!) at 375° for 30 minutes, or until the crusts are golden brown.

I pulled these out of the oven about 2 hours before eating them and screwed the lids on for easy transport. Not only did this make them easy to get to the vineyards, but would you believe that they were still warm when we ate them? Just plain peachy!

xoxo,
Liz
oh what? you wanted to see a photo of the birthday girl on her vineyard trip? so happy you asked: