This recipe is featured today in Luri & Wilma, a smart magazine for smart ladies run by native Texan Charlie Heck. I love the way they shot and featured this recipe, and just as much, I love this Tomato & Beet Gazpacho! Click through the article below to read the whole issue online (there’s great stuff about fashion, body issues, and vintage duds inside) and scroll down for the full recipe!

Heirloom Tomato & Beet Gazpacho
Aside from being the perfect make-ahead, quick-cleanup recipe, I love this gazpacho because it relies on fresh ingredients for a bright and complex flavor. The raw veggies lend a subtle spice to the cold soup, and garden herbs leave it freshly flavored. Red and golden beets impart a deep magenta hue while keeping the soup slightly sweet. Plus, this silky staple requires zero cooking and limited utensils, so you can stay cool in the kitchen while impressing your guests with a light supper. This recipe will serve two as a main course or four as an appetizer.
You’ll need:
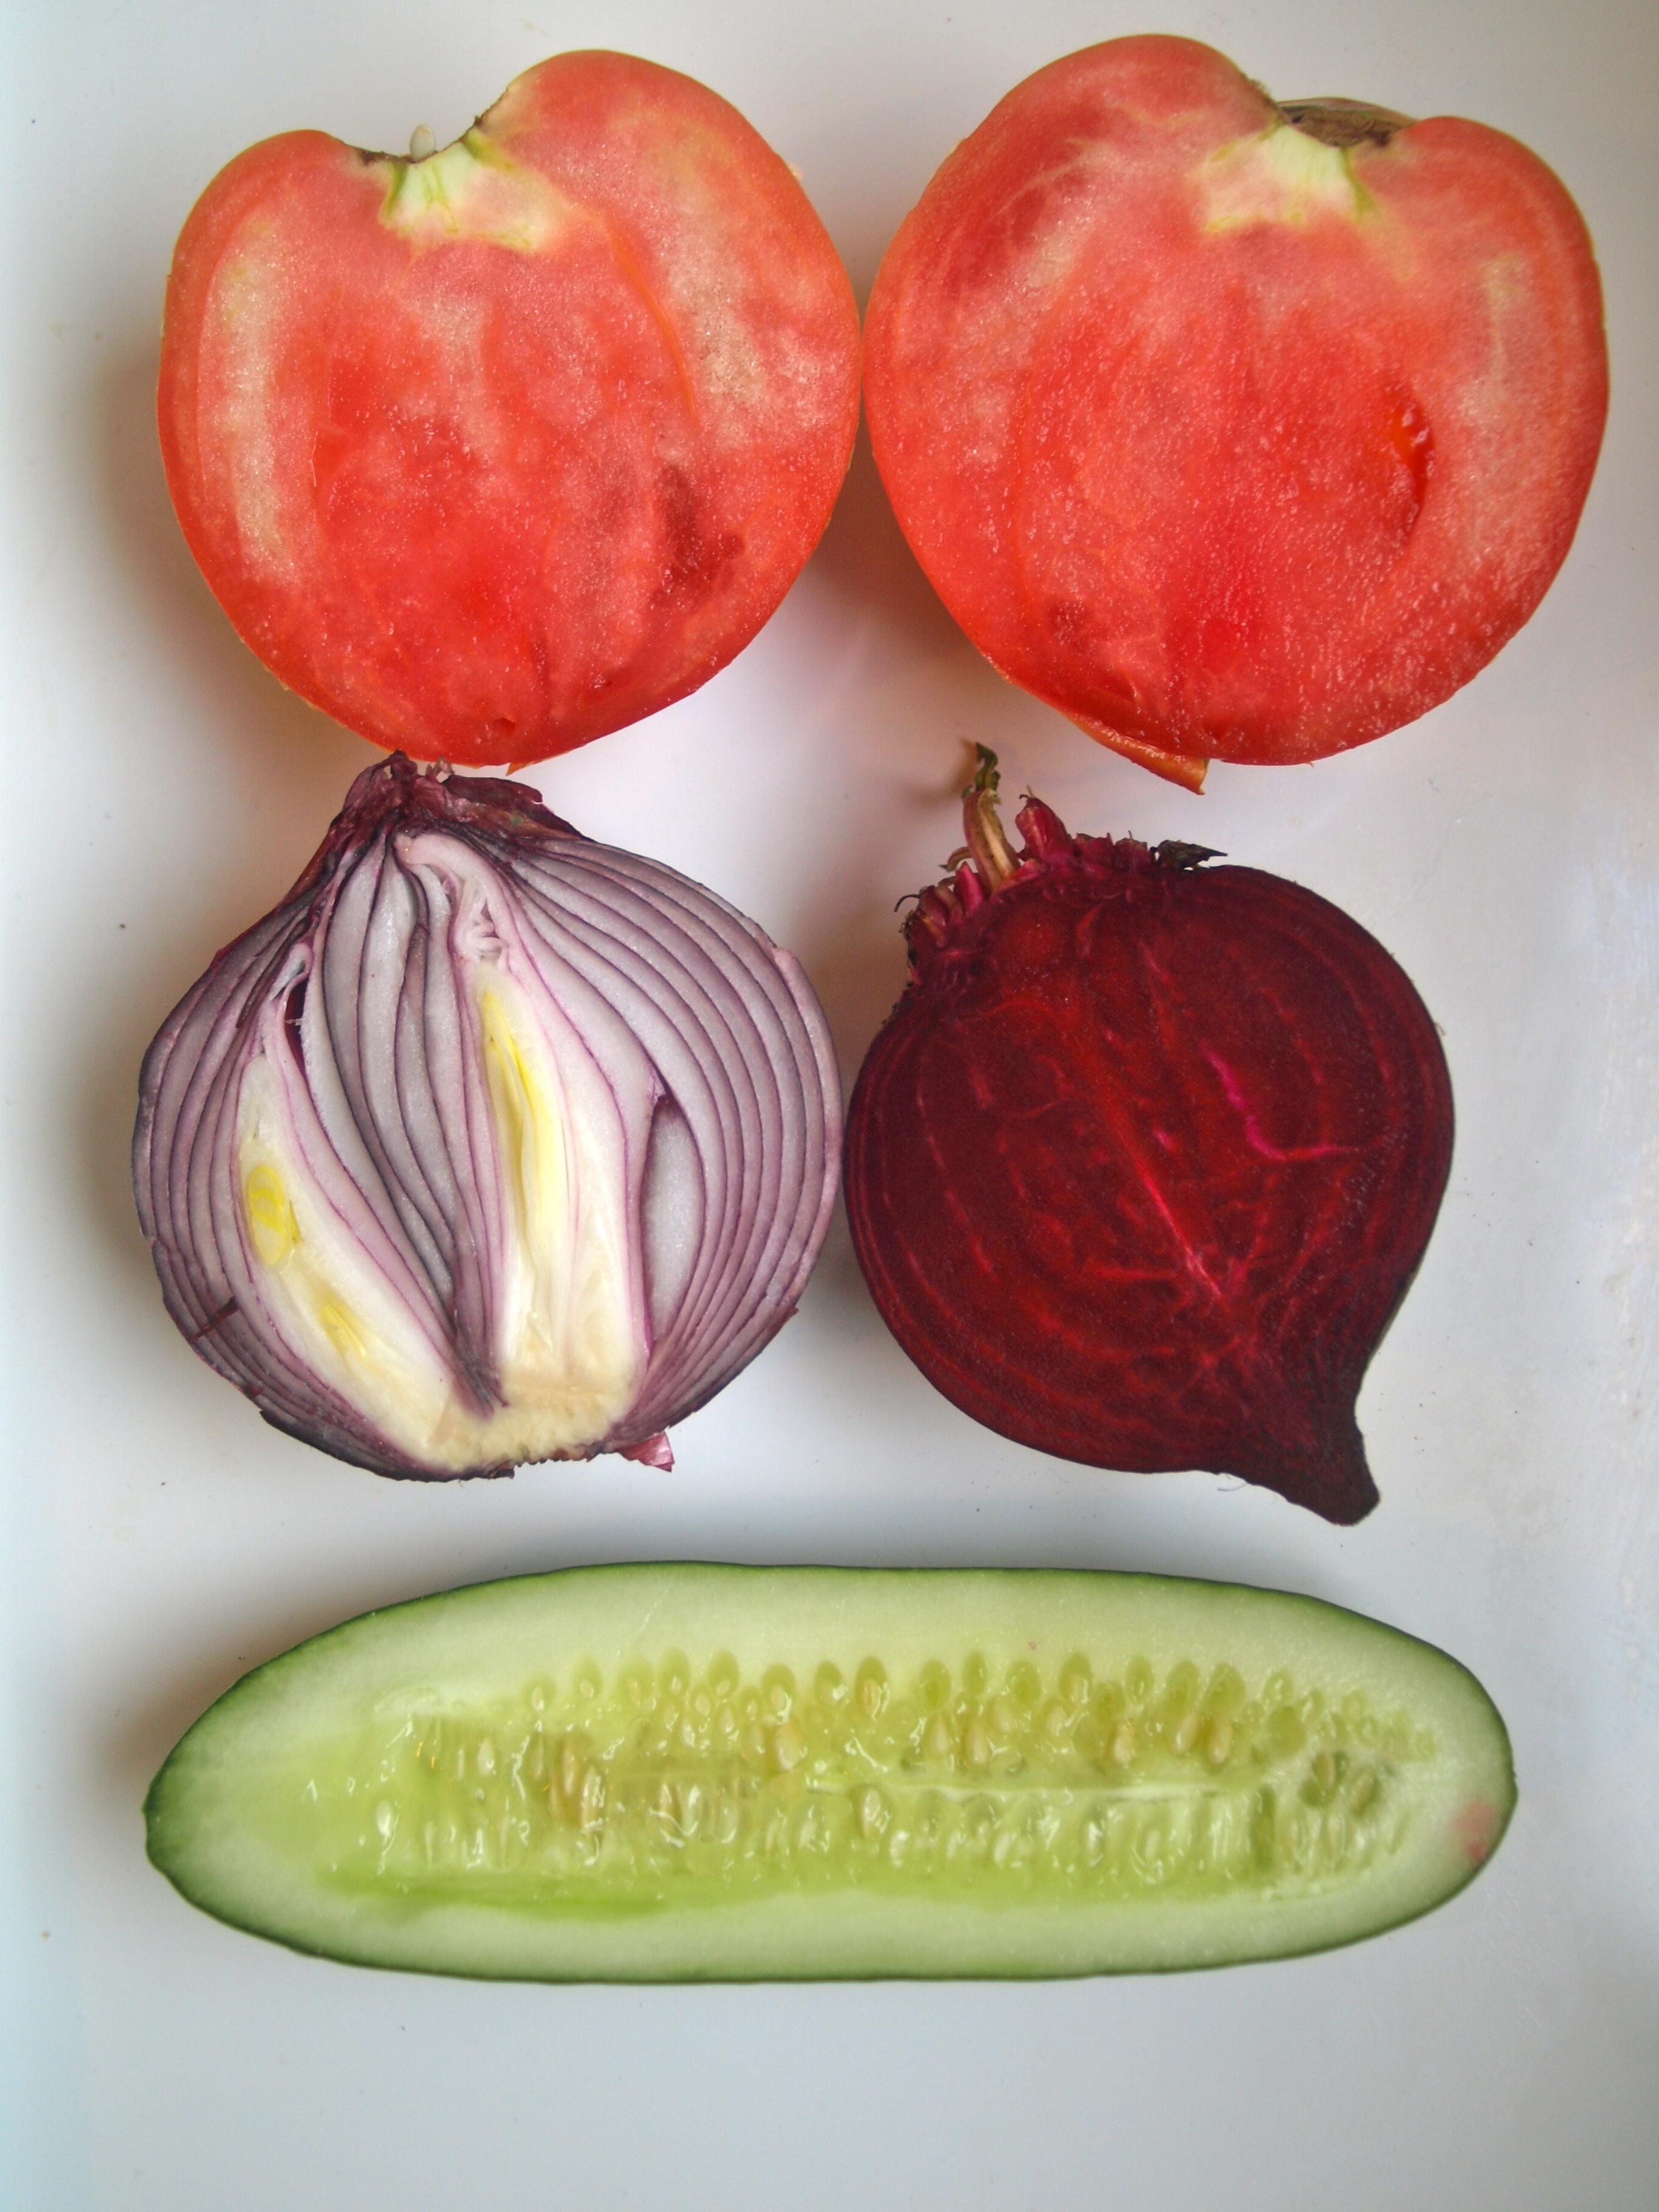
- 3 large heirloom tomatoes
- ½ large cucumber, seeded
- ½ red onion
- 3 cloves garlic
- 2 beets (try for a mix of red & golden)
- Handful of fresh herbs: basil, parsley, lemon thyme, chives.
- 3 tbs red wine vinegar
- ¼ cup olive oil
First, finely dice the cucumber, red onion, and garlic. Seed the tomatoes and dice them as well. When it comes to tomatoes for this gazpacho, I opt for heirloom, but any blend of particularly juicy ones will do- Green Zebras and Brandywines are favorites. Combine the vegetables in a large bowl and use an immersion blender to puree the veggies until smooth, adding the olive oil slowly. To flavor the gazpacho, use any herbs you have on hand- I snipped a handful of basil, parsley, garlic chives, and lemon thyme from the window box. Add 3 tablespoons of red wine vinegar, then cover the bowl and pop it in the refrigerator.

Because the flavors of this gazpacho intensify with time, I like to keep it in the fridge for up to two days, then strain it using a fine sieve when I’m ready for a quick weeknight dinner. Of course, if you don’t want to strain the veggies, you’re welcome to serve it chunky, but I’m always impressed with silky soups. Serve it up in bowls with roasted shrimp, a creamy burrata, or toasted ciabatta for a simple supper.

xoxo,
Liz of The Hungry Texans