tofu lettuce wraps

TofuLettuceWrapsFinal

Last night Boston Boy, Boston Sister, and I ate our weight in sushi and tots (that’s right sushi and tots under the same roof!) at Sticky Rice, one of our favorite H Street haunts. Sticky Rice has some of the most unique sushi rolls I’ve ever enjoyed – like the Godzirra (crunchy shrimp, avocado, cream cheese, spicy sauce, cucumbers + crunch) or the Drawn and Buttered (no big deal, just some lump crab sushi you dip in butter! that’s right…sushi dipped in butter. Big Daddy, take notes!) – but in spite of their cornucopia of creative rolls, one of my favorite of their dishes is their tofu lettuce wraps! Chunks of fried tofu mixed with a delicious soy ginger sauce with just the right amount of crisp from the lettuce and crunch from huge chunks of water chestnuts. Delish!

24 hours later and I was hungry for more, so I whipped up my own rendition of this veggie delight. For ease and health, I opted against frying my tofu (although, it would be delish! If you want to try these with fried tofu hunks, I recommend borrowing the frying method from our Soy Ginger Tofu with Bok Choy). Grab these ingredients and you’ll be crunching away on these tofu lettuce wraps in no time! Also…for anyone suffering from tofu-phobia, this dish is a great gateway!

tofulettucewrapsingredietns

1 pound extra firm tofu
5 cloves of garlic chopped
2 tbl ginger chopped (I love ginger, so if you’re less of a ginger nut you may want to reduce)
1 tbl lemon grass
1/2 chopped onion
2 tbl olive oil
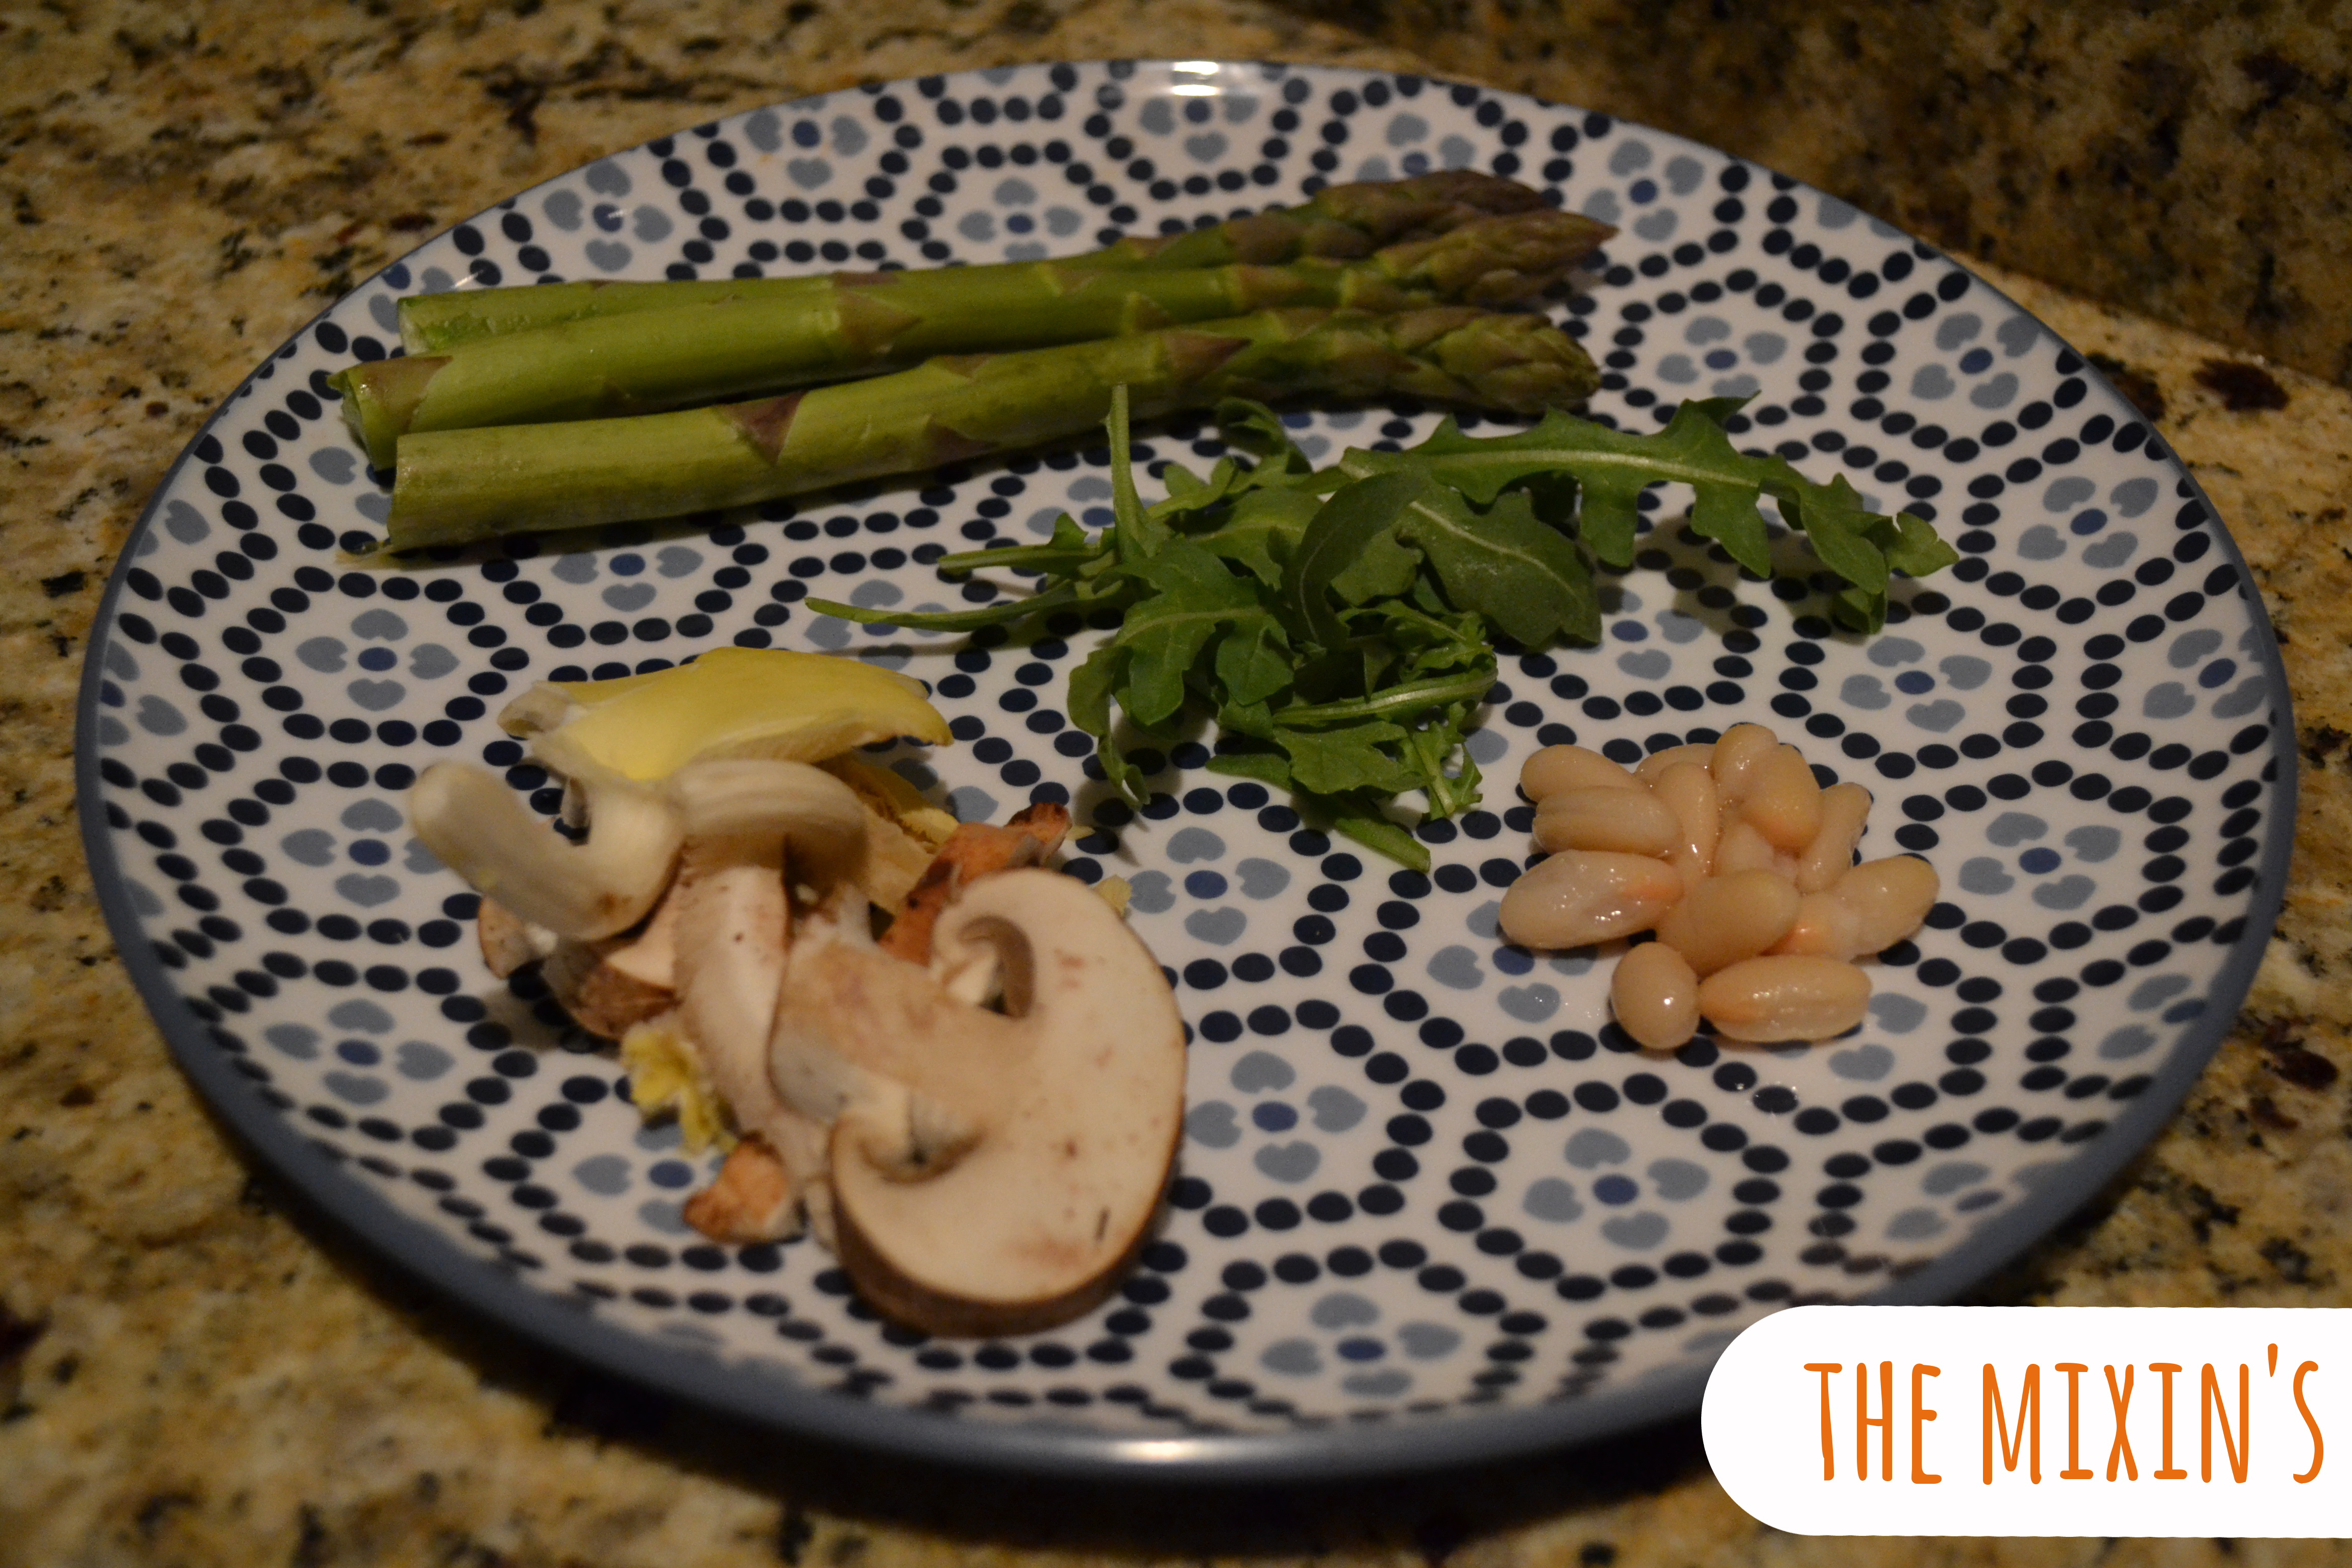
1 package of mixed mushrooms, coarsely chopped
4 tbl hoisin
4 tbl soy
1/2 tsp sesame oil
1/2 tsp crushed red pepper
romaine lettuce hearts
garnishes: carrots, peanuts

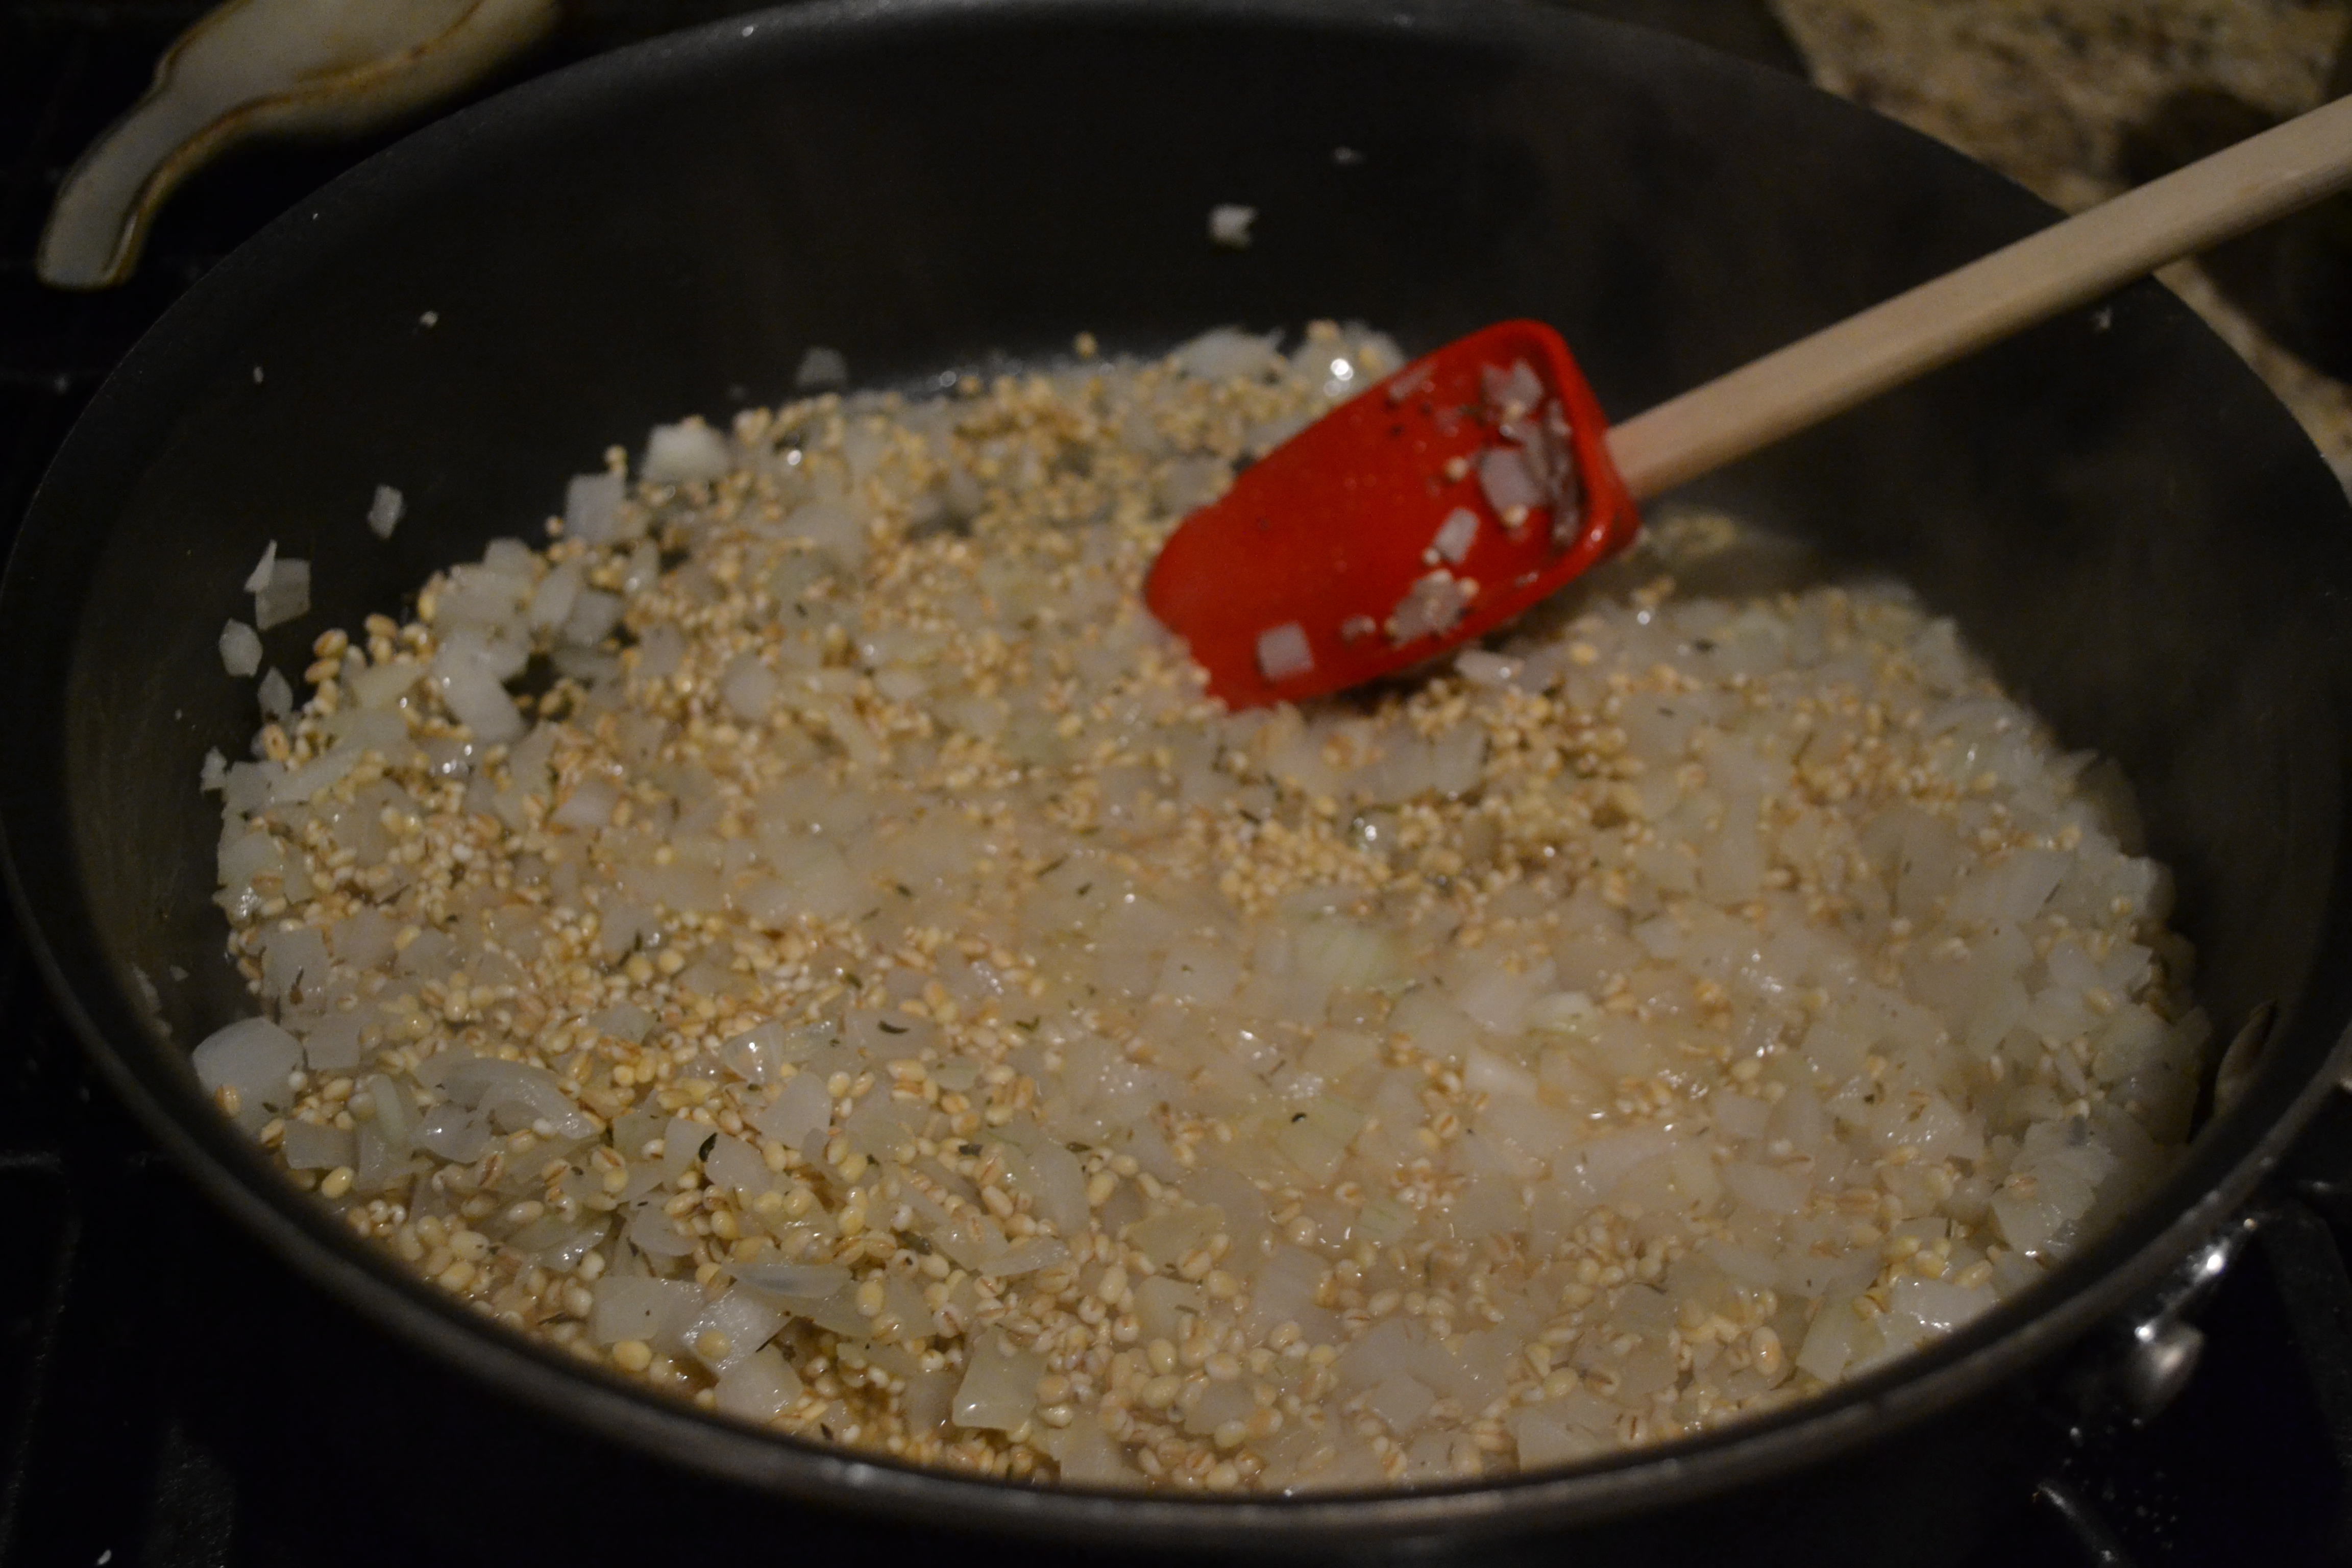
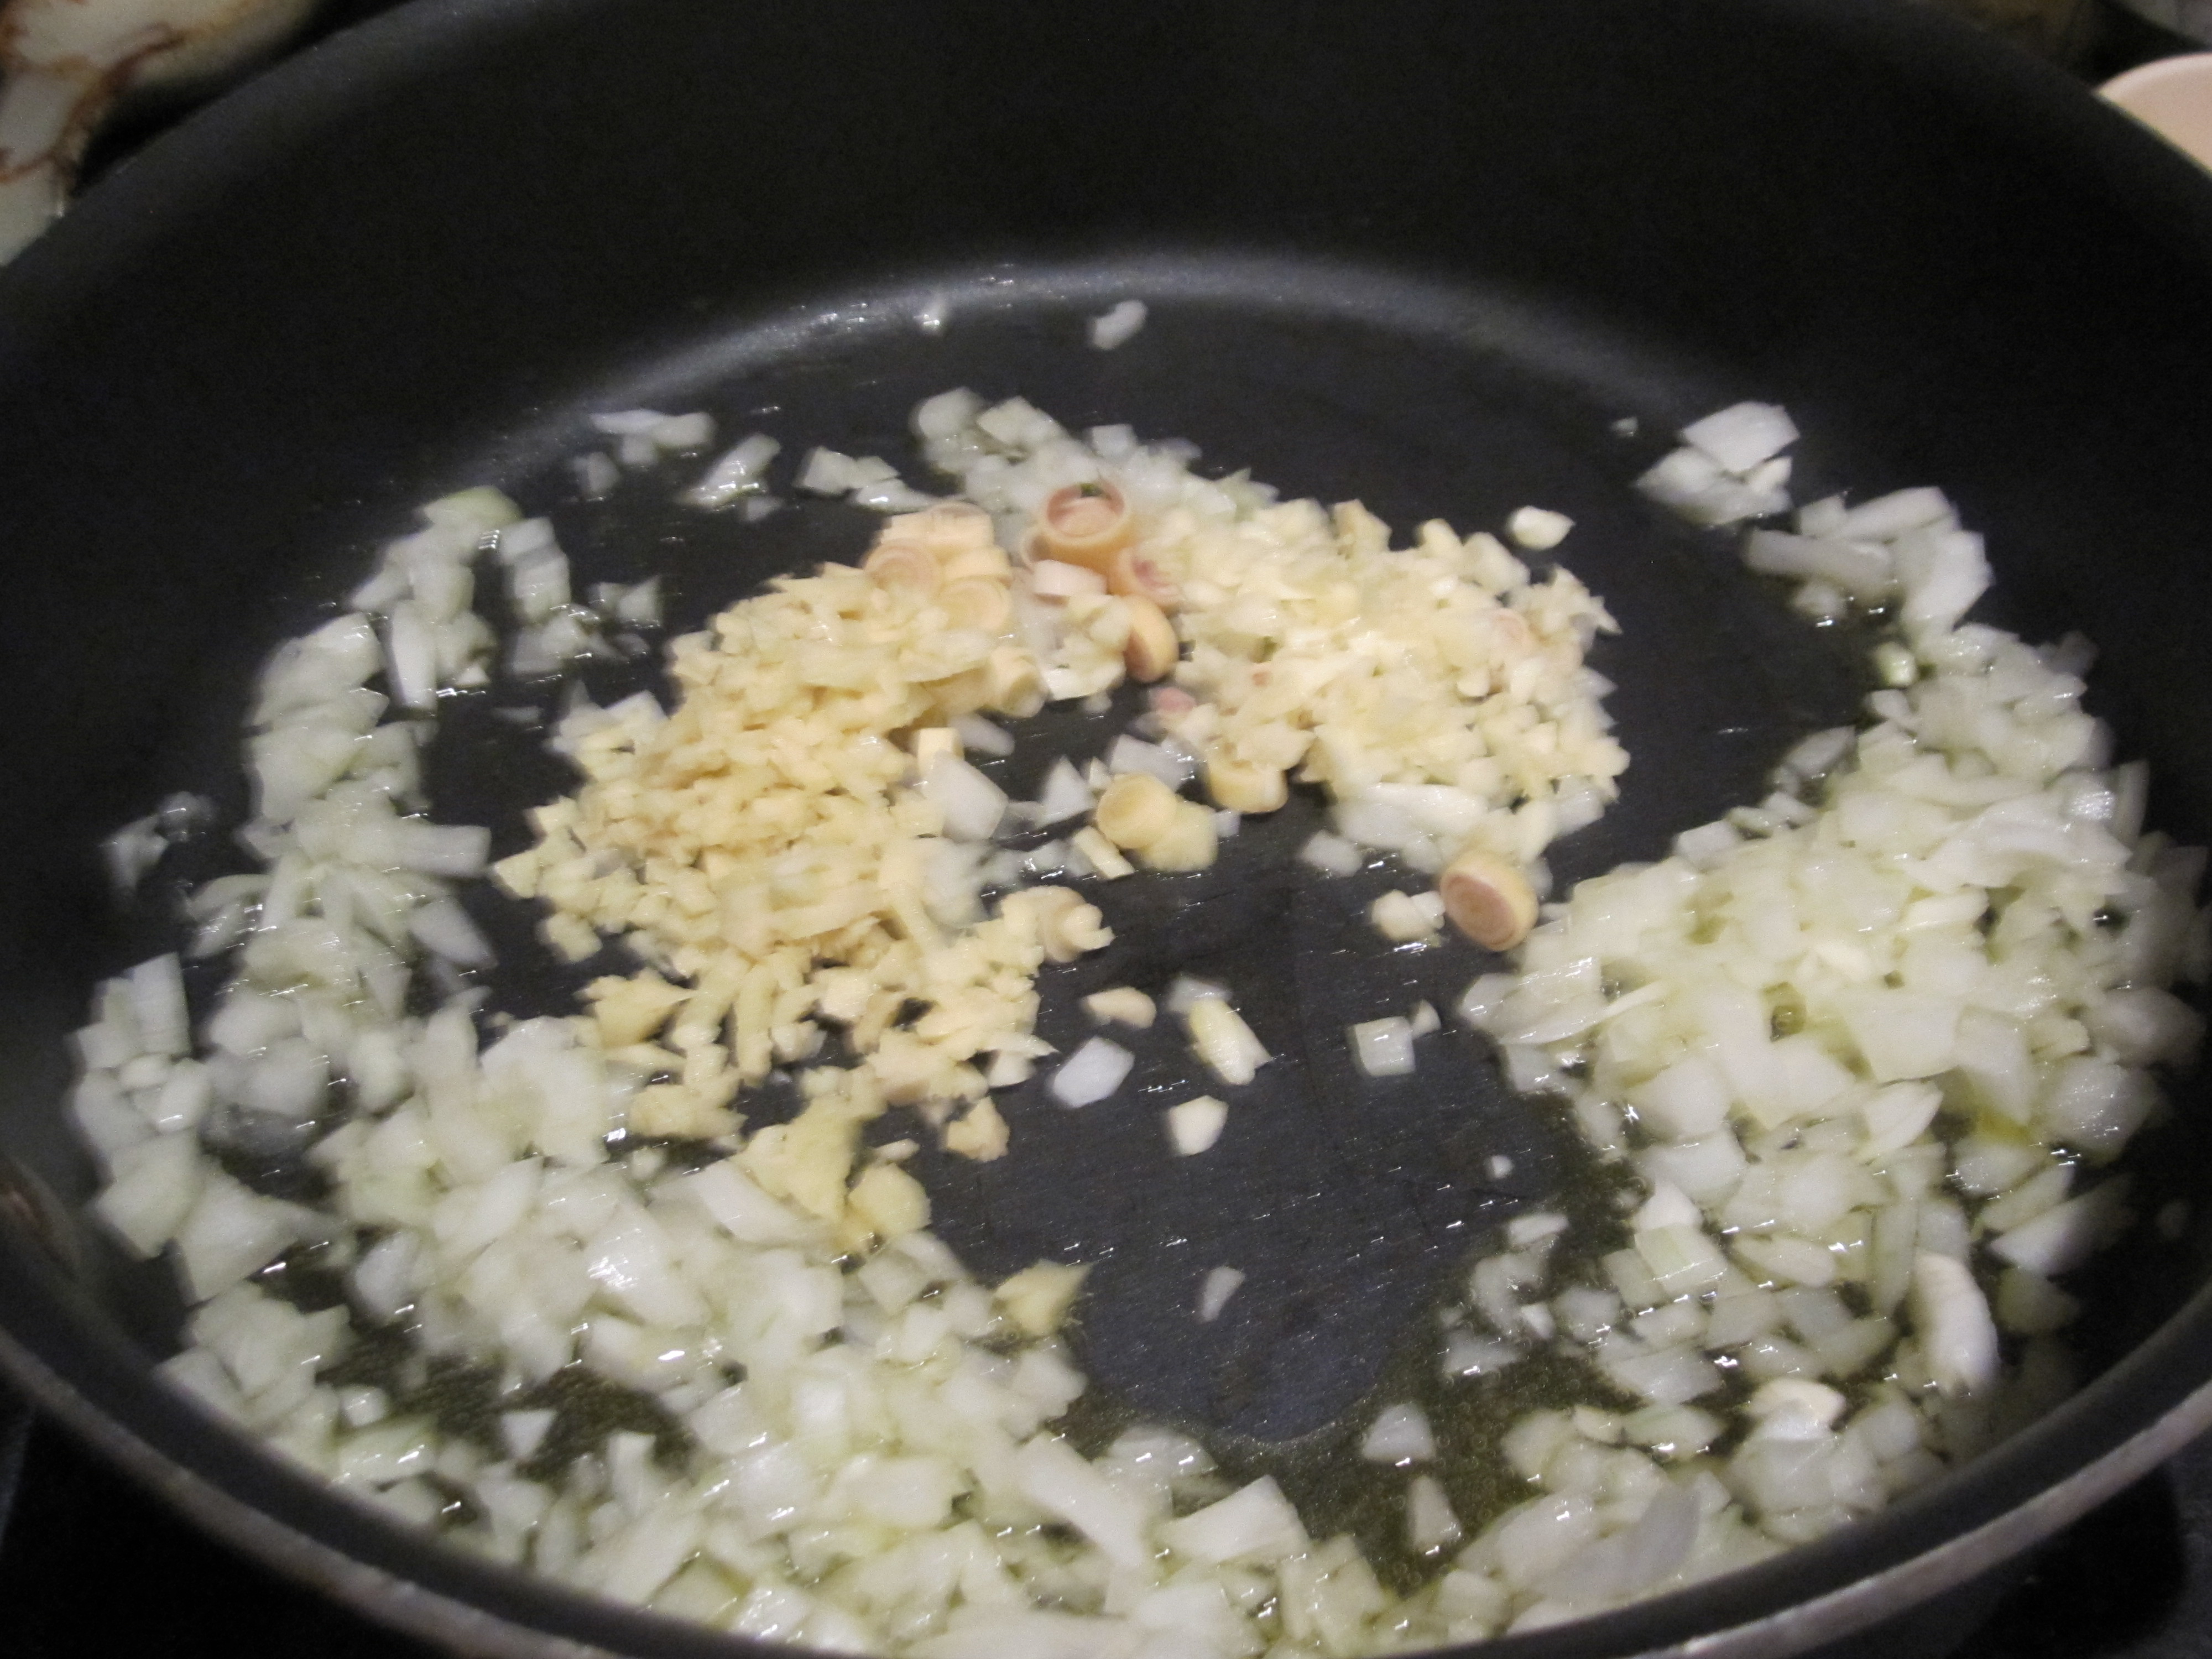
Heat oil in a large saucepan and add onions, garlic, lemon grass, and ginger. Let cook for 5-7 minutes until fragrant and tender.

IMG_1790

While those are cooking, combine soy, hoisin, red pepper, and sesame oil to make your sauce.
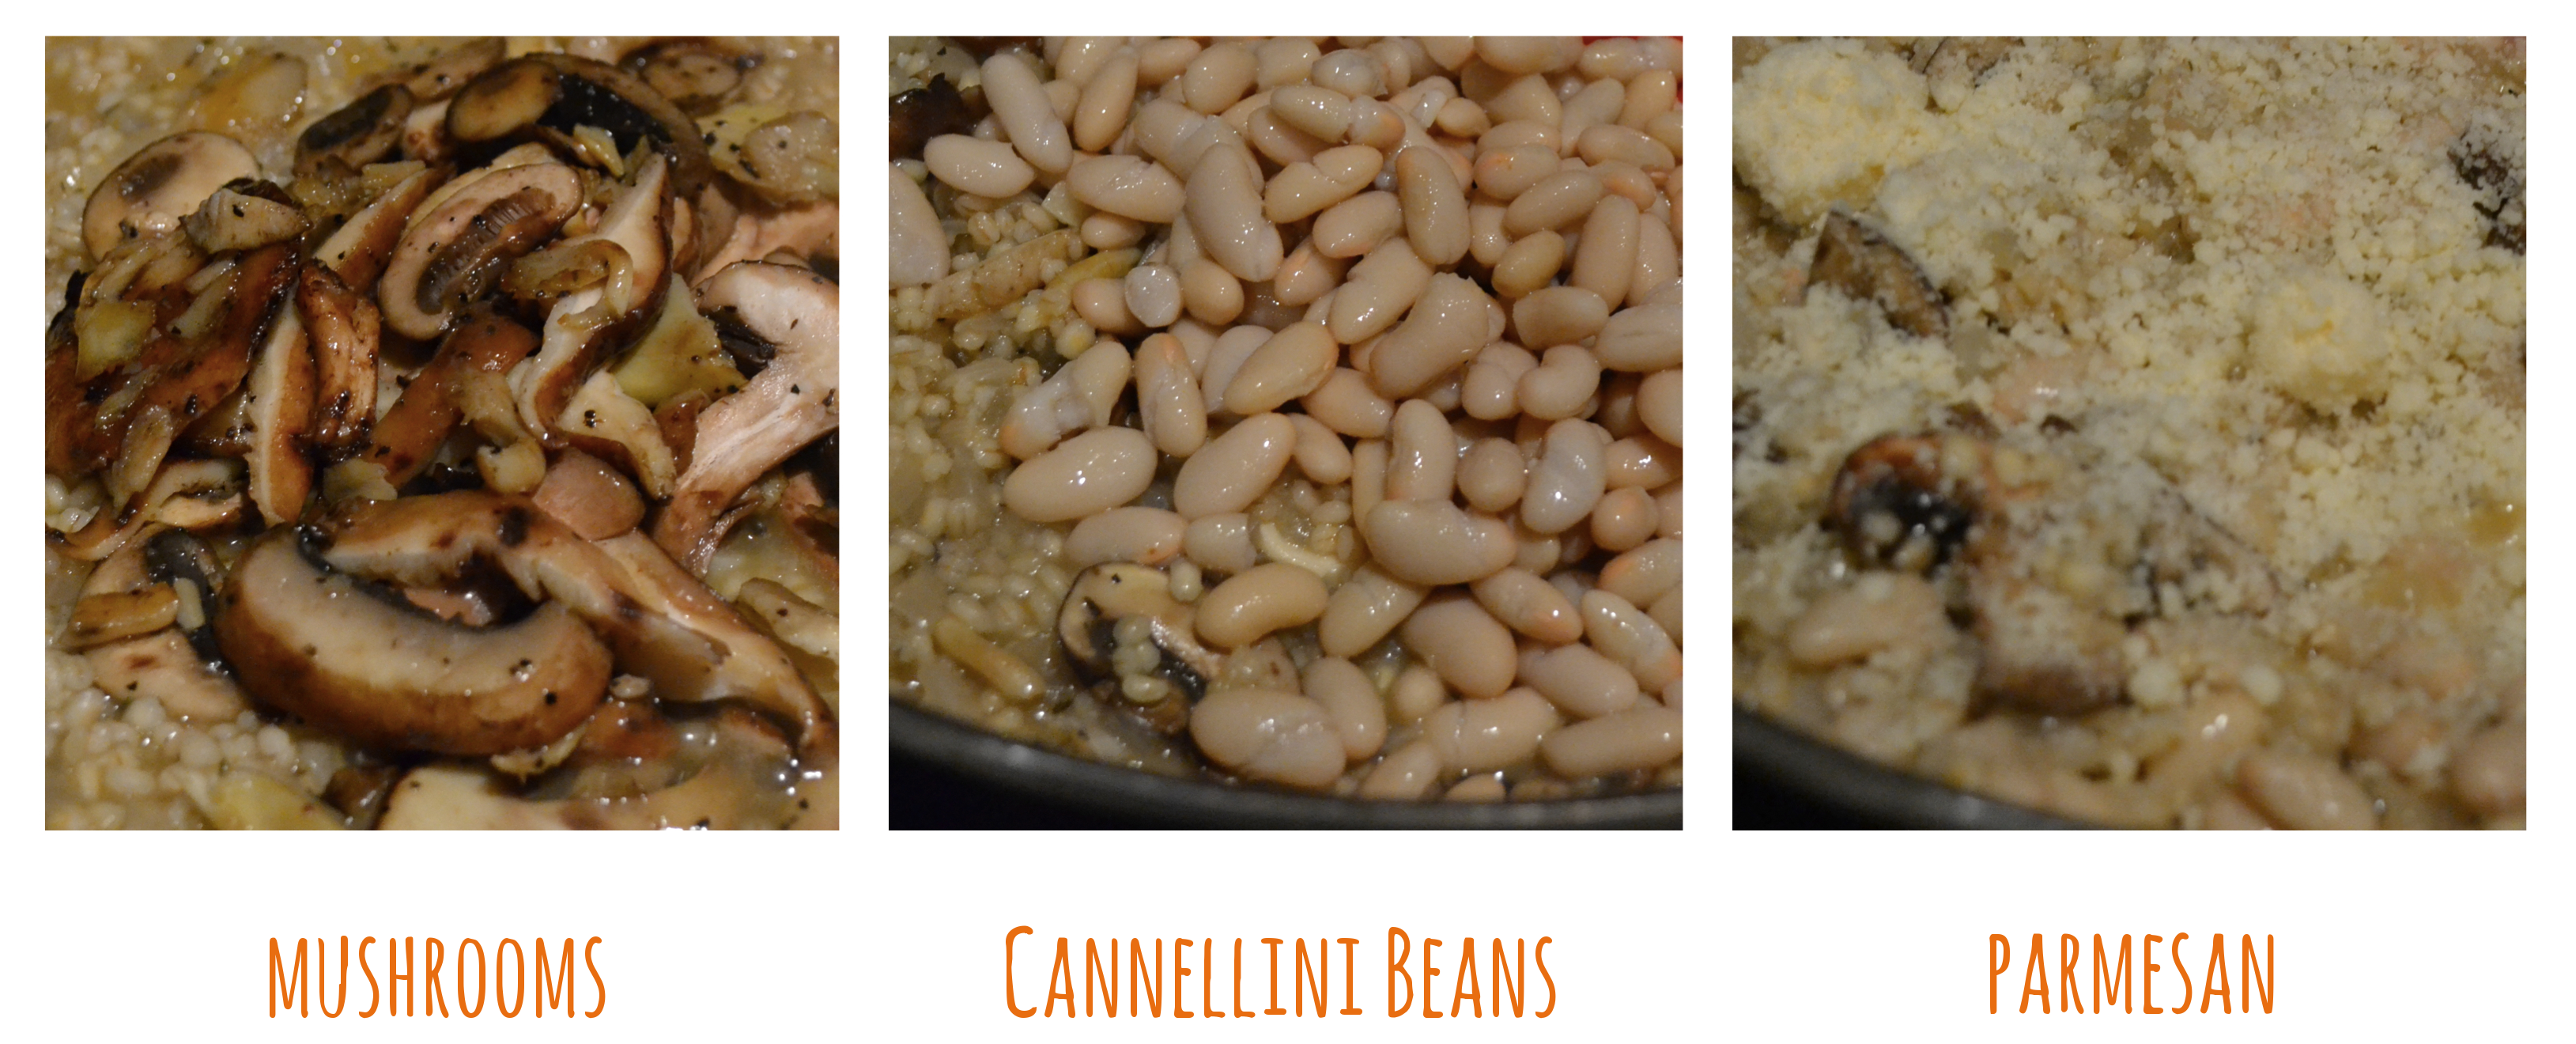
IMG_1792Add your mushrooms.

IMG_1794

Cook for about 4 minutes before adding tofu and water chestnuts.

IMG_1797

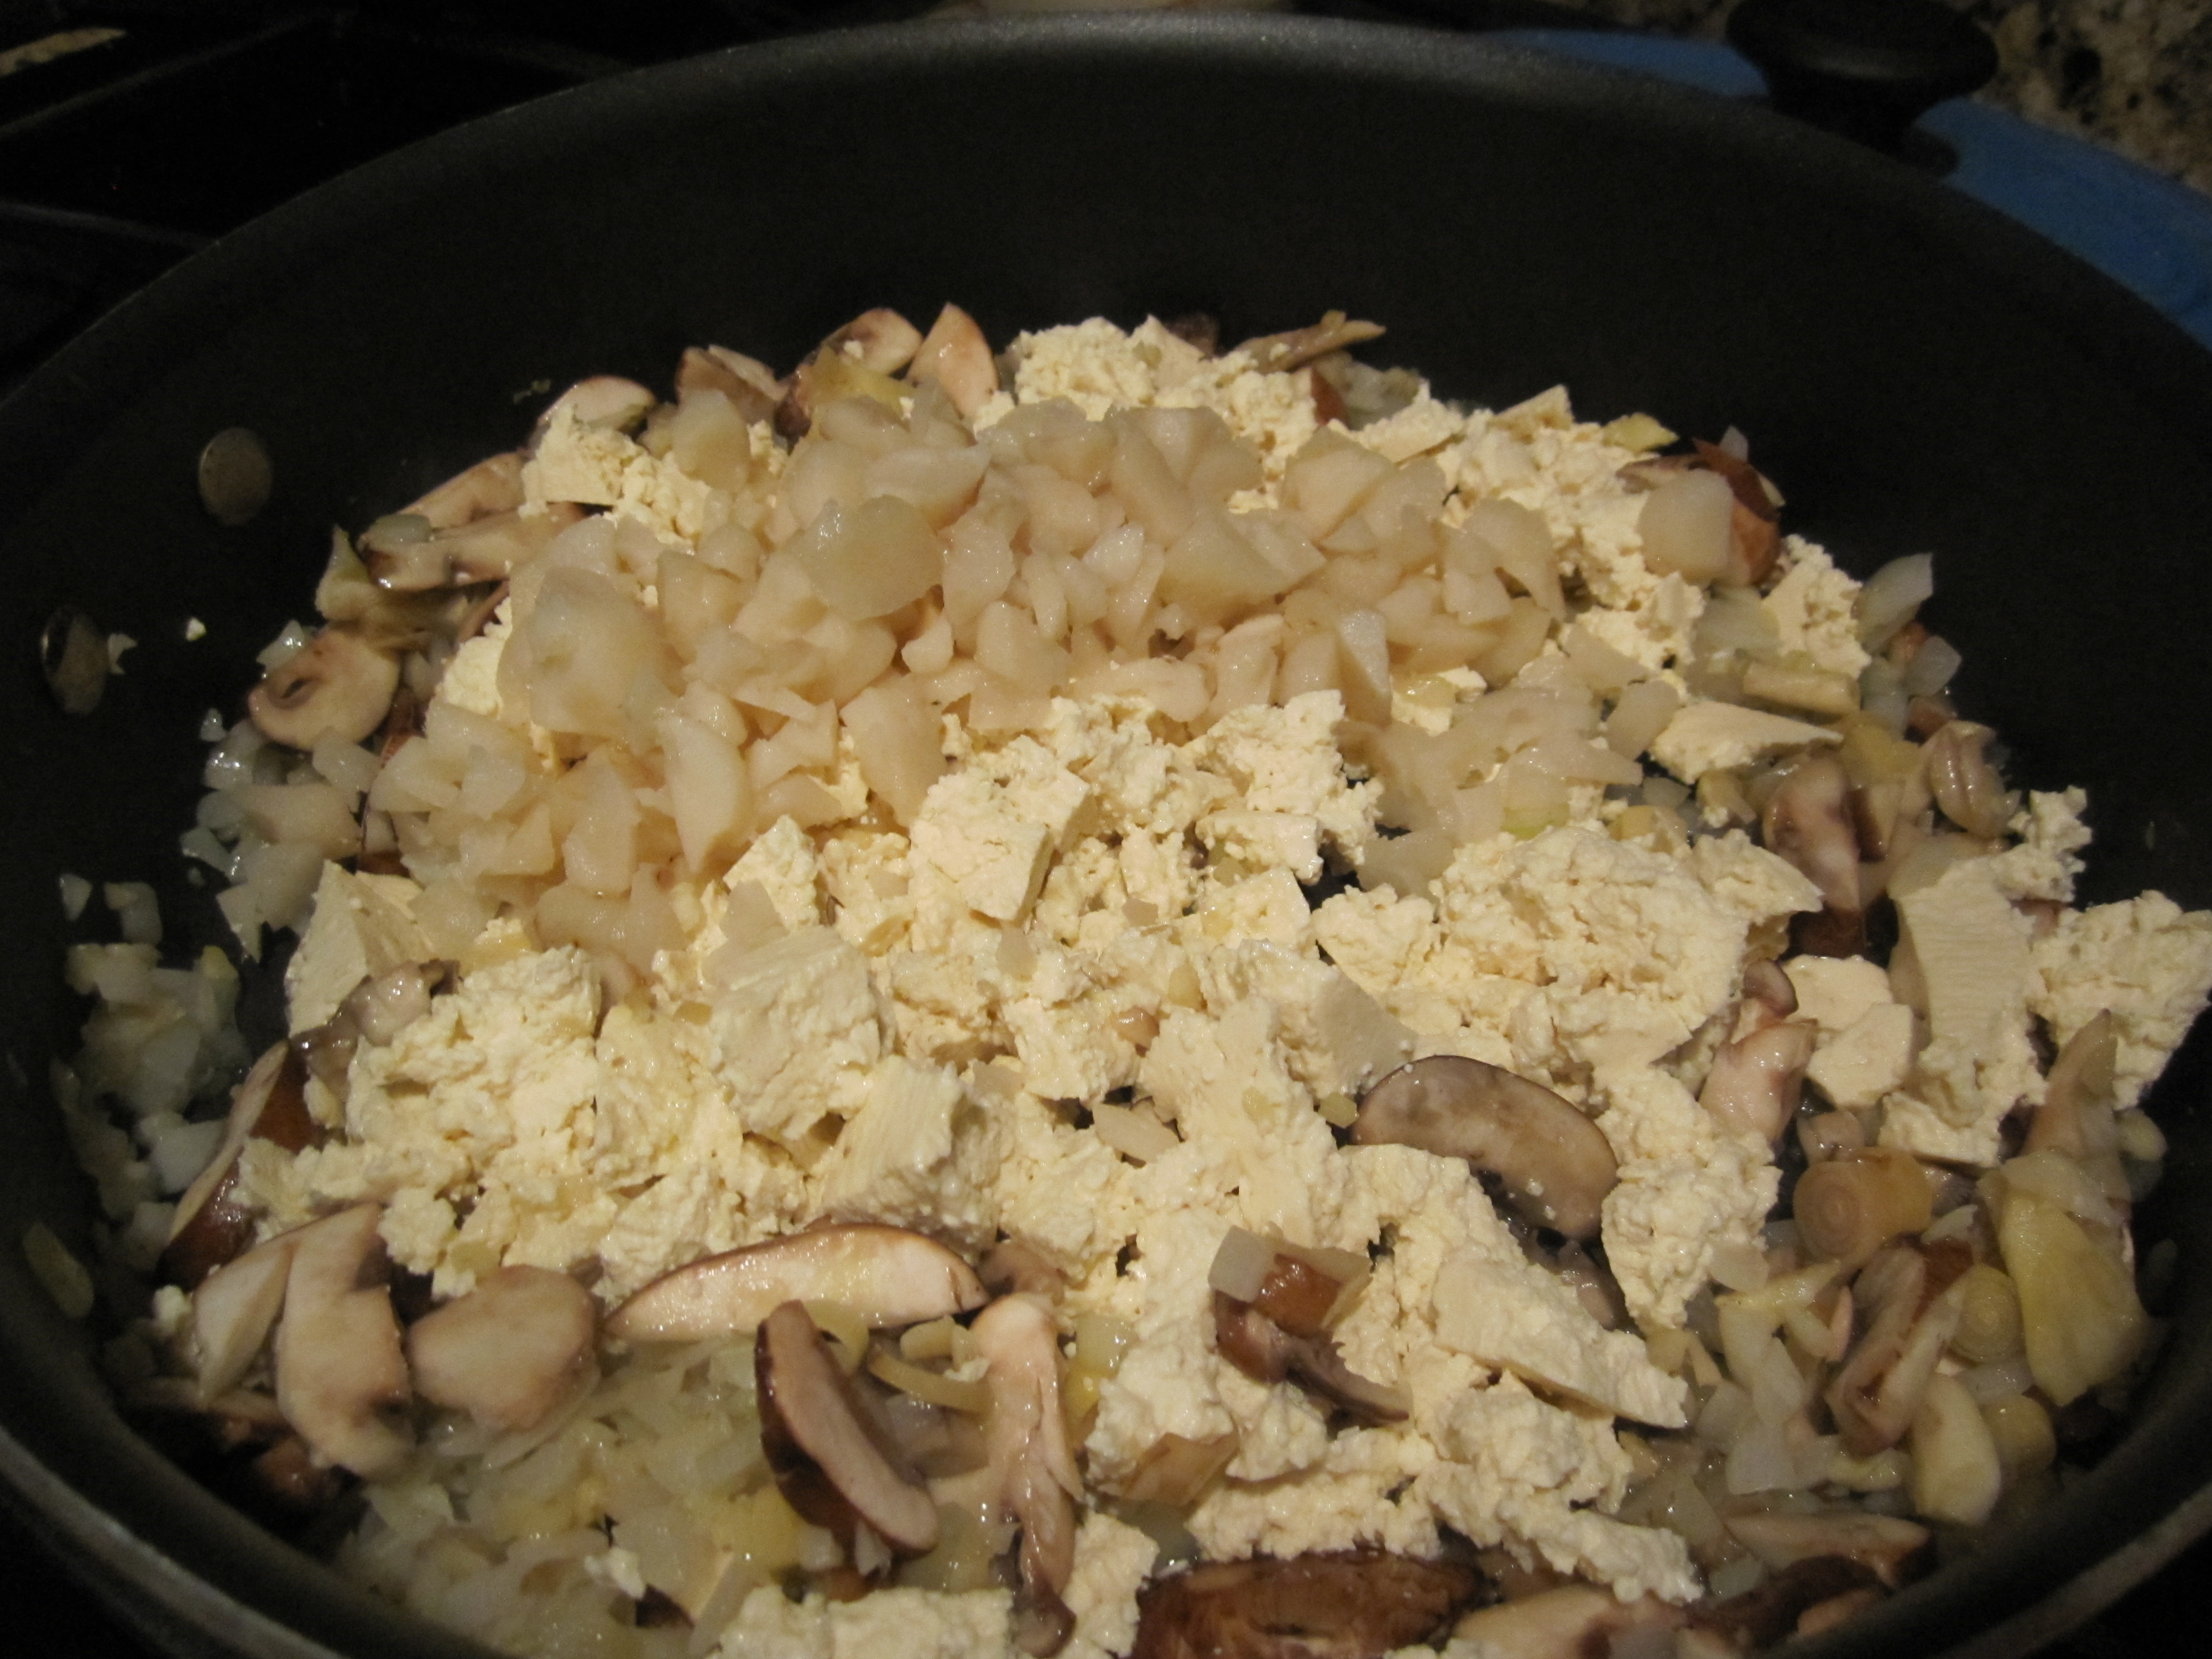
Pour sauce over everything and mix to combine.

IMG_1798

Cook for another 5-7 minutes until everything’s thoroughly hot, combined, and saucy.

IMG_1800

Scoop heaps of your tofu mixture into romaine lettuce hearts. Garnish with your choice of toppings – I recommend carrots and peanuts!

xoxo,

Julia

Advertisement

mushroom barley risotto with beans & greens

Risotto FinalMushrooms, and barley, and beans, oh my! The best thing about this risotto is it’s hands on, but mind off. As long as you nail the basic barley to broth ratio and are committed to stirring like crazy, it’s pretty hard to mess this up. Ease aside, don’t under-estimate this dish as a secret weapon for a weekday dinner party. Risotto screams “fancy-labor-of-love”, so any guests would be trés impressed by your rustic, rich, flavorful, faux-fancy feast.

It’s the perfect post-work dish when your brain’s drained and your tummy’s grumbling, and it messies minimal dishes.

fixins_risotto

Ingredients:
2 tbl olive oil
2 tbl + 2 tbl butter
1 onion, chopped
4 cloves garlic, chopped
1 quart veggie broth
1 cup pearled barley
¼ tsp dried thyme
¼ c parmesan cheese + more for garnish
mixins_risotto
4 oz mushrooms
1 can cannellini beans, drained & rinsed
1 bunch asparagus
arugula
salt + pepper to taste
Onions + Thyme

Start by sautéing your onions in olive oil, stir for about 1 minute and then add your garlic and two tablespoons of butter. Add your thyme and continue cooking until onions become soft and fragrant (note: I love onions and was eating sans Boston Boy who does not, if your dining with folks who curl their nose at a lot of onions I recommend using half a chopped onion). While your onion and garlic are softening, pour your quart of veggie stock into a large pot and bring it to a borderline simmer. Add your barley to the pan and stir it around until all ingredients are combined, about 90 seconds. Add a sprinkle of salt to flavor your barley.

Barley + Broth

Then, start ladling in your hot broth to the barley mixture. Add broth one ladle at a time until all the broth is absorbed (this is where it’s nice to start zoning out and stirring, or in my case carrying on a great conversation with One Sock Wonder). Once you reach the point where you’re almost out of broth in your broth pot, lower the heat slightly on your risotto mixture and slow your stir. I do this mainly out of necessity to free my hands to prep my other veggies.

mushrooms_beans_cheese_risotto

Sauté mushrooms (I used a mix of oyster, baby bella, and shiitake, yum!) in two tablespoons of butter and season with salt and pepper. Once browned and cooked, transfer your mushrooms into the risotto mixture (hopefully the risotto is still a little soupy and has some liquid to absorb). Stir in your white beans to the mix. Next, chop your asparagus in half (hamburger style) and then blanch it, so it maintains a nice crunch in the risotto. Continue stirring your risotto until most of the final ladle of liquid is absorbed and then add your parmesan cheese, season with salt & pepper. Stir in until the cheese melts and give it a taste. You want your risotto to be slightly al dente. Once it reaches desired consistency, remove from heat and plate with asparagus and arugula.

The beauty of this recipe is you can improvise with whatever’s on hand – innovate with your beans and greens – use the barley as the base and get weird with whatever ingredients you feel like or have on hand. With the right fixin’s, this dish will be delish with any mixin’s.

xoxo,

julia

Soy Ginger Tofu with Bok Choy

sweet&sour tofu

This is more exciting than you know! I’ve been a vegetarian for sneaking up on 4 years and this was my first successful attempt to cook tofu in such a way that it evoked the same “yum!-I-ordered-this-for-dinner-at-a-restaurant-and-I’m-extremely-satisfied” feeling. Huge win! The recipe couldn’t have been easier, either. Boston Boy & I hiked Great Falls Sunday and arrived home in desperate need of a quick & nourishing meal pre-movies (we saw Lincoln, and I don’t know that you need to rush to see it while it’s in theaters, but I definitely recommend it!). Did a quick dash to the grocery, cooked & ate it all in under an hour!

This Soy Ginger Tofu is great to keep in your wheelhouse for a simple, scrumptious din din!

bok choy sauce ingredients

For the Sauce:

1/4 c honey

1/4 c lemon juice

1/4 c soy sauce

2 tbl pickled ginger (fresh would of course be wonderful too, but this was a quick operation!)

1 heaping tbl garlic

1 1/2 tbl sriracha

Everything Else:

1 bunch of bok choy (thoroughly cleaned!)

1 package of firm/extra-firm tofu

1/3 c flour

pinch of salt

2 tbl canola oil

So, I recommend you start by situating your tofu. Slice your tofu into 1/2 an inch thick pieces and lay on a bed of paper towels. Lay more paper towels on top and perhaps even a cutting board on top of those paper towels. We want to remove as much liquid from the tofu as possible, as quickly as possible! While that’s being pressed/patted, start on your sauce. I recommend using one liquid measure and adding your honey, then lemon juice, then soy. Mix in your g&g & sriacha & let that rest.

Next (or meanwhile if you have a wonderful Boston Boy as your sous chef) clean and chop your bok choy (both the stalk and the leafy part) into bite-sized pieces.

bokchoyprep


Finally, once your tofu has rested for a while, slice each piece 3 times so you have 1 by 2 inch rectangular pieces, then coat each piece in your flour/salt mixture. Now it’s time to cook these babies! Heat your oil in a large skillet. Once your oil is hot enough gently place your tofu (you should see itty bitty bubbles surround it) in the oil. Let the tofu fry for 3-4 minutes and then flip once the bottom is beginning to look golden brown. Cook the second side (it’ll cook a little more quickly than the first) until it’s also golden brown.


tofu_sweet&sour

I removed a good amount of the oil in my pan (I know we’re frying, but we’re health conscious when we can be!) and then added the bok choy. Start by adding the stalky, crunchy parts. Let those get off to a good start cooking & then pour in your sauce. Let it all start to simmer then add the leafy green parts of your bok choy.

Let it all jive together for 5-7 minutes (the stalky parts of your bok choy should be tender with a slight crisp), and then remove from heat. Serve on top of your favorite grain – I choose quinoa!

Give it a try, you’re going to love it! And…I promise, even for all you tofu skeptics. This is a great gateway tofu!

roasted red pepper & chickpea quinoa

red pepper & chickpea quinoa

This roasted red pepper & chickpea quinoa was a little bit of a whim, but ended up being a super simple and satisfying meal I ate throughout the week. Roasting both the red peppers and the chickpeas yielded hearty, wholesome flavors I couldn’t get enough of!

All you need is:

2 red peppers

1 large can of chickpeas

1 cup quinoa

2 cups vegetable broth

2 tsp cumin

1/2 tsp cayenne

2 tablespoons olive oil

kosher salt

roasted chickpeas

Start by prepping your chickpeas! Set your oven to 400. Rinse & drain your chickpeas and then lay them out to dry on paper towels, lay paper towels on top too to blot excess liquid. Wait 10 minutes or so until your chickpeas are dry-ish. Pour into a bowl and toss with olive oil & seasonings. Lay your chicks out on a cookie sheet and bake for 10-15 minutes. These roasted chickpeas make a great snack, salad topper, or mix in!

Roasted Red Peppers

While your chicks are baking start roasting your red peppers. My favorite trick for this is to pop my peppers directly on a gas burner. Cook & rotate them with a pair of tons ’til their skin is blackened & blistered and then remove from the heat. Pop ’em in brown paper bags to cool. Once they’ve cooled, run the peppers under cold water and remove the charred outer skin with either a paring knife or just your fingers. Remove the seeds and blot your peppers between paper towels. I finely chopped my peppers & they were the perfect quinoa fixing.

Finally, I used quinoa, but I think any grain would be great! Use two cups of broth for every cup of quinoa. Combine both & bring to a poil in a small pot. Once you’re boiling, put a lid on it, and wait until all the liquid is absorbed and you start to see the quinoa blossom (little white specks come out on each grain!). When your quinoa’s cooked, mix in your veggies and serve. Enjoy hot or cold, as lunch or dinner, alone or on a bed of greens.


creamy cauliflower soup

I saw cream of cauliflower soup on a menu Tuesday and I haven’t been able to get it off my mind. The only hope of exercising these cauliflower demons was to try my hand at my own and I’m glad I did! Now if the fam and I hadn’t risen at the crack of dawn and Turkey Trotted with a couple thousand of our favorite Houstonians, I might have opted for a lighter Thanksgiving lunch in anticipation of the real meal later this evening, but alas we jogged/ran/walked 5k miles and deserve to refuel our weight in whole milk and half and half. Sass aside, this soup could have been way heavier. Baby bro even remarked it tasted “light”.

I borrowed the recipe from the Pioneer Woman, and it’s a keeper! You’ll need:

~20 chopped baby carrots

2 stalks of celery

1/2 one white onion

1 stick of butter

3 tbl dried parsley

2 heads coarsely chopped cauliflower (I used one white & one golden)

8 cups of veggie broth

2 cups of whole milk

6 tbl flour

1 cup 1/2 & 1/2

1 cup soup cream

salt & white pepper to taste

Chop your holy trinity, your mirepoix & roughly chop bothheads of your cauliflower. I think it’s fun to have a mix of floret sizes–some itsy bitsy pieces & some coarser, rougher, bigger pieces.

In your favorite soup pot, melt 1/2 a stick of butter and add your onions. Sautee until they’re soft and then add your carrots, celery, and parsley. Sautee for 5ish minutes until they get soft and then add your cauliflower. Put a top on your pot and wait about 15 minutes (this is where I got impatient, but it’s worth the wait!). Then pour in all of your broth.Put your top back on and bring the pot to a boil.

Once you reach a boil, turn the heat down a little bit & in a separate sauce pan melt the other half of your stick of butter. Pour in 2 cups of milk & whisk in 6 tbl of flour. You’ll have a great white sauce, then pour this into the simmering pot. Add your cup of 1/2 & 1/2 and let those flavors gel for at least 10-15 minutes or until you’re ready to serve. I seasoned throughout, but now’s a good time to start tasting spoonfuls until your salt & pepper are just right.

Right before you serve, dump and stir in your cup of sour cream. Serve with your favorite crispy bread–I recommend an herbed loaf (ours was rosemary!).


Butternut Squash Soup

Confession. Until this soup, I’d never cut, cooked, or seen the inside of a butternut squash before. It was a lot more like carving a pumpkin than cutting a vegetable. Pro tip #1: don’t try to peel it with a vegetable peeler. Pro tip #2: when skinning try to cut rectangular pieces. Pro tip #3: I recommend scooping the seeds with a spoon. Another confession. I used Rachel Ray’s veggie stock. It was very good. It was seasoned way better than your typical veggie stock.

Collect all of these ingredients:

Your spices: thyme, cayenne, 1 bay leaf, salt, pepper
4 cups of your preferred stock
1 cup water
2 average-sized butternut squashes
1 leek (just the white and light green parts!)
3 tbl Butter
1/4 cup heavy cream

Chop, seed, and skin your squash in 2-inch cubes. Put it all in a bowl, cover with plastic wrap, and zap it for 14 minutes (14 minutes! yes, you read correctly). Once that’s thoroughly cooked, melt butter in a large pot, add the leeks & squash, cook for 10+ minutes. Then add 2 cups of your broth, to loosen your veggie mix up. Then add the second 2 cups, 1 cup of water & your spices (a couple dashes of thyme, 1 bay leaf, a pinch of thyme). Take the heat up a few notches until you get to a simmer, once you’re simmering reduce your heat and cook until your leeks look tender. Add the mix to your blender/food processor (be careful not to excede your “no liquid above this line” line). Pulse until smooth. Bring it back to the pot and back to a simmer. Add a 1/4 cup of cream for good measure. And season with S&P ’til it tickles your tastebuds.

football season: oven roasted jalapeno poppers

just as there are different types of texas girls, boston boys come in all shapes, sizes, and levels of football addiction.  i happen to have found one with an overwhelming addiction to the patriots- so I know that one sacred time each week, he’ll be watching football and i’ll be dreaming of NFL strikes.  just kidding, it’s not that bad.  in fact, i could actually glue myself to a couch once a week…as long as i have these jalapeno poppers to keep me company.   they’re stuffed with goat cheese and neufetchal cheese and baked in the oven so you’ll get all the pop with a fraction of the fat.


you’ll need:

10 jalapeno peppers

3 tbs neufetchal cheese

5 tbs goat cheese

2 tbs non-fat sour cream

1/8 cup diced red onion (or chives, but i was using red onion for something else that night)

2 tbs bread crumbs

1 tbs olive oil


Start by preheating your oven to 375 degrees.  Slice each jalapeno in half and remove the stems and seeds

(if you love spicy, leave a bit of this in).

In a bowl, mix together the neufetchal cheese, the goat cheese, and the sour cream.  When it’s smooth, add the chopped onion.

Using a spoon, carefully stuff each jalapeno boat with the cheese mixture.

Sprinkle bread crumbs on top for crunch, drizzle the whole thing in olive oil.

Bake for 15-20 minutes, until they are golden brown on the top.

Then, plop down on the couch, start snacking, and just remember: 4 hours of football earns you at least 3 installments of Real Housewives of Wherever (including WWHL).

Coconut & Lentil & SplitPea Soup

Have you picked up on a theme yet? You’ll soon notice a defining characteristic of these HungryTexans is our genetic inability to handle the cold. That’s right, despite three years in the Indiana tundra and a collective 7-years in DC (that’s right…it’s North of the Mason-Dixon line, so we’re allowed our “brrrrrrrrs!”), we continue to wear flats when it’s snowing, layer tights under our jorts, and frequently end up with icicle-locks (whitegrlwethair-lifestyle!).

Despite our inability to live/dress/work in the cold, we do our best to cook for it. Inspired by Liz’s mushroom soup and a craving for something hearty and home cooked (I spent the weekend eating at some charming chains in KCMO), I remembered this Coconut/Lentil/SplitPea Soup I’d made once upon a Texas winter.

My biggest fear when prepping this relatively simple soup was that the entire house would smell like an Indian restaurant. This is what happened the last time I toasted curry, and my fam didn’t let me hear the end of it! Thankfully, my curry toasting this time yielded an oh, so fragrant smell that warmed the house. Throw in the scent of simmering coconut milk, get ovah’ it! Yumyumyum!

Another one borrowed from one of my favorite blogs, 101Cookbooks:

1 cup / 7 oz / 200g yellow split peas
1 cup 7 oz / 200g red split lentils (masoor dal)
7 cups / 1.6 liters water
1 medium carrot, cut into 1/2-inch dice
2 tablespoons fresh peeled and minced ginger
2 tablespoons curry powder
2 tablespoons butter or ghee
8 green onions (scallions), thinly sliced
1/3 cup / 1.5 oz / 45g golden raisins
1/3 / 80 ml cup tomato paste
1 14-ounce can coconut milk
2 teaspoons fine grain sea salt
one small handful cilantro, chopped

It’s pretty simple, so here are the cliff notes:

  1. Combine Split Peas/Lentils & 7 cups of water — bring to a boil!
  2. Add the carrot & 1/2 of your ginger (keep them simmering until they’re soft!) + start your salting.
  3. Toast your curry powder (be careful not to burn it!)
  4. Melt your butter in the pan and add all of the following goodness — curry powder, tomato paste, scallions, raisins & tomato paste
  5. Add your flavorful buttery mixture to the Split Peas & Lentils
  6. Pour in the coconut milk
  7. Let those flavors groove together for 10-15 minutes on low heat
  8. Serve sprinkled with cilantro and scallions

Mmmm, mmmm….good!

xo,

HungryTexans

creamy mushroom-thyme soup

today was below 60° – in texas, we call this “winter.”  but no matter where you’re living, these chilly days are perfect soup weather.  i’ve been waiting for my new emulsion blender to ship, but i couldn’t put this mushroom soup off any longer!

it turned out to be oh-so-yummy and super simple.  mushrooms are one of my favorite ingredients- so unapologetically earthy and beautiful.  i made a little brie & arugula grilled cheese to dip.  grilled cheese & soup?  fugetaboutit.

recipe!


you’ll need:

1 1/2 pounds of mushrooms (I used white button, baby bella & shitake)

1 medium red onion

2 cloves garlic

3 tbs unsalted butter

2 sprigs thyme

pinch nutmeg

1/4 cup dry white wine or sherry

2 cups stock (veggie or chicken, whatever you have on hand.)

2 cups milk (or cream or half & half)


What you’ll do:

heat a large pan and add 1 tablespoon of butter.  add the sliced red onion and saute until they are soft, then add 2 tablespoons of butter and saute the sliced mushrooms until they are soft and happy.  season with the sprigs of thyme, a splash of dry white wine, and salt & pepper.  I also threw in a pinch of nutmeg. once the mixture tastes great (let your tastebuds decide!), transfer to a blender (or if your emulsion blender has arrived, use that guy).  pour in the milk and stock and blend until smooth.  i got the soup back on the stove so it was nice and hot when i was ready to eat.

serve this soup with a bit of olive oil drizzled on top, and a yummy dipper on the side.  i did a grilled brie & arugula sammy.

easy, delicious, & enough for lunch leftovers all week!


happy sunday 🙂

hungrytexans

poblano veggie enchiladas

just hearing the words “presidential debates” makes our tummies rumble, so in an effort to feed eight debate viewers on wednesday night, we opted for veggie enchiladas- what’s more American than Tex-Mex, right?

we met at dc’s capitol supermarket for an admittedly improv-ed shopping trip.  1 basket of groceries and $25 later, we were ready to cook.

to recreate these cheesy veggie enchiladas, you’ll need:


20 corn tortillas

3 zucchini squash (we used a mexican variety, you can use whatever is in season!)

1 red onion

2 cups mushrooms

2 cups corn (we used frozen because the cobs looked sub-par)

1 poblano pepper

3 tbs cumin

s&p to taste

1 cup queso fresco


for the creamy poblano sauce:

2 cups milk

1 cup vegetable stock

2 cups sour cream

1 large poblano

1 tbs cumin

1/2 cup queso fresco

1/2 cup monterrey jack cheese

1 can chopped hatch green chiles


We needed poblanos for the filling and the sauce, so Julia fire-roasted the peppers while I diced the red onion, zucchini & mushrooms.  I added the corn to the diced veggie mixture, mixed in cumin, s & p, and spread it out onto a baking sheet.  The veggies roasted at 400 degrees for ~20 minutes, until they were caramelized.  We then mixed in on of the poblanos and the crumbled queso fresco and fed the mixture to each other with tortilla chips for approx. 3 minutes.

While the veggies were roasting, we got to work on the sauce.  We built it in the cuisinart- great idea!  Pulsed the fire-roasted poblano, can of green chiles, milk, sour cream, monterrey jack and queso fresco together until smooth.  We seasoned it with cumin and a bit of hot cayenne pepper.

Time to build the enchiladas!  We ladeled some of the sauce into the bottom of the baking dish to keep these babies tasty on all sides.  To get the corn tortillas soft enough to work with, we microwaved them for 30 seconds.  You really want these to be hot while you’re filling them, or else they’ll crumble.  We filled the tortillas, rolled them and squished them into the baking dish before covering the whole thing with tons of the creamy sauce.

These enchiladas baked at 375 degrees for about 30 minutes before we served them with delicious Cilantro-Lime Black Beans.

Happy Eating!

The Hungry Texans