kabocha squash red curry

pumpkin_curry_main

‘Tis the season for pumpkin everything – pies, lattes, breads, and pies. Here’s a recipe with a savory twist on everyone’s favorite gourd, a kabocha squash and sweet potato red curry. I was introduced to this recipe via Blue Apron, a meal delivery service that sends you all the fresh ingredients you need to make a scrumptious meal for two, a few weeks ago and it was so nice I made it twice!

ingredients_redcurry


Slightly modified from Blue Apron
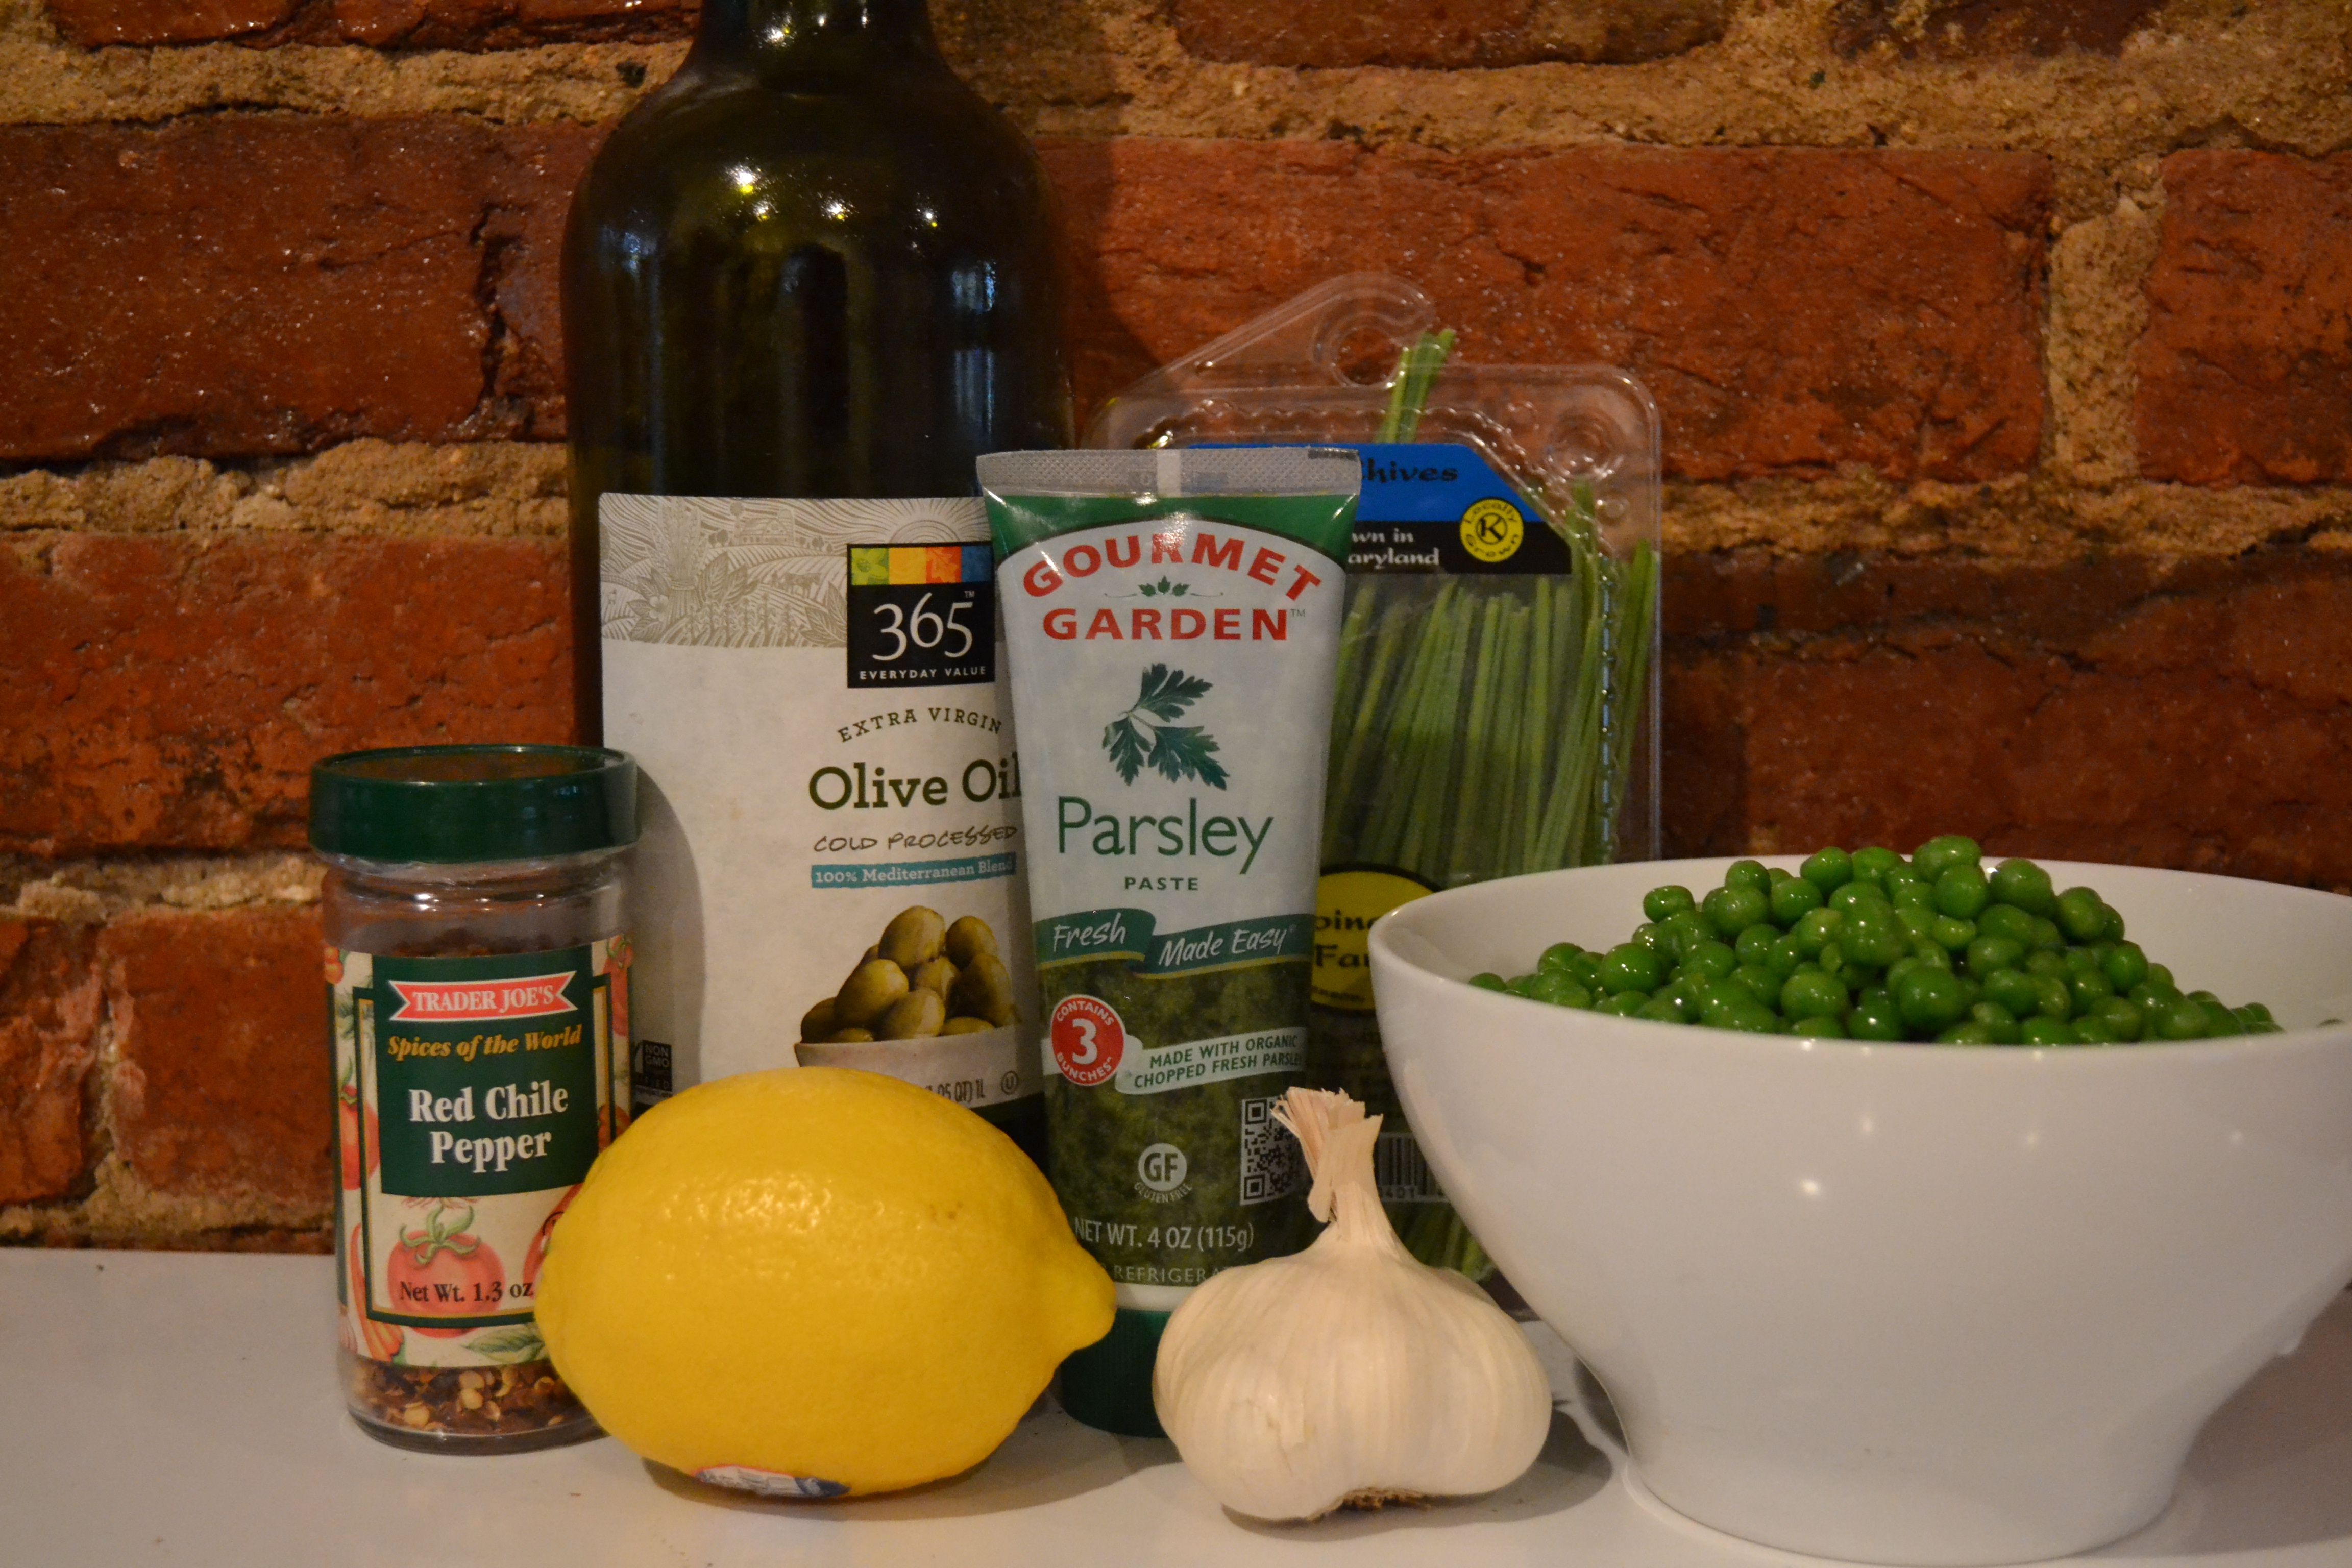
2 tbs olive oil
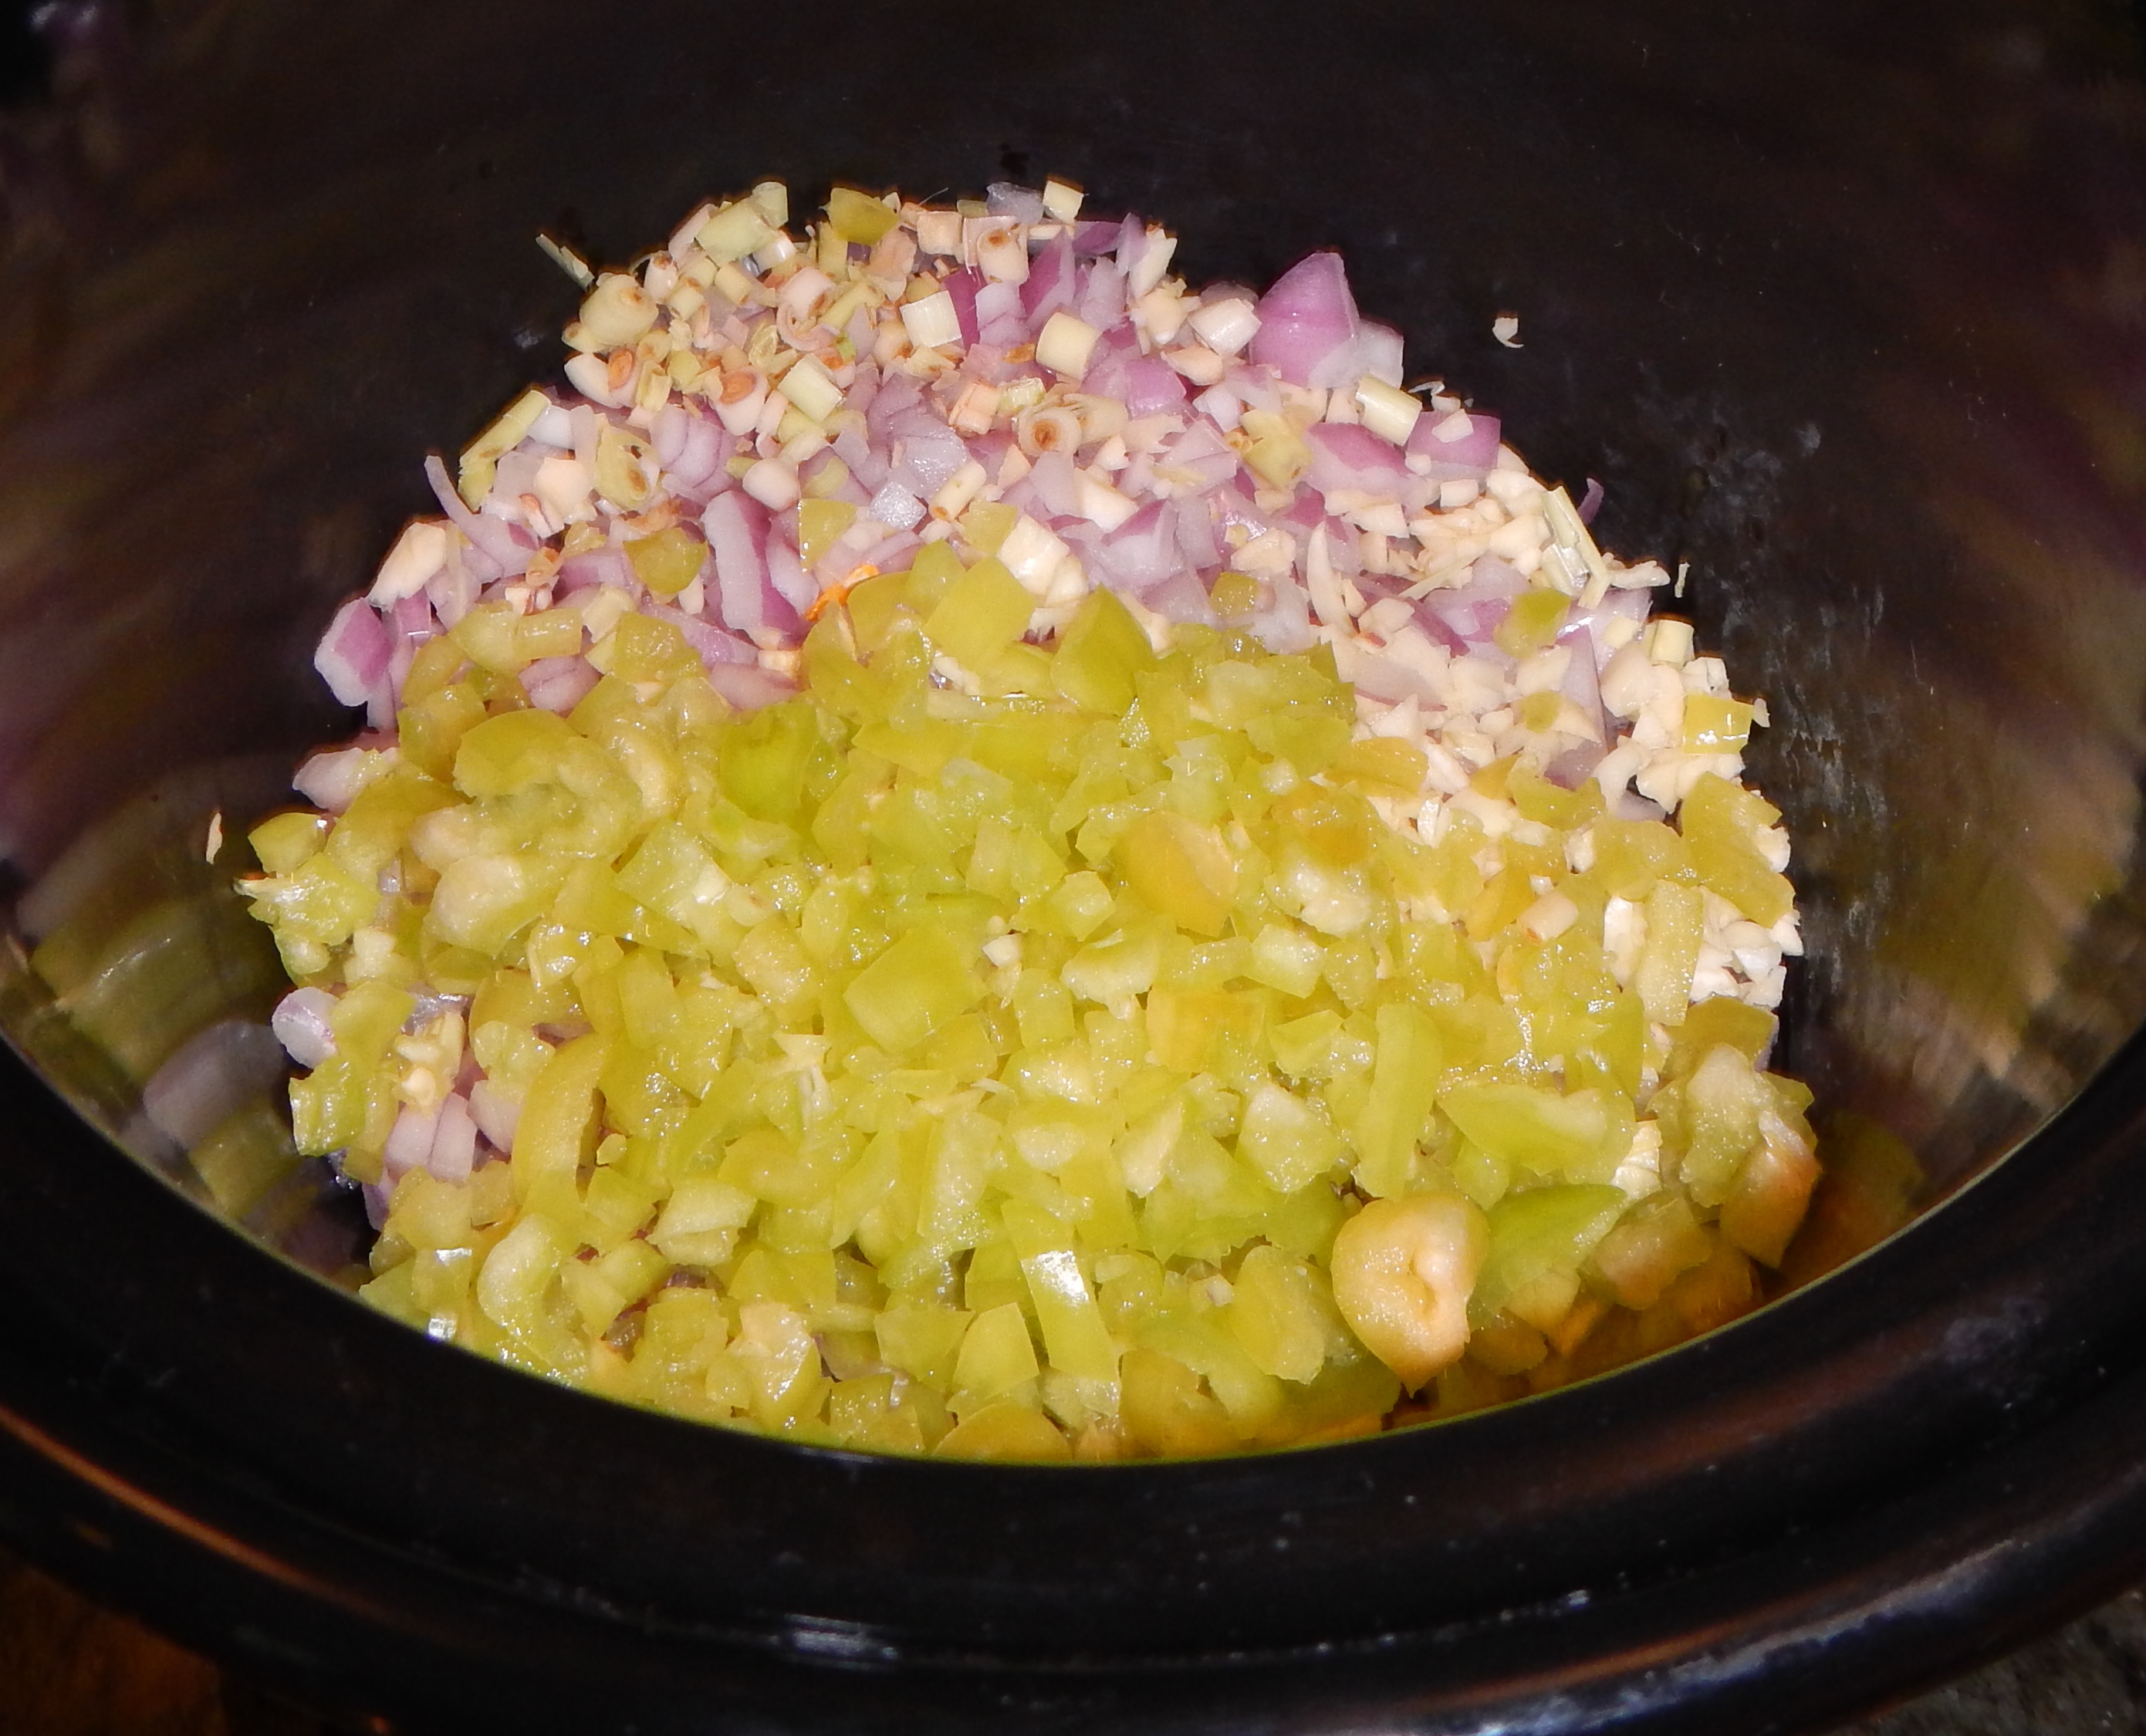
6 cloves garlic, finely diced
2 stalks lemongrass, finely dice the soft white core of the stalk
1 cubanelle pepper, finely diced
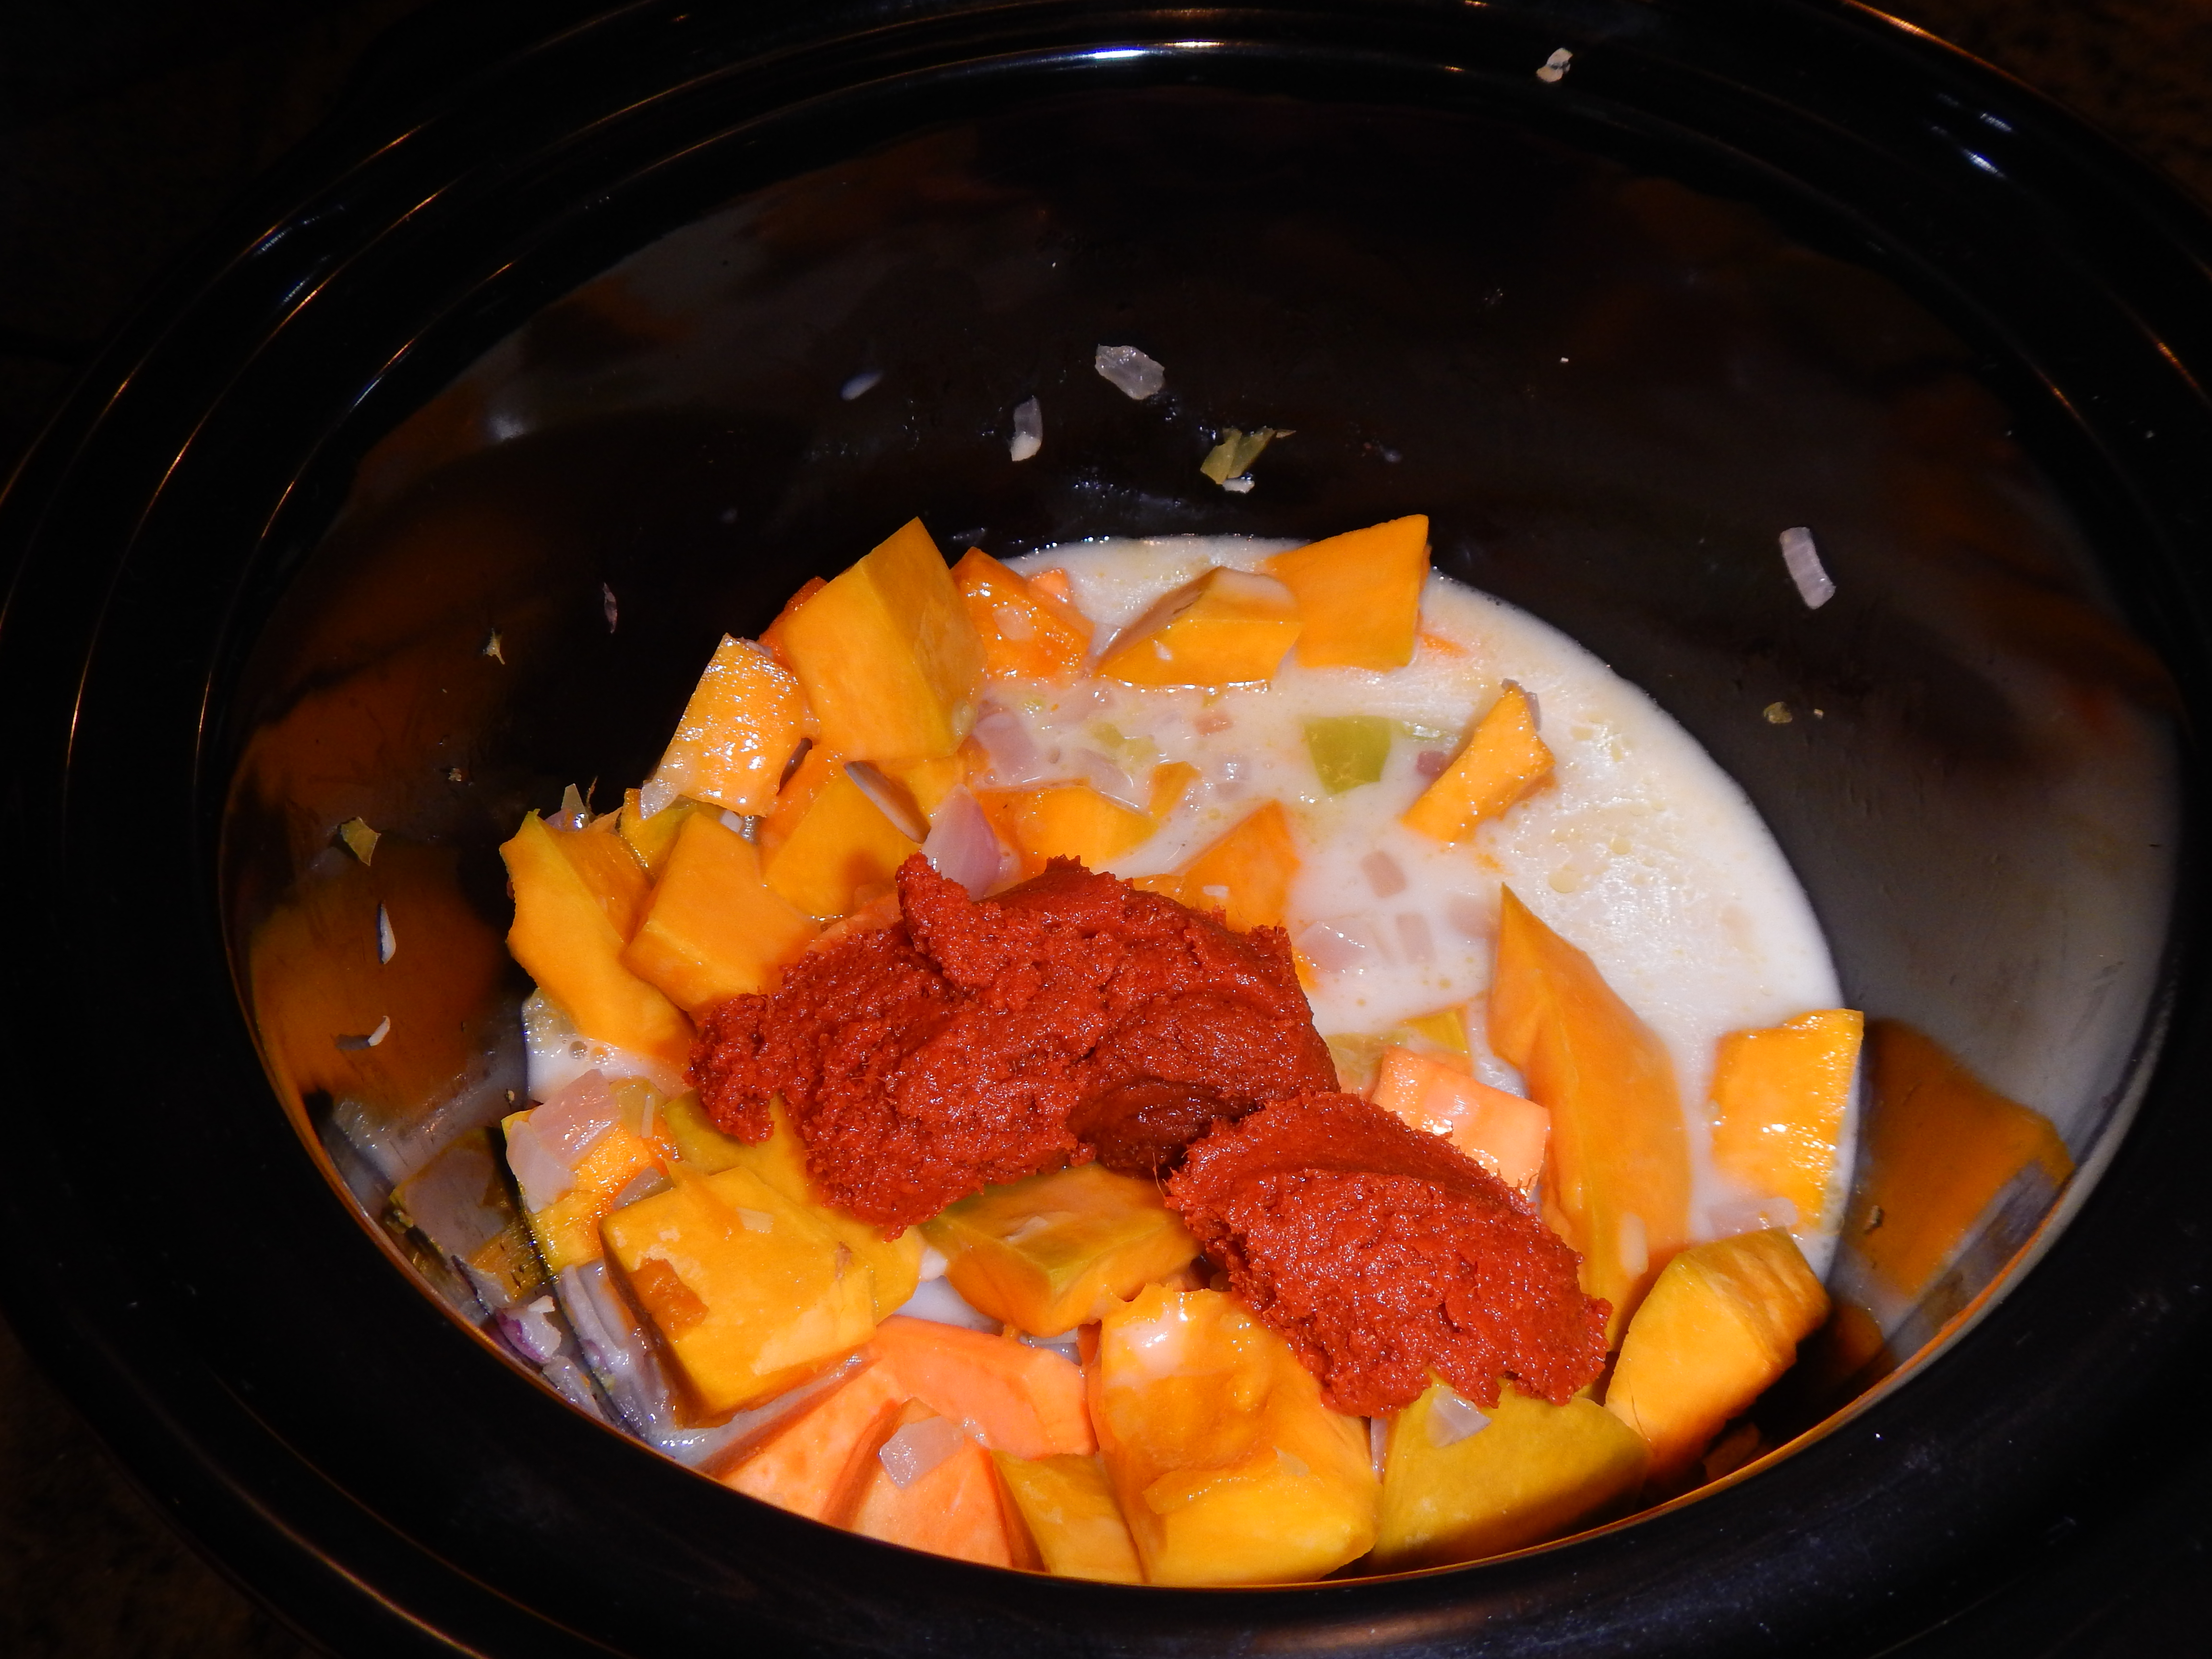
1 kabocha squash, cubed
2 sweet potatoes, cubed
1 red onion
3 tbs red curry paste
1 can coconut milk

Condiments:
1 Bunch Cilantro
1 Bunch Mint
Limes

DSCN0086

DSCN0088

Will you look at that pumpkin/kabocha squash!

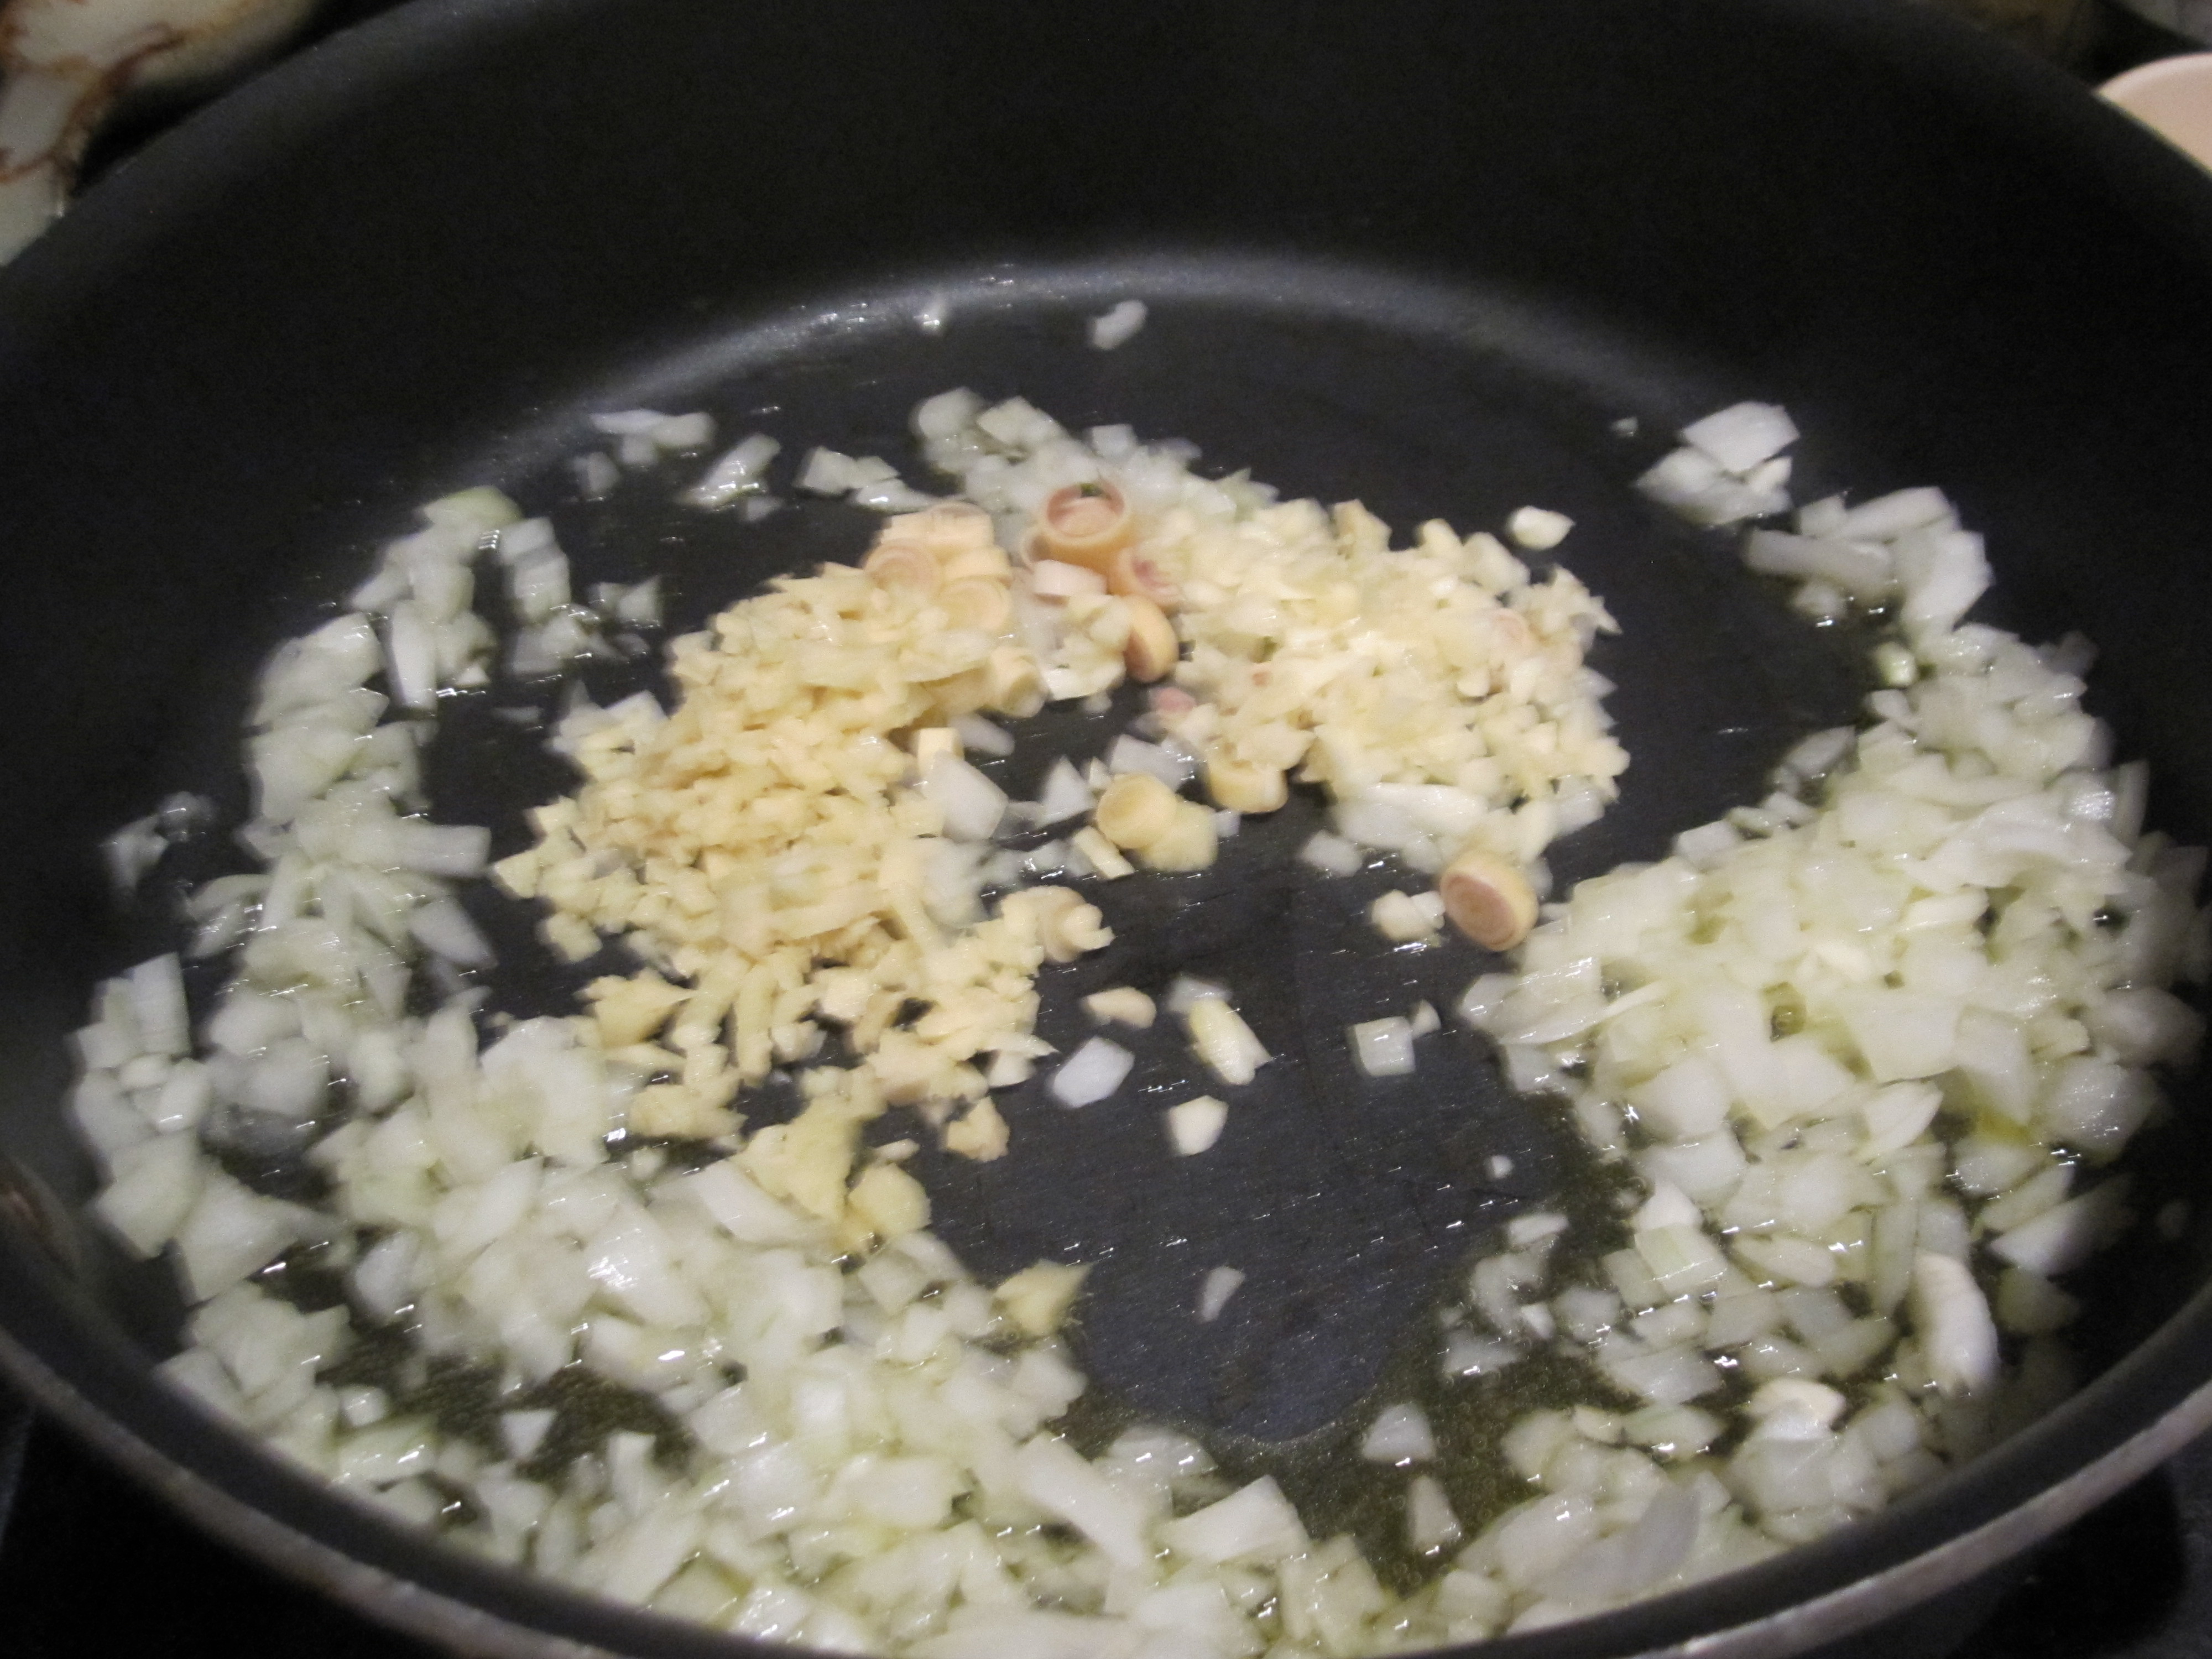
The beauty of how I made this recipe this time is that it’s pretty set it and forget it! I made it in a crock pot. Start by simmering your garlic, lemongrass, pepper, and onion in your crock pot on high heat until their soft and growingly translucent.

DSCN0091

DSCN0094

Add your squash and sweet potatoes and cook until their soft.

DSCN0095

Then add your coconut milk and curry paste and let your curry simmer until fragrant and ready to serve. I let mine hang in the crock pot for a few hours before serving over scoops of brown rice and garnished with cilantro, mint, and limes!

DSCN0097

Add a little spice to your life this decorative gourd season!

xo,

Julia

Advertisement

horchata

horchata

This HungryTexan is stubborn enough to try anything once, and this weekend I decided to try my hand at horchata – a milky latin beverage I’ve oft enjoyed at El Salvadorian restaurants. There are lots and lots of varieties of horchata made from combinations of almonds, rice, sesame seeds, barley or tigernuts. I tried an almond and rice-based varietal, and the final product was sweet and nutty with a pleasant creaminess that wasn’t overly rich. We sipped our horchata plain, but it would be a real treat frothed up in a latte or blended into a milkshake!

photo 1 (11)

Recipe slightly modified from Nosh On.It’s version:

1 cup raw, unsalted almonds
1/3 cup long-grain white rice
1 cinnamon stick
5 cups of water (3 hot, 2 cold)
1/2 cup simple syrup (1 cup sugar, 1/2 cup water, 1/4 tsp vanilla)

Beware! This is a two day project and requires a good night’s soak for the flavors to really sync. Start by blanching your almonds. Dump your almonds in boiling water for one minute and then strain & run under cold water. Blanching is key to being able to super simply pinch off the almond’s skin. Grab the almond at its fat part and pinch the skin away – they fly right off (literally, we had almonds fly across the kitchen!). Now you have a cup of naked almonds.

photo 2 (11)

Give them a nice toast in a completely dry skillet until they’re lightly browned.

Next, in your grinding instrument of choice (coffee grinder, spice grinder, food processor) pulverize your rice into a fine, fine powder.

photo 3 (6)

Then, in a large jar or jug combine 3 cups of hot water, your almonds, your rice powder and your cinnamon stick. Give it a good stir and let it cool to room temperature before refrigerating. After your mixture has had an ample soak, remove the cinnamon stick and blend everything together in a blender. Blend until your almond/rice mixture is very powdery. Add the extra two cups of cold water and continue blending.

Next comes the messy part. With a very fine mesh strainer and cheesecloth, strain your mixture. It’s slow going. Be patient! Strain it twice if you need to. Get out as much sediment as you can and then stir in your simple syrup. Pour into a glass and enjoy while listening to Vampire Weekend’s, Horchata.

Cheers,
Julia

garlicky broccoli slaw

Broccoli_Slaw

Last week I awoke to a bountiful produce delivery from From the Farmer on my doorstep. For any friends in the DC area, I couldn’t recommend From the Farmer more highly – they deliver fresh produce to your doorstep weekly. I love it because of the flexibility of From the Farmer vs. traditional CSAs or produce delivery services. I can suspend my deliveries if I know I’m traveling and won’t have time to put my produce to good use! This week my bin overflowed with peaches, heirloom tomatoes, peppers, baby eggplants, beets, broccoli, apples and more. I wanted a fresh and hearty salad, so whipped up this garlicky broccoli slaw with beets, apples, and almonds.

BrocSlaw_Ingredients

For the salad:
Three heads of broccoli
Two beets, peeled and diced
Two apples, skin on and diced
1/3 cup sliced raw almonds

For the dressing:
1/4 cup olive oil
4 cloves garlic
juice from half of one lemon
1 tsp apple cider vinegar
salt & pepper to taste

Start by roughly chopping your broccoli so it’s small enough to fit through the tube of your food processor. I used my the slicing disc attachment on my food processor to thinly slice the broccoli, but you could also use a mandolin or just roughly chop with a big chef’s knife.

Peel your beets and dice into bite-sized pieces. Dice your apple into similar sized cubes. In a large bowl combine broccoli, beets, and apples.

Mixture_slaw

Add your almonds.

Mixture_almonds

Next, make your dressing in the bowl of a food processor by combining garlic, olive oil, lemon juice, apple cider vinegar. Season with salt and pepper to taste. Drizzle over all ingredients and toss to combine.

DressedSlaw

Serve as a side or enjoy all on its own as a salad!

xo,
julia

brown butter, brown sugar cookies

Brown Butter Brown Sugar Cookies

It’s been so long since last we wrote, but these brown butter, brown sugar cookies are worth the wait. This Hungry Texan will occasionally make a quick detour on her bike to work and pop into Bean & Bite on 15th for a “treat yo self” iced coffee. Aside from their smooth and rich iced coffee the second biggest attraction is that they always have bite-sized samples of their sweet treats cut up in plates by the register. On two separate occasions I’ve been lucky enough to sneak a taste of their brown sugar cookies, and after taste number two I vowed to try my hand at recreating them. I took to my mixing bowl and this recipe triumphed. I’m a modest gal, but these are honest to everything the best cookies I’ve ever made.

Just thank me that I’m sharing this recipe as bathing suit season is waning.

Ingredients

Modified from Cook’s Illustrated’s Brown Sugar Cookie Recipe

1 3/4 sticks unsalted butter 14tablespoons unsalted butter (1 3/4 sticks)
1/4 cup white sugar
2 cups brown sugar (I used a mix of dark & light)
2 cups + 2 tbls flour
1/2 tsp baking soda
1/4 tsp baking powder
1/2 tsp table salt
1 egg
1 egg yolk
1 overflowing tbl vanilla

+ an additional 1/4 cup of each brown & white sugar for rolling

Start by preheating your oven 350º.

The secret to this recipe’s success is the brown butter – browning your butter gives it a dense, almost nutty flavor, that combined with salt and sugar becomes borderline carmel-ish. Start by melting all but 4 tbls of your butter in a pan at medium heat. Stir constantly until the butter begins to brown. Transfer to a container to cool and add the additional 4 tbls of butter to the warm butter. You may notice sediment-like solids forming in your brown butter, embrace them!

Brown Butter

Let your butter cool for about 15 minutes and then combine your butter and sugars.

IMG_1815

Add your egg, egg yolk, and vanilla.

IMG_1817

In a separate bowl, combine all your dry ingredients (flour, salt, soda, powder). Begin slowly folding the dry into your wet mixture until fully combined.

IMG_1819

IMG_1821

IMG_1822

Line a cookie sheet with parchment. Combine 1/4 c white sugar and 1/4 c brown sugar in a small bowl with enough surface area for covering your dough balls. Begin scooping and rolling your dough into spheres the size of ping pong balls, roll your ball in sugar so that it’s completely covered.

IMG_1823

IMG_1827

Once your sheet is full, bake for 8-12 minutes. You want to take these cookies out on the rarer side as they’ll firm quite a bit as they cool. The center of the cookie tastes like chewy, salted caramel. The cookies are sturdy, stack well, and would be mean bookends to an ice cream sandwich.

IMG_1828

Get baking!

xoxo,
Julia

key lime pie

KeyLimePie

This Hungry Texan celebrated the Fourth of July in the Houston homeland with the Lovett clan. We feasted on a red, white, and boil of tasty crustaceans and satiated our sweet teeth post-Fireworks with this sweet and tangy key lime pie.

When life gives you limes, make key lime pie!


KeyLimeCrust Ingredients

Key lime crust:
1 1/2 cups graham cracker crumbs
1/2 cup brown sugar
6 tbl melted butter
2 tbl lime zest

KeyLime Filling

Key lime filling:
4 egg yolks
3 tbl lime zest (from 4 key limes)
1/2 cup lime juice
1 can sweetened condensed milk

This is a one bowl, one whisk pie that requires minimal baking. For your crust, combine graham cracker crumbs, brown sugar, zest and melted butter in a large bowl until it sticks together like wet sand.

MixingCrust

Spray the bottom of a 9-inch pie plate with your preferred baking spray and pack your crust into the pie plate until it’s densely and compactly situated. Bake at 350 degrees for about 10-minutes or until it’s looking golden and the smells start wafting.

Crust_prebake

For your filling, whisk together 4 egg yolks for about two minutes. Add your lime zest and continue whisking until your mixture is a pale green.

Eggs + Lime

Whisk in your lime juice and condensed milk until your filling starts to thicken. Let rest for at least 20-minutes at room temperature, giving the filling adequate time to firm up. Pour filling into the cooled pie crust and return it to your 350 degree oven for 15-20 minutes or until the center of your pie is firm.

Full_Pie

Let your pie rest until it reaches room temperature and then place in the fridge to chill (can be made up to a day in advance).

Slice & serve chilled with a dollop of whipped cream and a slice of lime!

xoxo,

Julia

gluten-free peanut butter chocolate cupcakes

GF_PBChocolateCupcakes
A few weeks ago we celebrated our lovely friend Lauren’s birthday with an evening of competitive karaoke! Lauren and Boston Boy are both members of the acclaimed (champs three weeks running!) “A Tribe Called Northwest” karaoke team and the birthday festivities were full of friends, Fame, and these gluten-free peanut butter chocolate cupcakes! Now, this was this Hungry Texan’s first real go at gluten-free baking (I experimented with some almond meal baking in college…but who didn’t?!). The cake turned out light and airy with  rich chocolate flavor, and the peanut butter buttercream icing was the perfect accompaniment.

For 12 cupcakes you’ll need:

For the cake:
1 1/3 cup garbanzo flour (sifted)
3/4 + 1 tbl cups sugar
1/3 cup cocoa powder
3/4 tsp baking powder
1 tsp baking soda
1/4 tsp salt
1/4 cup olive oil
1/2 cup buttermilk
1/2 cup water

for the icing:
1 stick butter
1/4 cup peanut butter
1 tsp vanilla
1 cup powdered sugar

These cupcakes are a one bowl wonder and all you need is a fork! Start by combining all your dry ingredients (garbanzo flour, soda, powder, salt, sugar) in a large bowl. Stir to combine.

DryIngredients_GF

Then, add your wet ingredients (buttermilk, egg, water, and oil).

WetIngredients_GF

Stir until smooth and silky.

Batter_GF

This batter’s a little bit on the thin side, so I transfered my batter from a bowl into a pitcher to ensure less mess when filling my cupcake liners. Fill cupcake liners.

DSC_0788

Bake at 350 for about 25 minutes. While baking, make your icing by creaming together butter, peanut butter, vanilla & powdered sugar together in the bowl of a stand mixer.

DSC_0805

Remove cupcakes from oven and let cool completely before frosting!

DSC_0800

xoxo,

Julia

buttermilk ice cream

ButtermilkIceCream

I was so excited to dust off my ice cream maker last weekend for the first batch of the summer! Big Daddy and I first enjoyed buttermilk ice cream at Restaurant Nora a few years ago, and I was so smitten with the unique flavor that I was quick to attempt to recreate it a few weeks later. This buttermilk ice cream is creamy with a refreshing tang from the buttermilk and makes the perfect accompaniment for your summery cakes and cobblers (or will steal the show as a standalone scoop)!

Borrowed from Smitten Kitchen, you’ll need:

ButtermilkIceCreamIngredients

2 cups heavy cream
1 1/4 cup sugar
10 large egg yolks
2 cups buttermilk
2 teaspoons vanilla
Pinch of salt

Start by whisking together your egg yolks and 1/4 cup of sugar. Then combine cream & one cup of sugar in a medium-sized pot and bring to a simmer.

Custard1_Steps

Gradually, pour your hot cream mixture into the eggs gradually tempering them (you don’t want scrambies!). Return your creamy, eggy, sugary mixture to the heat.

Custard2_steps

Stir continuously until your mixture just starts to slowly bubble as a thick custard that coats the back of a spoon.

Custard3_steps

Remove custard from heat and stir in your pinch of salt, vanilla, and buttermilk.

Custard4_steps

Let mixture cool completely and then chill until ready to freeze & churn in your ice cream maker.

I scream, you scream, we all scream for ice cream!

xoxo,

Julia

lemony pea toasts


LemonyPeaToasts

I imagine many readers’ childhoods were filled with dinner table commands, “Eat your peas!” Not this girl. It helps when your own mother never overcame her childhood trauma of peas. Because Mommy Cat has such an intense aversion to ’em, green peas were always absent from the Lovett dinner table and for years I assumed I’d hate them too! When I finally gave peas a chance, I was delighted by their texture and fun burst of fresh flavor.

This lemony pea mash on toasts makes an easy peasy app, and the lemony pea mash would make a scrumptious spread for a veggie sandwich (I’m dreaming of a goat cheese, lemony pea mash, avocado, and sprouts concoction). 

DSC_0736

2 loaves of crusty bread, sliced (we used ciabatta)
olive oil for drizzling on sliced bread
1 2-cup bag of frozen peas, thawed
1 tbs olive oil
4 cloves of garlic smashed
2 tbs lemon
2 tbs chives
1/4 c parsley (I used the squeeze parsley for the first time! amazing!)
1/4 tsp crushed red pepper
salt to taste

In a large pan, heat olive oil, garlic, parsley and chives. Add your peas and squeeze in your lemon. Add red pepper and salt to taste. Heat mixture until your peas are thoroughly cooked, but before they’re too mushy.

DSC_0739

Pour pea mixture into your food processor and give it about 8 good pulses – I wanted to maintain some semblance of pea texture so opted for a coarse mash over a pea puree – but do whatever floats your boat.

DSC_0741

Slice (or solicit a sous chef, thanks One Sock Wonder!) your bread to desired width – I recommend ~1/2 inch – and generously drizzle on olive oil and toast.

Heap room temperature pea mash onto toasts and enjoy!

Peas out,

Julia

red velvet cake

CakewithBerries_RedVelvet

Last night the Saucy San Diegan grilled a full aquarium (squid, oysters, swordfish, salmon, cod) in honor of Amy Boo Boo’s birthday celebration, and the Hungry Texans were in charge of apps and zerts. SSD requested red velvet, so red velvet it was! I was a little apprehensive as more often than not I feel like red velvet kind of dry, lackluster cake whose primary purpose is to make copious consumption of cream cheese frosting socially acceptable. That said, I put my biases aside and made a few modifications to a Saveur recipe that turned out super moist, flavorful, and good enough that I went straight for a slice for breakfast this morning.

For the cake:

Ingredients

2 1/2 cups cake flour
1 1/2 cups sugar
1 tsp. baking soda
2 tsp. cocoa powder
1 tsp. salt
2 eggs
1 1/2 cups vegetable oil
1 cup buttermilk
2 tsp red food coloring
1 1/2 tsp. vanilla extract
1 tsp. apple cider vinegar

For the icing:

Icing Ingredients

1 stick butter
1 package cream cheese
1 1/2 cups powdered sugar
2 tsp vanilla

This cake couldn’t be quicker to whip up. Start by preheating your oven to 350. Combine all your dry ingredients – sugar, flour, baking soda, salt, and cocoa powder together in a bowl. Then, in the bowl of a stand mixer combine – vegetable oil, eggs, buttermilk, vanilla, vinegar.

Liquid Mixing

Add your food coloring and combine.

Red Batter

Add your dry ingredients to your sanguine red batter.

Wet & Dry

Pour batter into two round parchment-lined and sprayed cake pans.

Finished Batter Batter in Pans

Bake for 25-30 minutes until your cakes pass the toothpick test. Set cakes aside to cool.

BakedCakes

While cakes are cooling, make your icing. In the bowl of your stand mixer cream together butter, cream cheese, and vanilla. Gradually add your powdered sugar until the icing reaches the desired flavor and consistency.

Assemble your cake. I achieved the coveted double-flip for this cake – making sure the round part was on top. I recommend, you do your first flip onto a plate, then flip back into your cake pan, and then flip on top of your first layer. Cake flipping is a delicate art, so you do you and figure out what works.

Layer1

Layer1Iced

Ice and decorate as desired.

IcedCake

Light the candles, slice and serve with ice cream. We served with homemade buttermilk ice cream! Yum!

DSC_0751

Make a wish!

Julia

tofu lettuce wraps

TofuLettuceWrapsFinal

Last night Boston Boy, Boston Sister, and I ate our weight in sushi and tots (that’s right sushi and tots under the same roof!) at Sticky Rice, one of our favorite H Street haunts. Sticky Rice has some of the most unique sushi rolls I’ve ever enjoyed – like the Godzirra (crunchy shrimp, avocado, cream cheese, spicy sauce, cucumbers + crunch) or the Drawn and Buttered (no big deal, just some lump crab sushi you dip in butter! that’s right…sushi dipped in butter. Big Daddy, take notes!) – but in spite of their cornucopia of creative rolls, one of my favorite of their dishes is their tofu lettuce wraps! Chunks of fried tofu mixed with a delicious soy ginger sauce with just the right amount of crisp from the lettuce and crunch from huge chunks of water chestnuts. Delish!

24 hours later and I was hungry for more, so I whipped up my own rendition of this veggie delight. For ease and health, I opted against frying my tofu (although, it would be delish! If you want to try these with fried tofu hunks, I recommend borrowing the frying method from our Soy Ginger Tofu with Bok Choy). Grab these ingredients and you’ll be crunching away on these tofu lettuce wraps in no time! Also…for anyone suffering from tofu-phobia, this dish is a great gateway!

tofulettucewrapsingredietns

1 pound extra firm tofu
5 cloves of garlic chopped
2 tbl ginger chopped (I love ginger, so if you’re less of a ginger nut you may want to reduce)
1 tbl lemon grass
1/2 chopped onion
2 tbl olive oil
1 package of mixed mushrooms, coarsely chopped
4 tbl hoisin
4 tbl soy
1/2 tsp sesame oil
1/2 tsp crushed red pepper
romaine lettuce hearts
garnishes: carrots, peanuts

Heat oil in a large saucepan and add onions, garlic, lemon grass, and ginger. Let cook for 5-7 minutes until fragrant and tender.

IMG_1790

While those are cooking, combine soy, hoisin, red pepper, and sesame oil to make your sauce.

IMG_1792Add your mushrooms.

IMG_1794

Cook for about 4 minutes before adding tofu and water chestnuts.

IMG_1797

Pour sauce over everything and mix to combine.

IMG_1798

Cook for another 5-7 minutes until everything’s thoroughly hot, combined, and saucy.

IMG_1800

Scoop heaps of your tofu mixture into romaine lettuce hearts. Garnish with your choice of toppings – I recommend carrots and peanuts!

xoxo,

Julia