gluten-free peanut butter chocolate cupcakes

GF_PBChocolateCupcakes
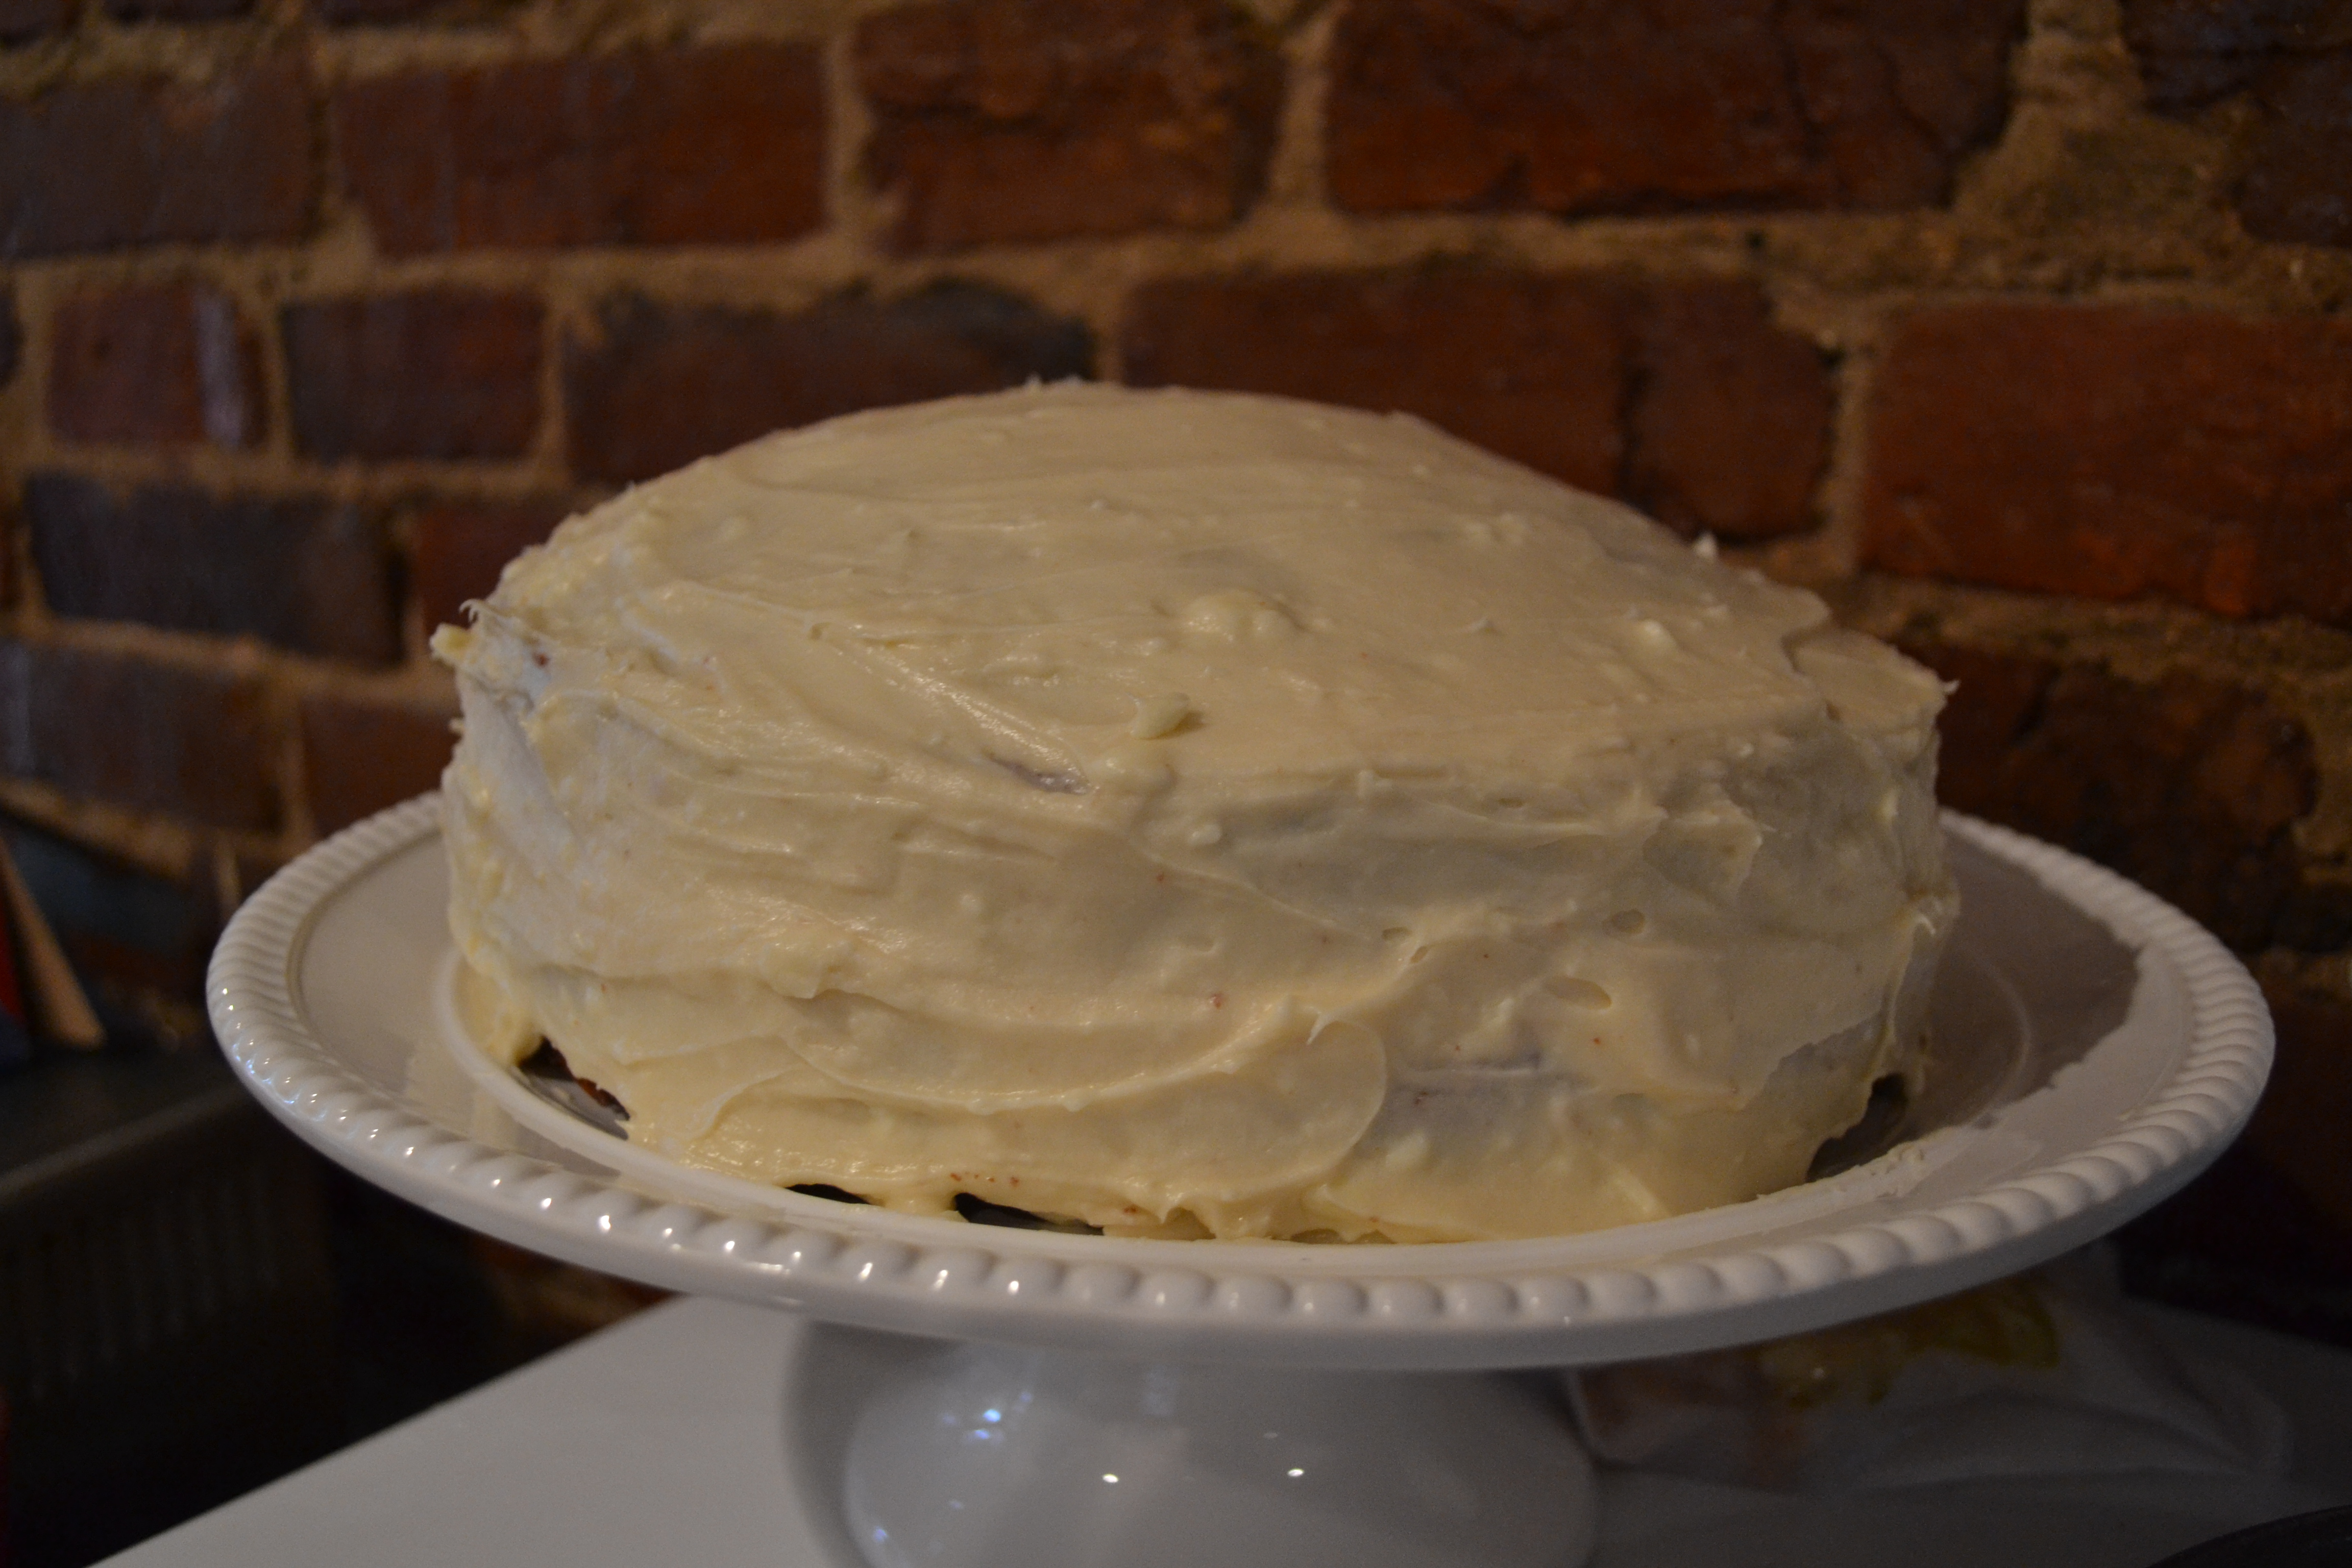
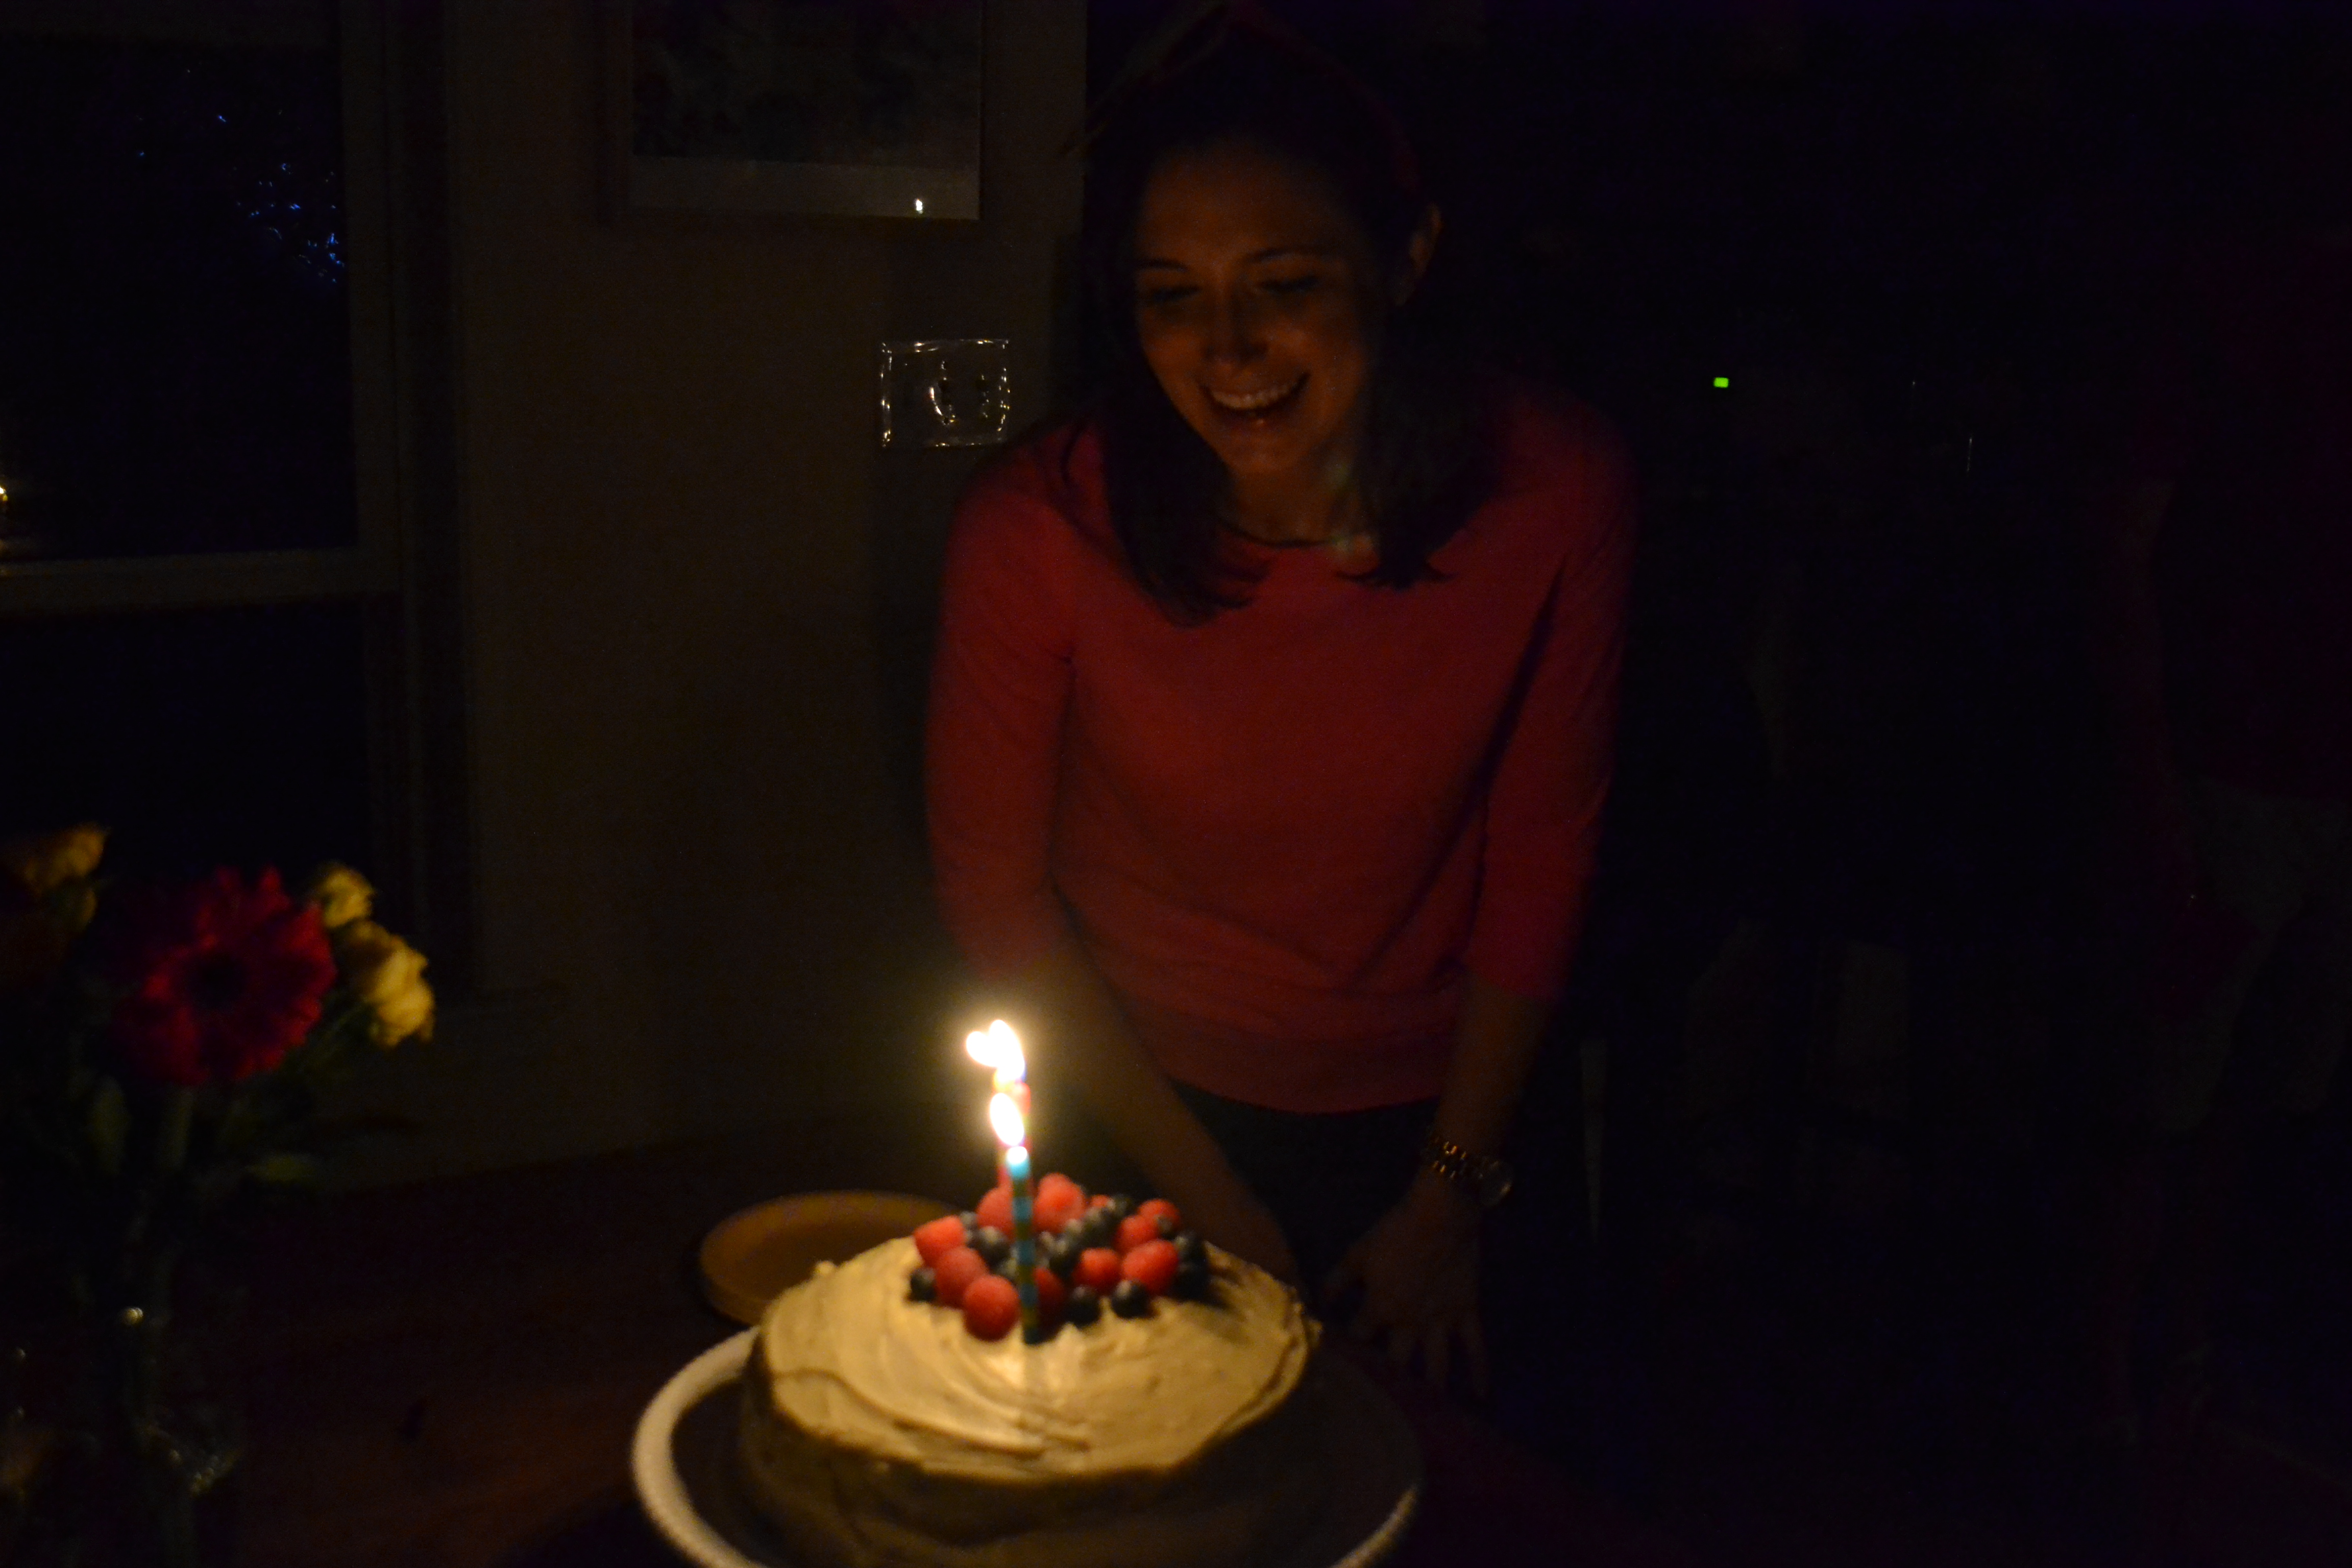
A few weeks ago we celebrated our lovely friend Lauren’s birthday with an evening of competitive karaoke! Lauren and Boston Boy are both members of the acclaimed (champs three weeks running!) “A Tribe Called Northwest” karaoke team and the birthday festivities were full of friends, Fame, and these gluten-free peanut butter chocolate cupcakes! Now, this was this Hungry Texan’s first real go at gluten-free baking (I experimented with some almond meal baking in college…but who didn’t?!). The cake turned out light and airy with  rich chocolate flavor, and the peanut butter buttercream icing was the perfect accompaniment.

For 12 cupcakes you’ll need:
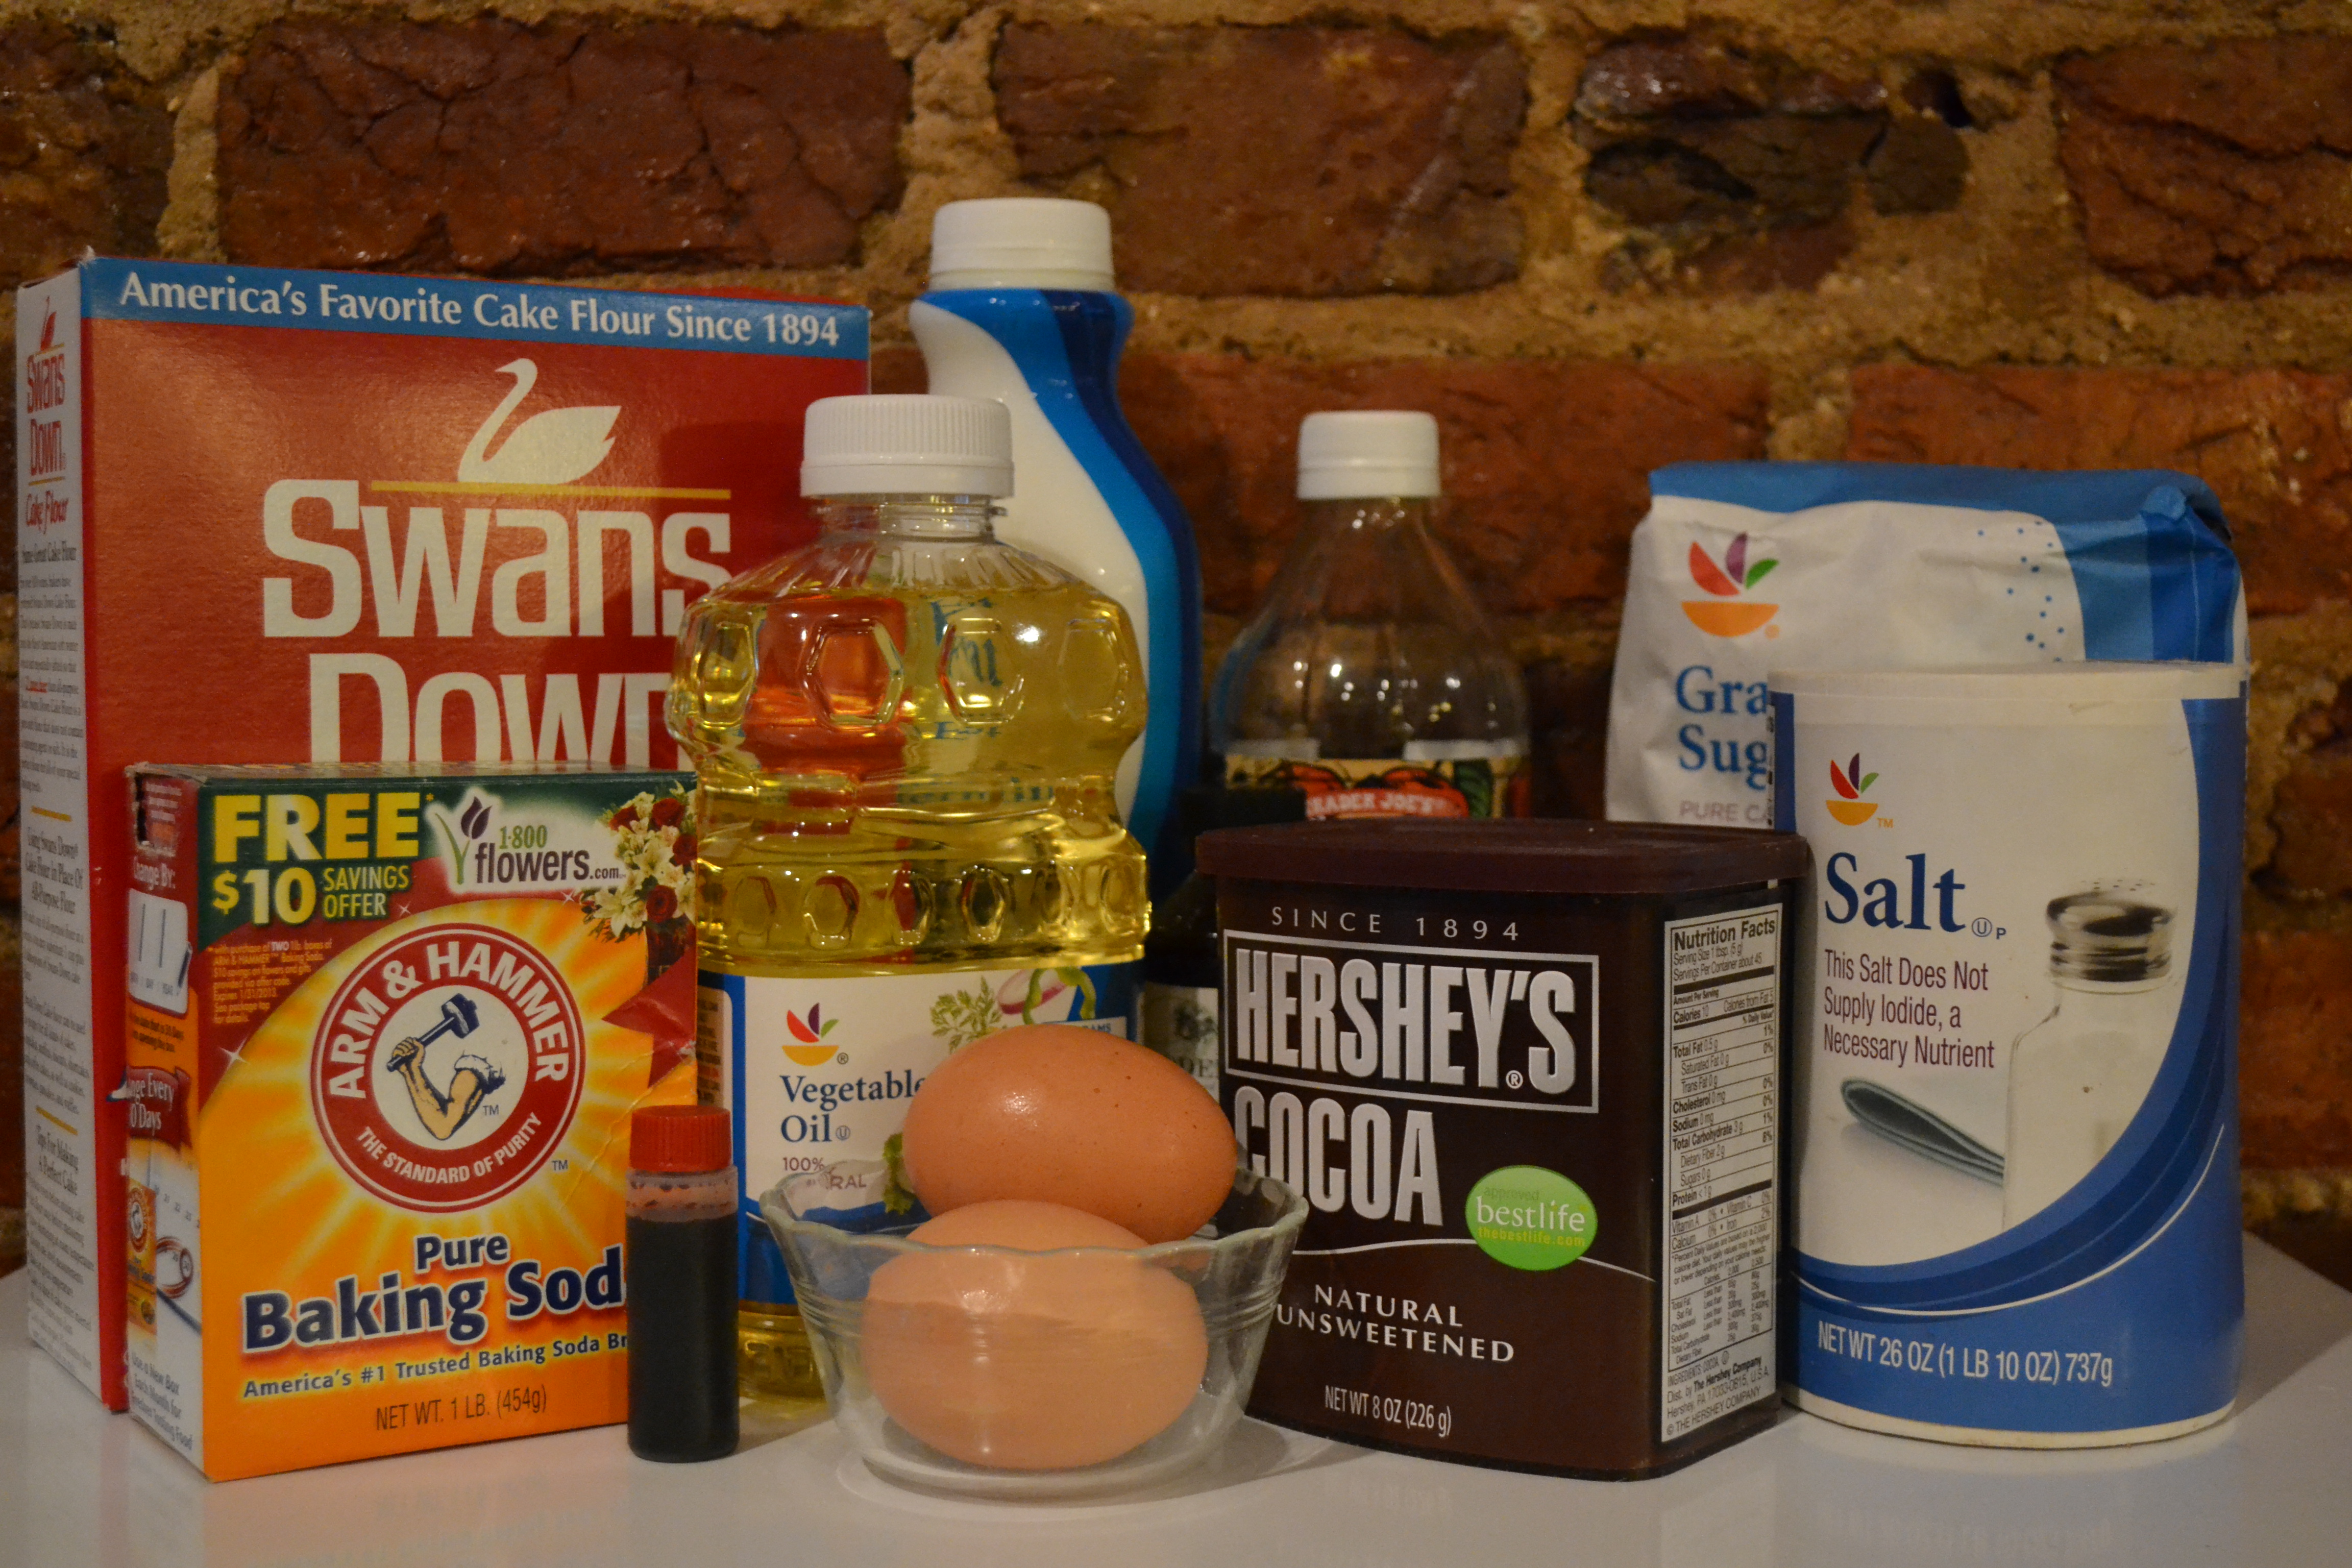
For the cake:
1 1/3 cup garbanzo flour (sifted)
3/4 + 1 tbl cups sugar
1/3 cup cocoa powder
3/4 tsp baking powder
1 tsp baking soda
1/4 tsp salt
1/4 cup olive oil
1/2 cup buttermilk
1/2 cup water

for the icing:
1 stick butter
1/4 cup peanut butter
1 tsp vanilla
1 cup powdered sugar

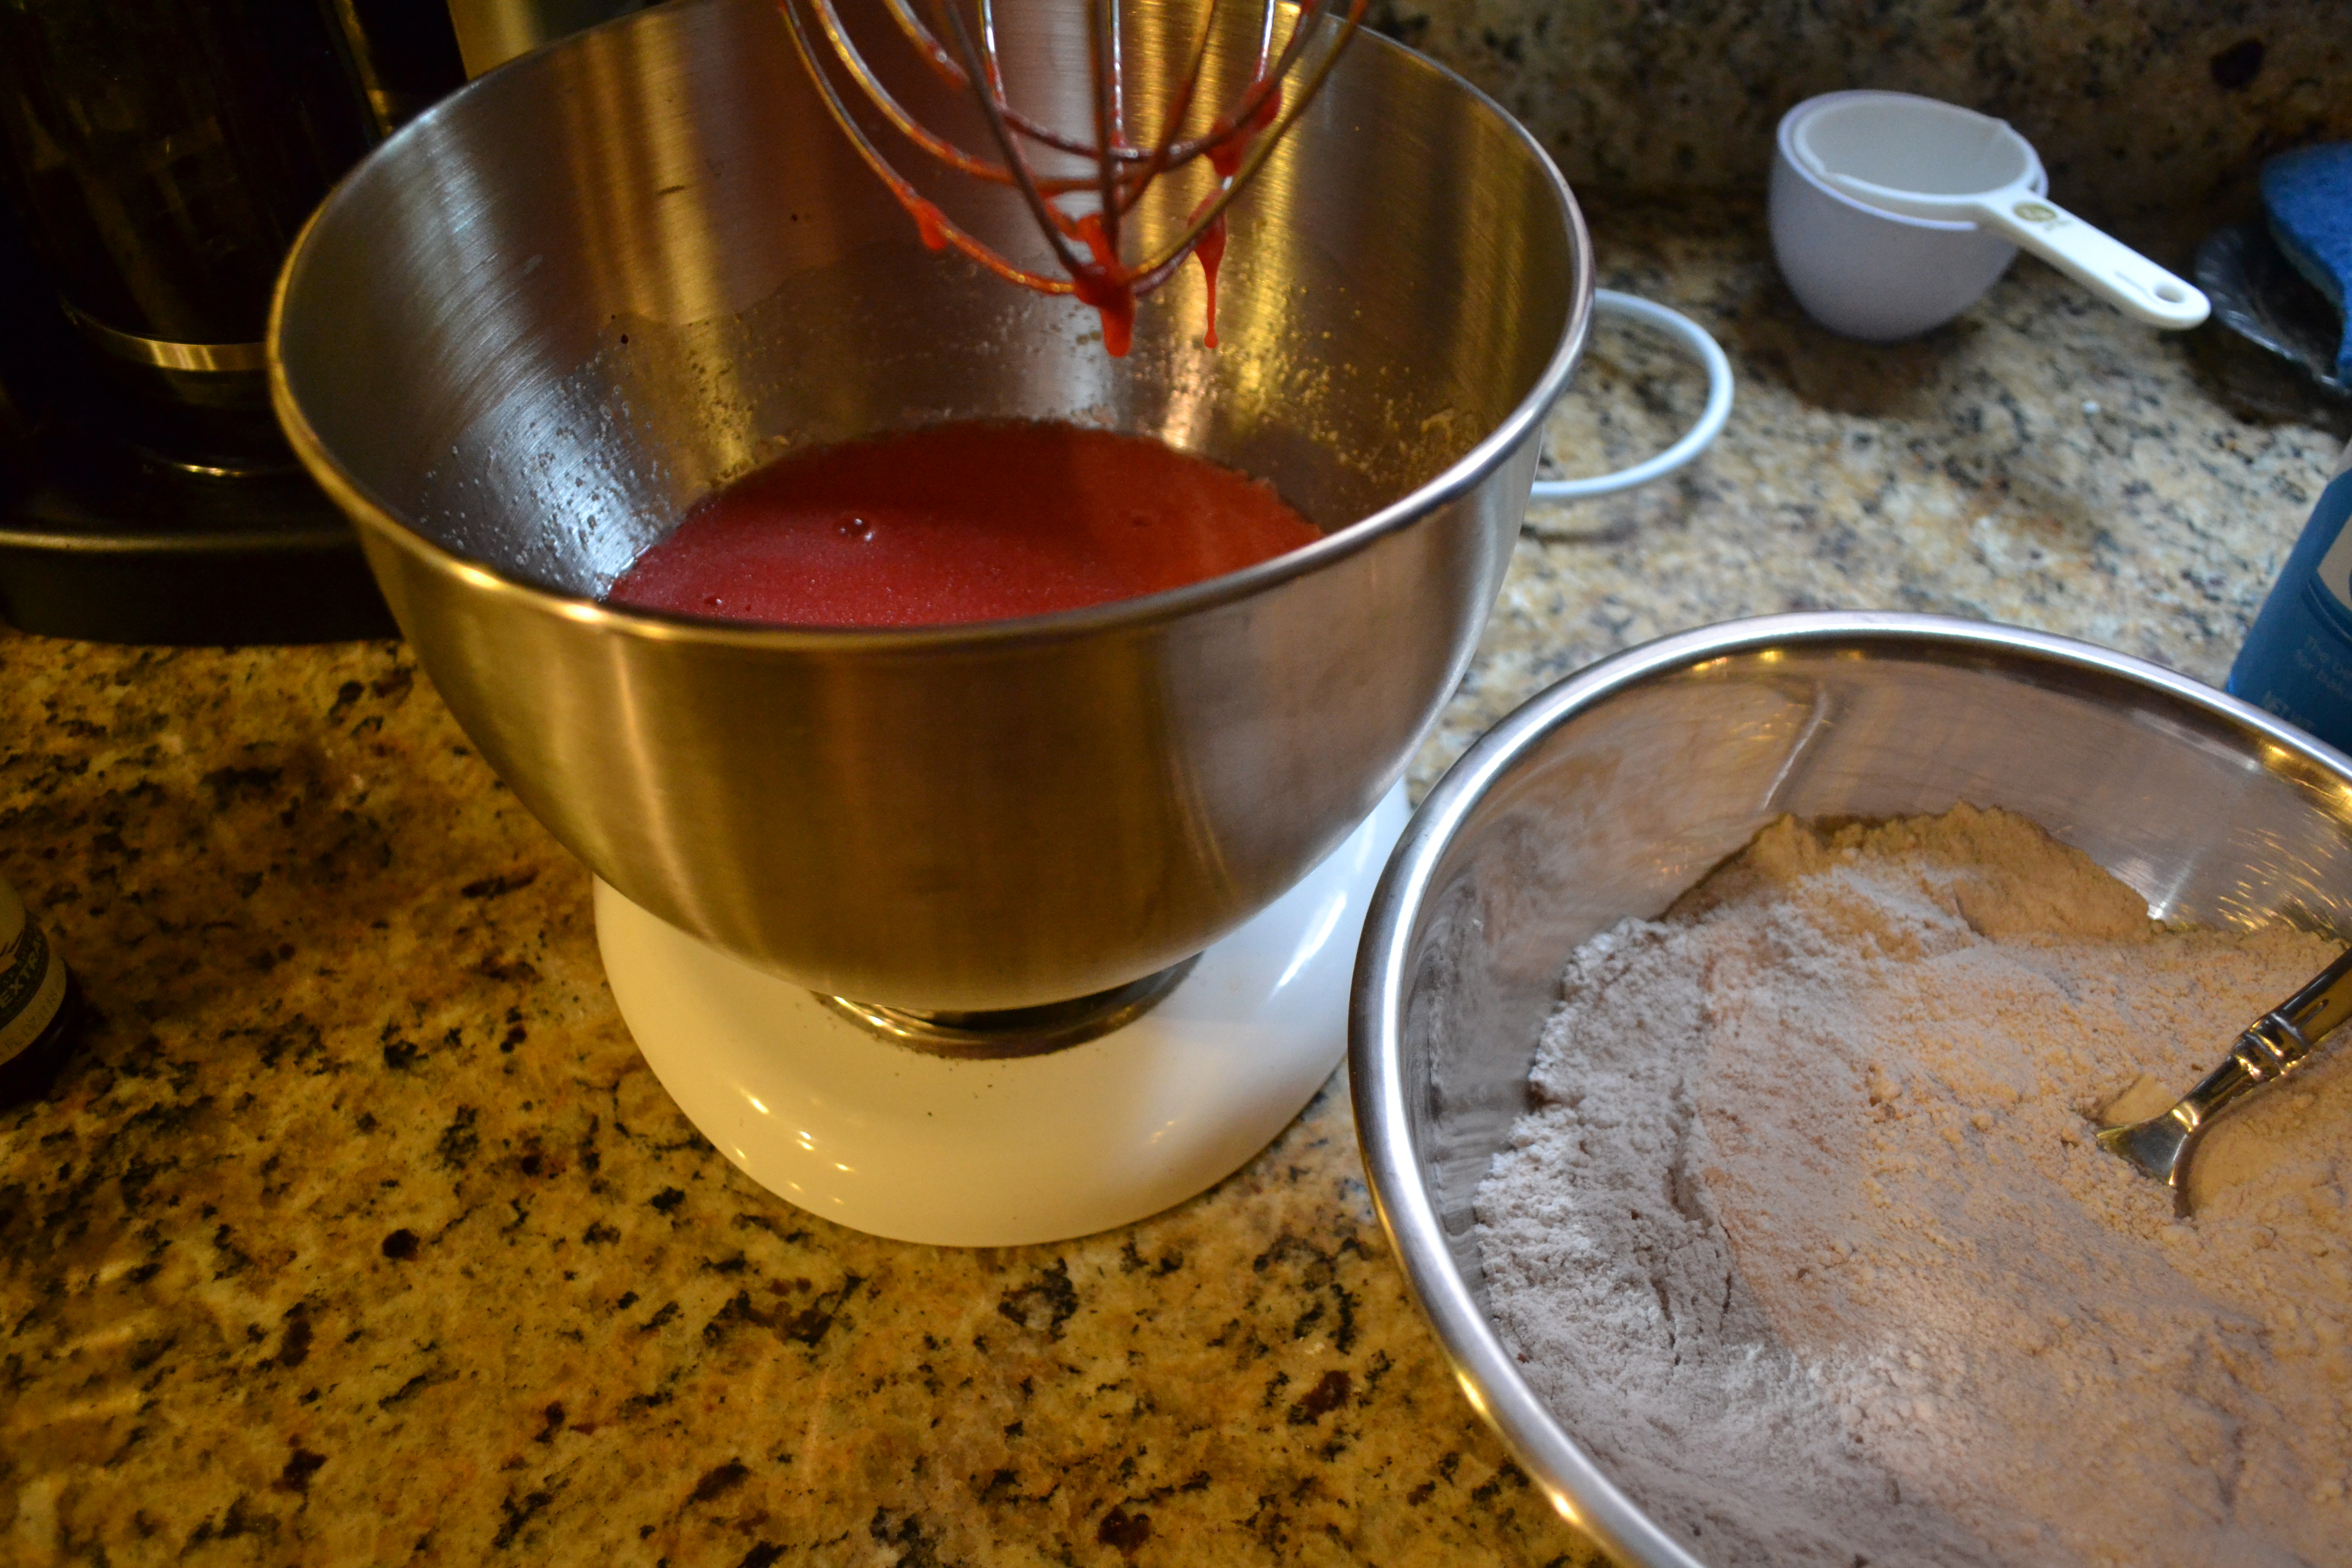
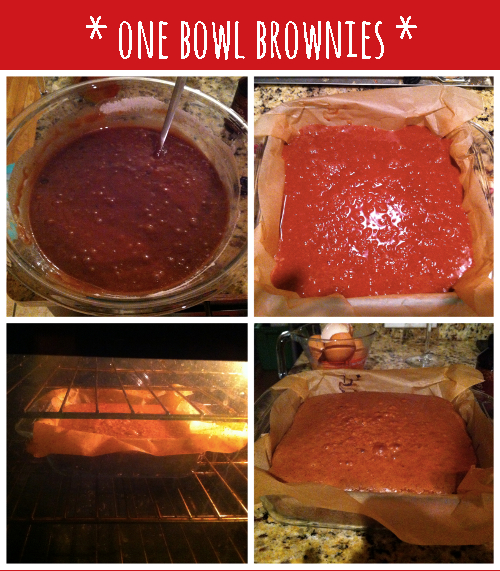
These cupcakes are a one bowl wonder and all you need is a fork! Start by combining all your dry ingredients (garbanzo flour, soda, powder, salt, sugar) in a large bowl. Stir to combine.

DryIngredients_GF

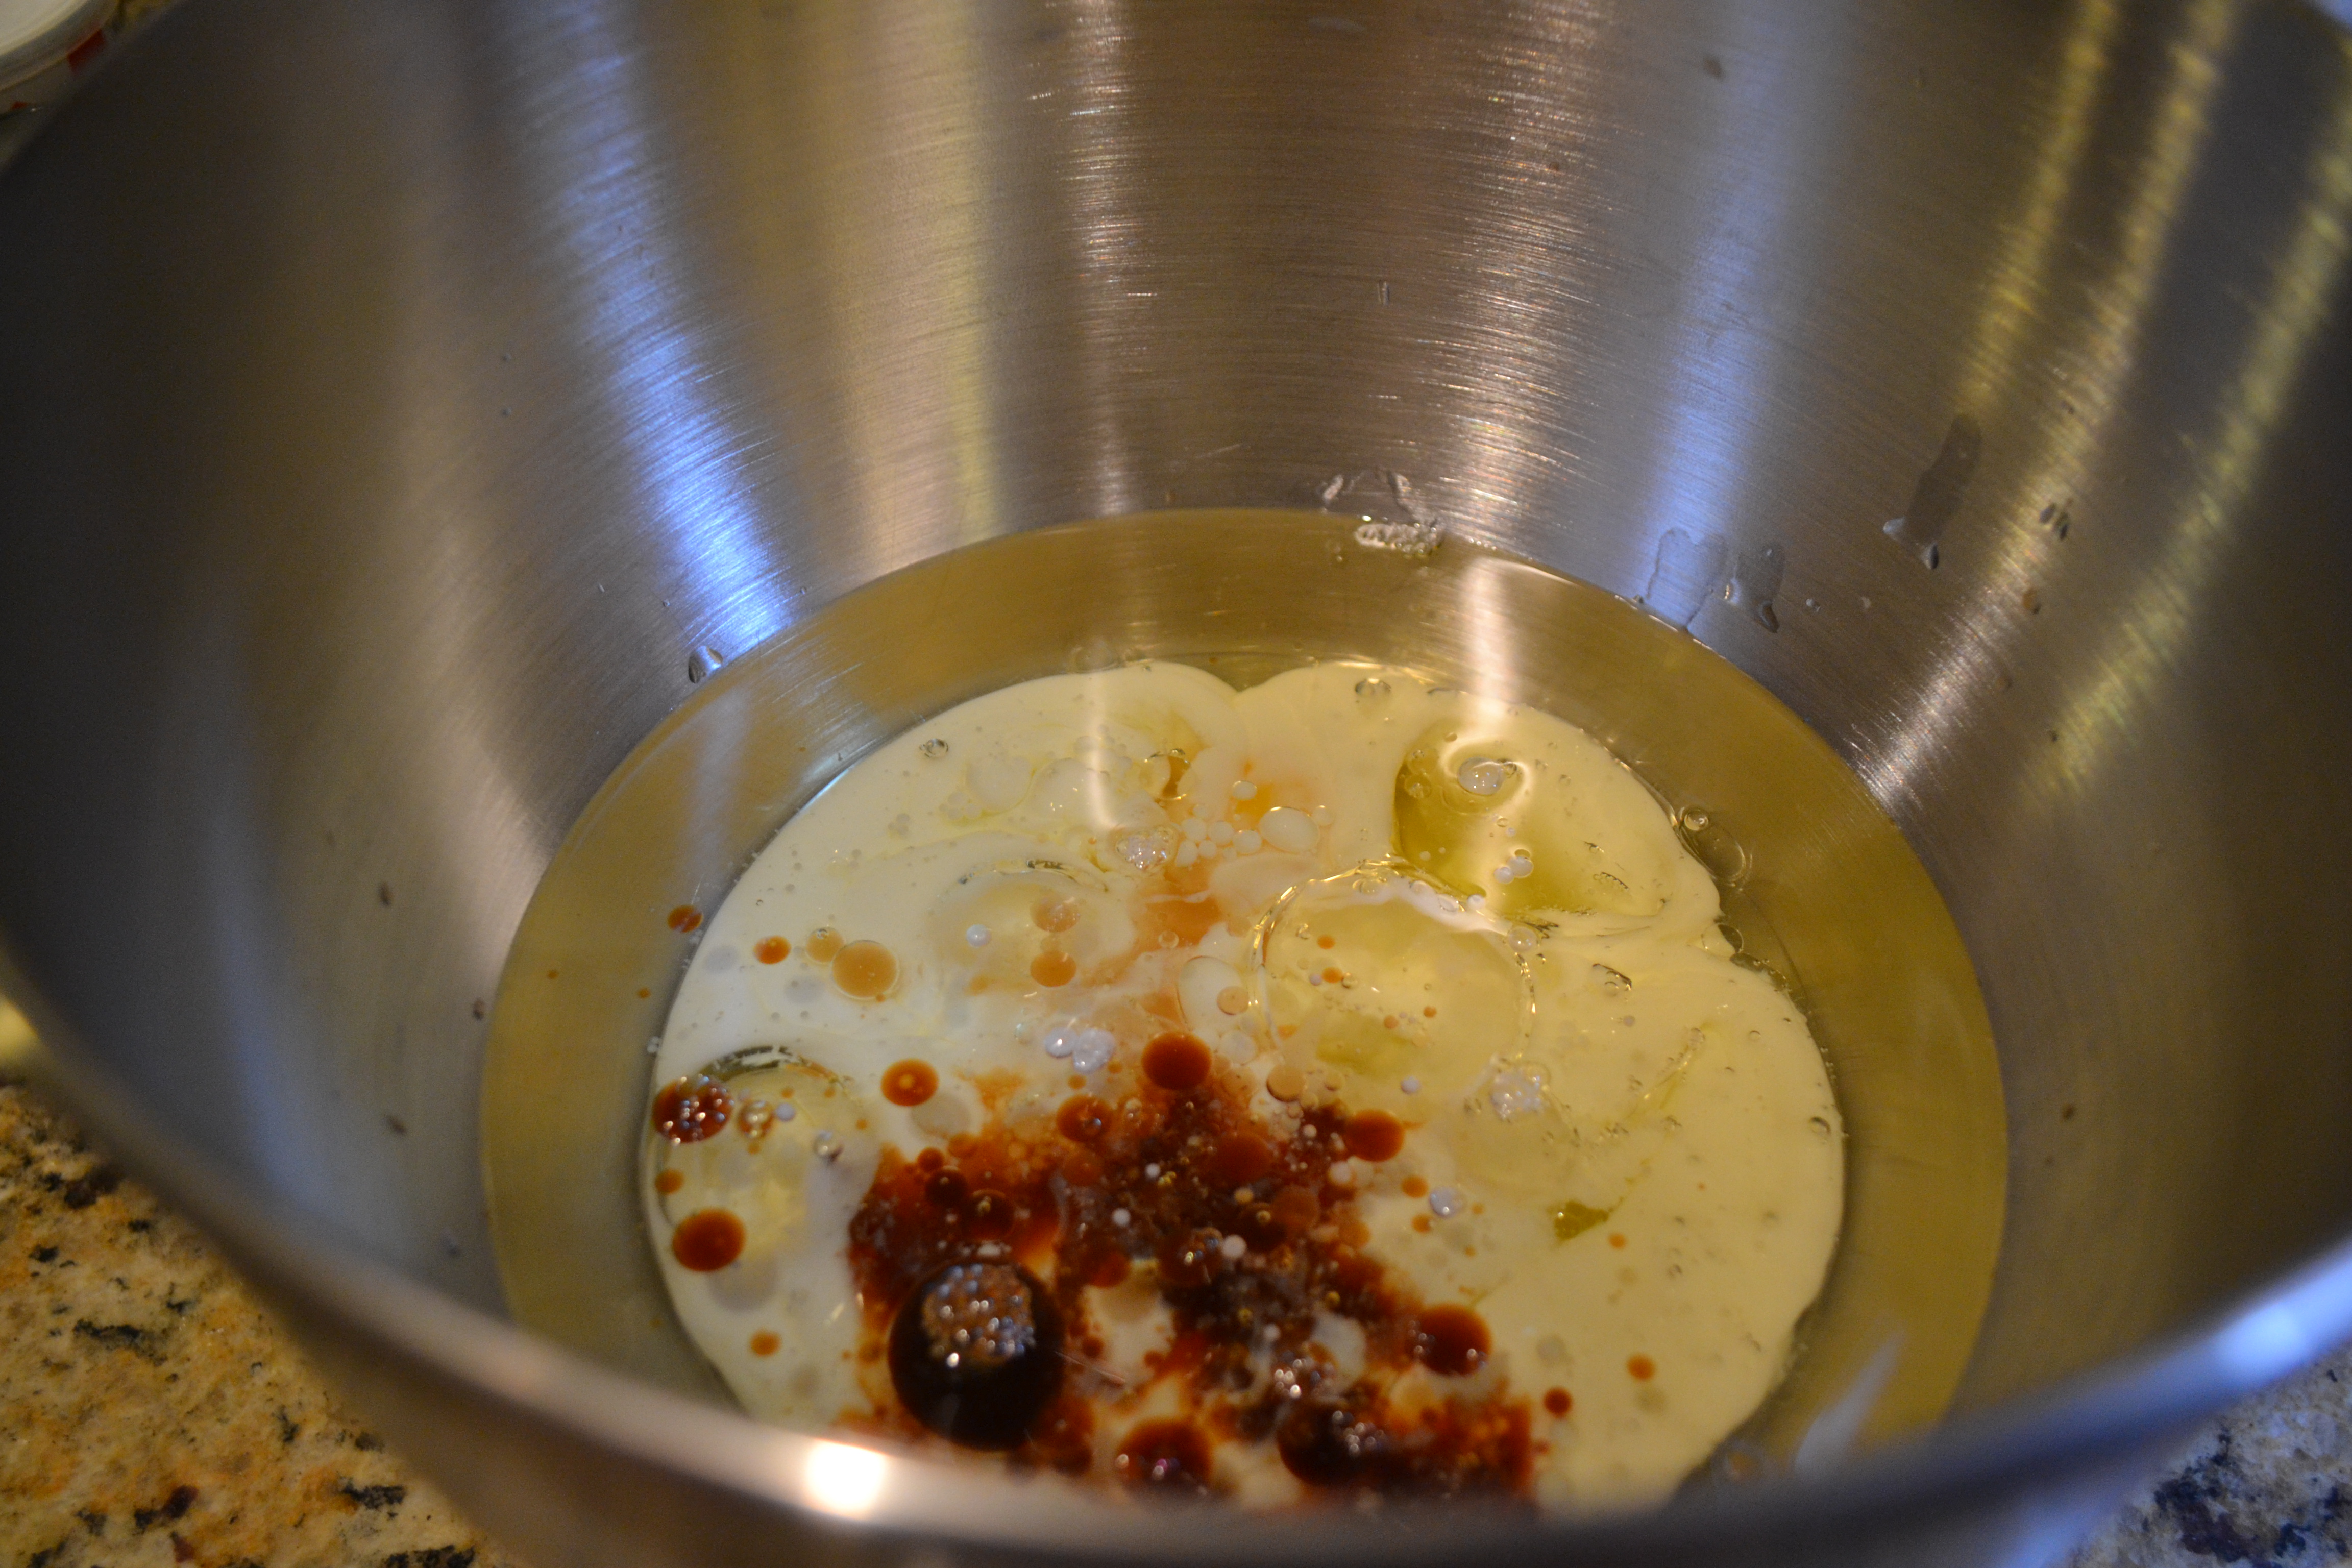
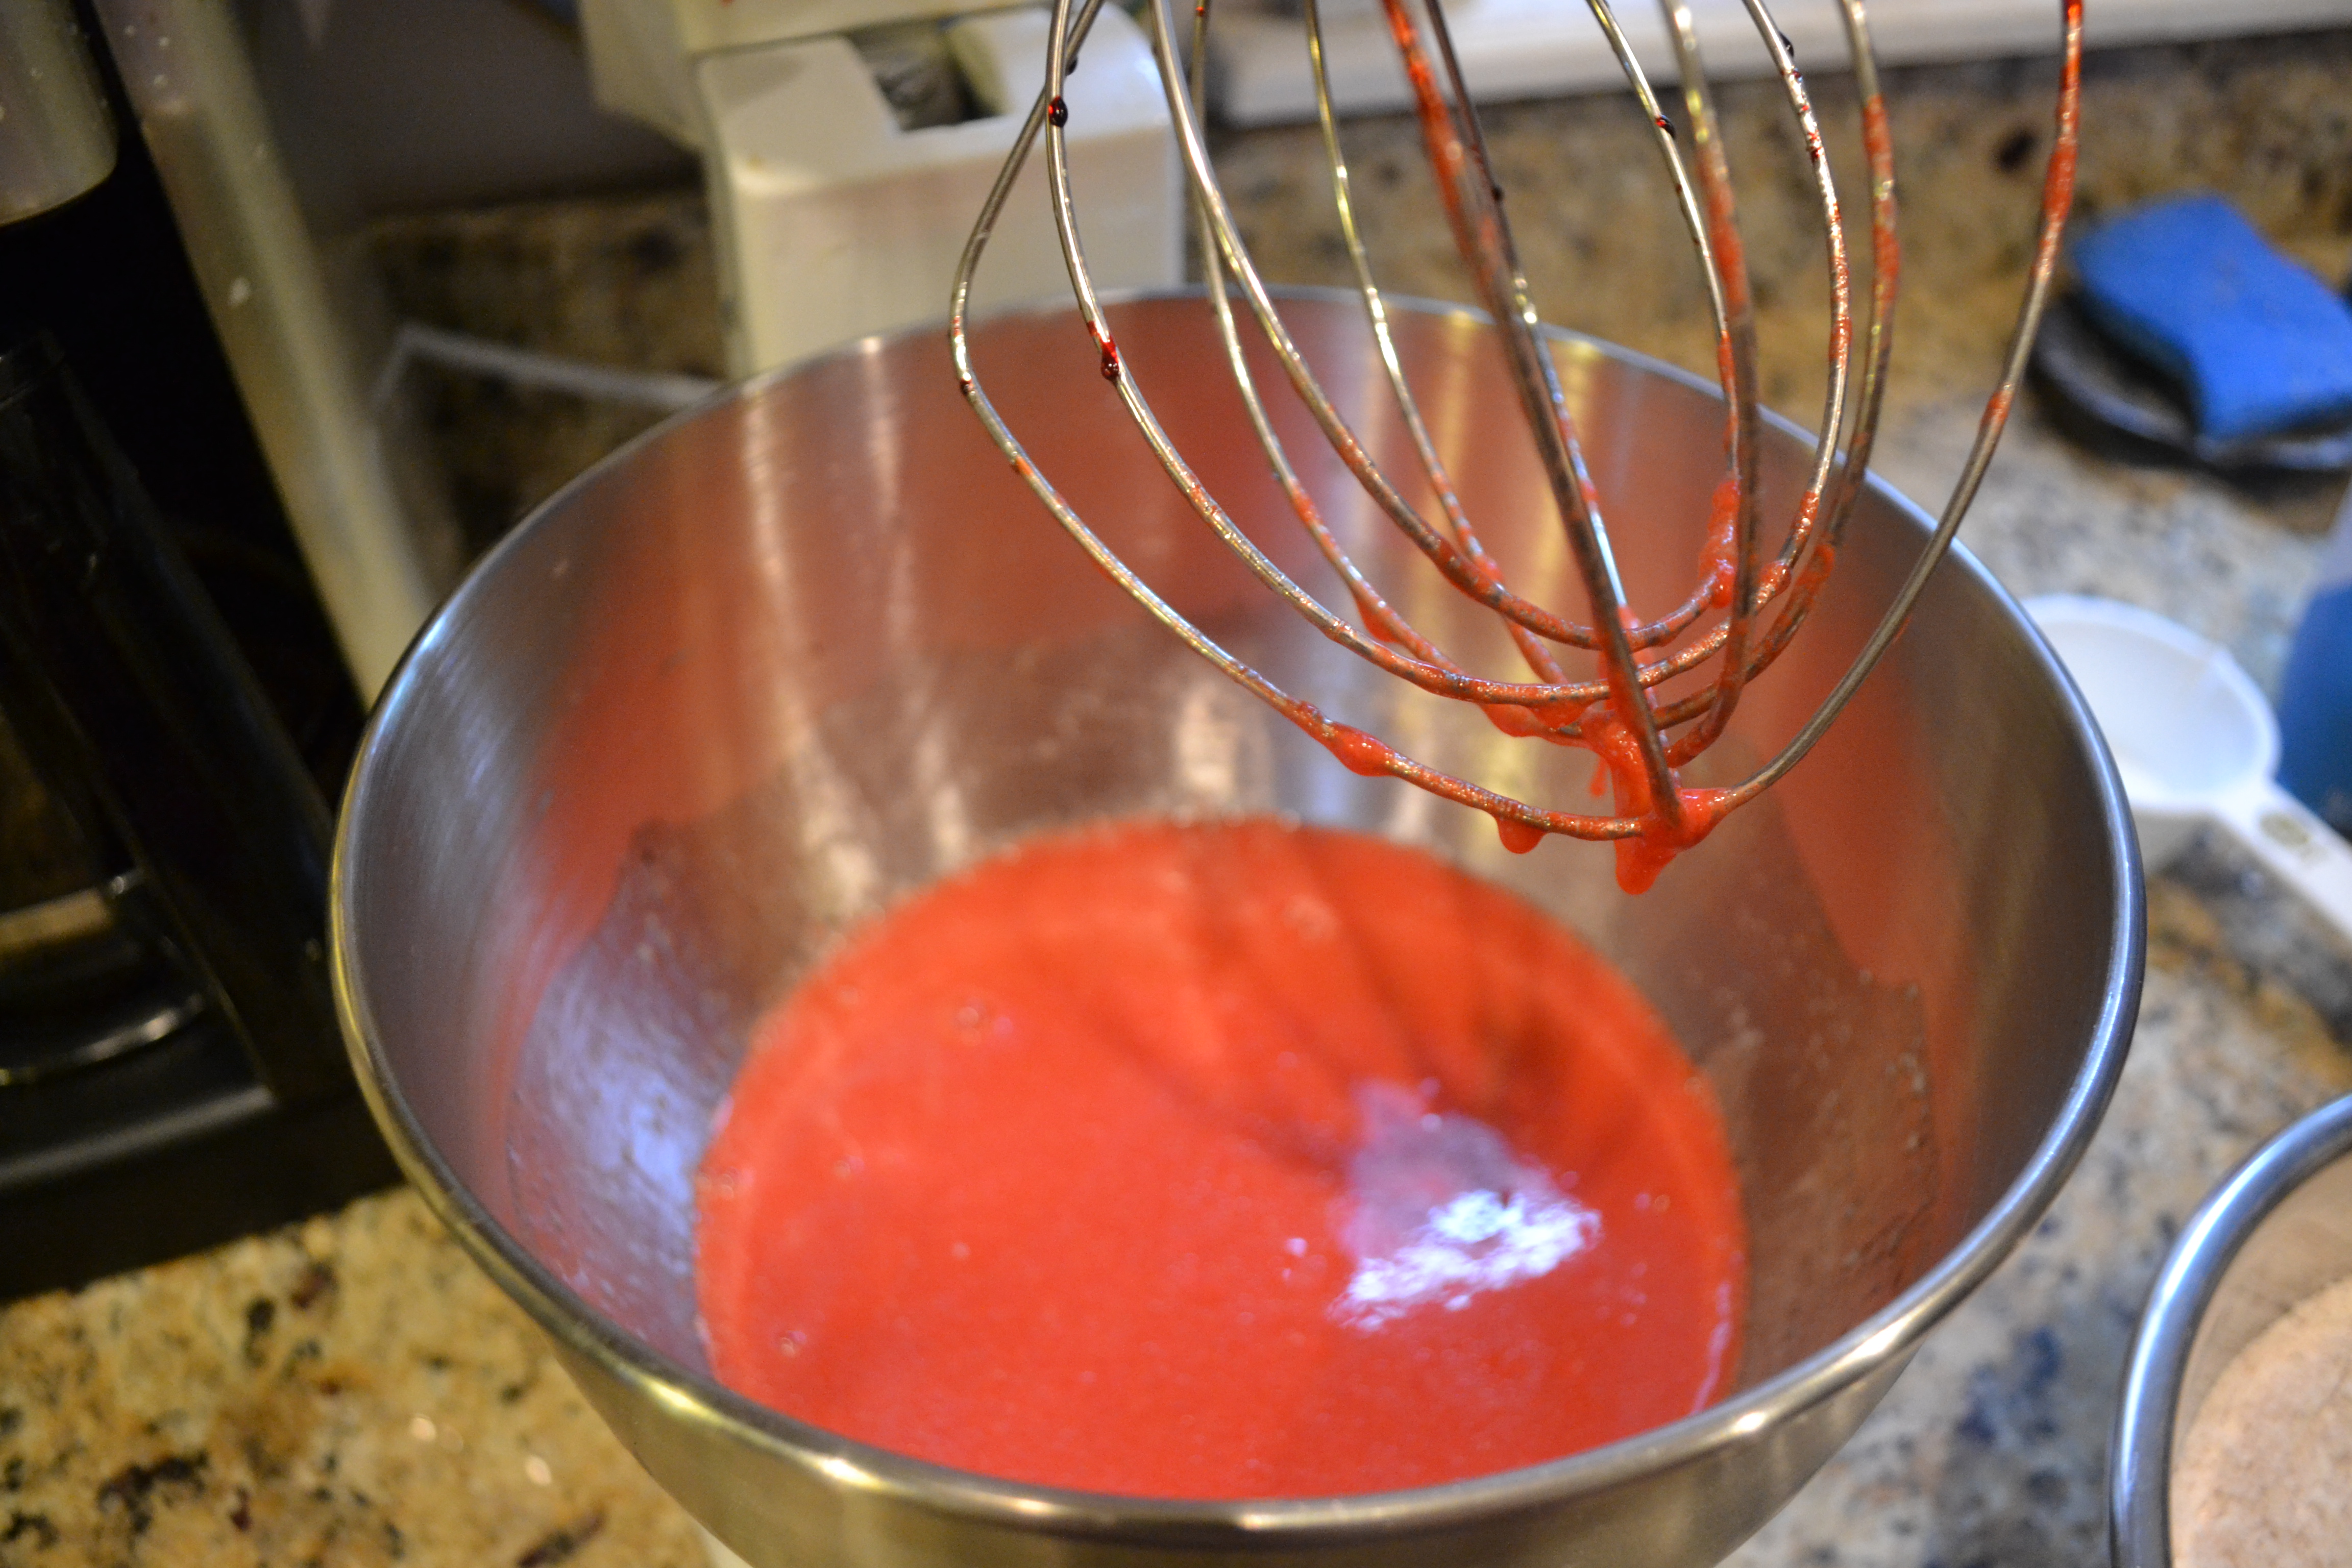
Then, add your wet ingredients (buttermilk, egg, water, and oil).

WetIngredients_GF

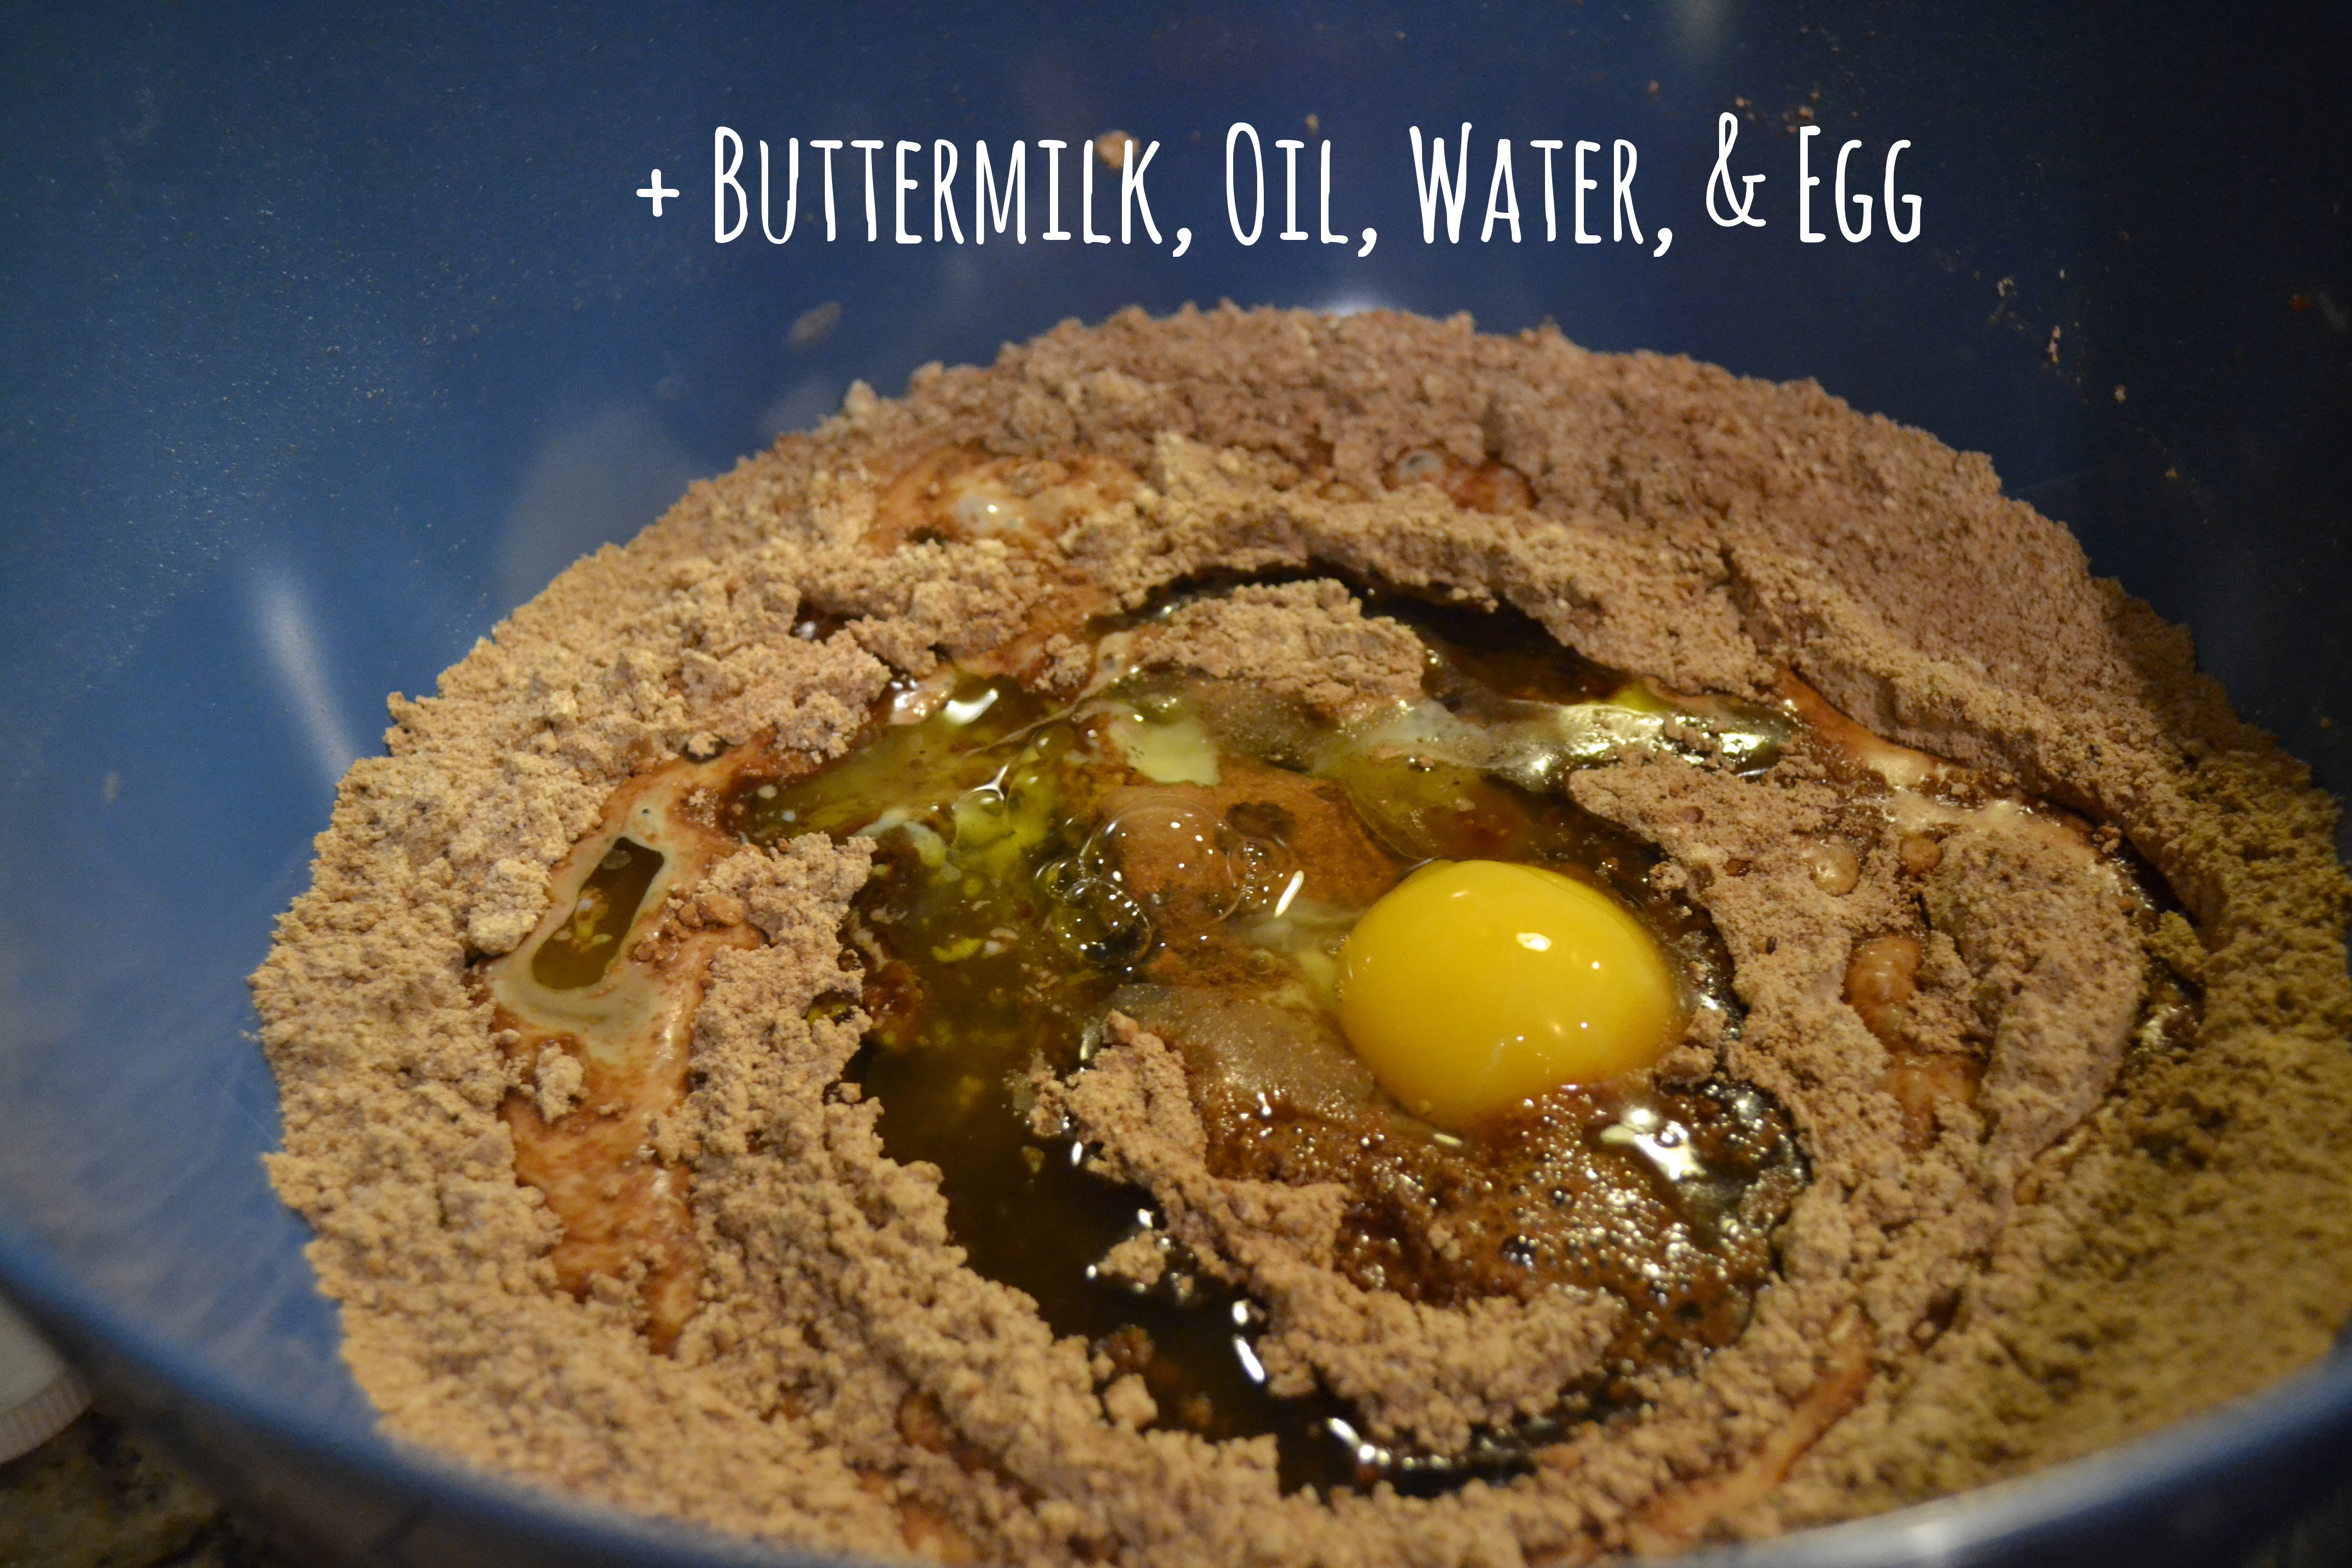
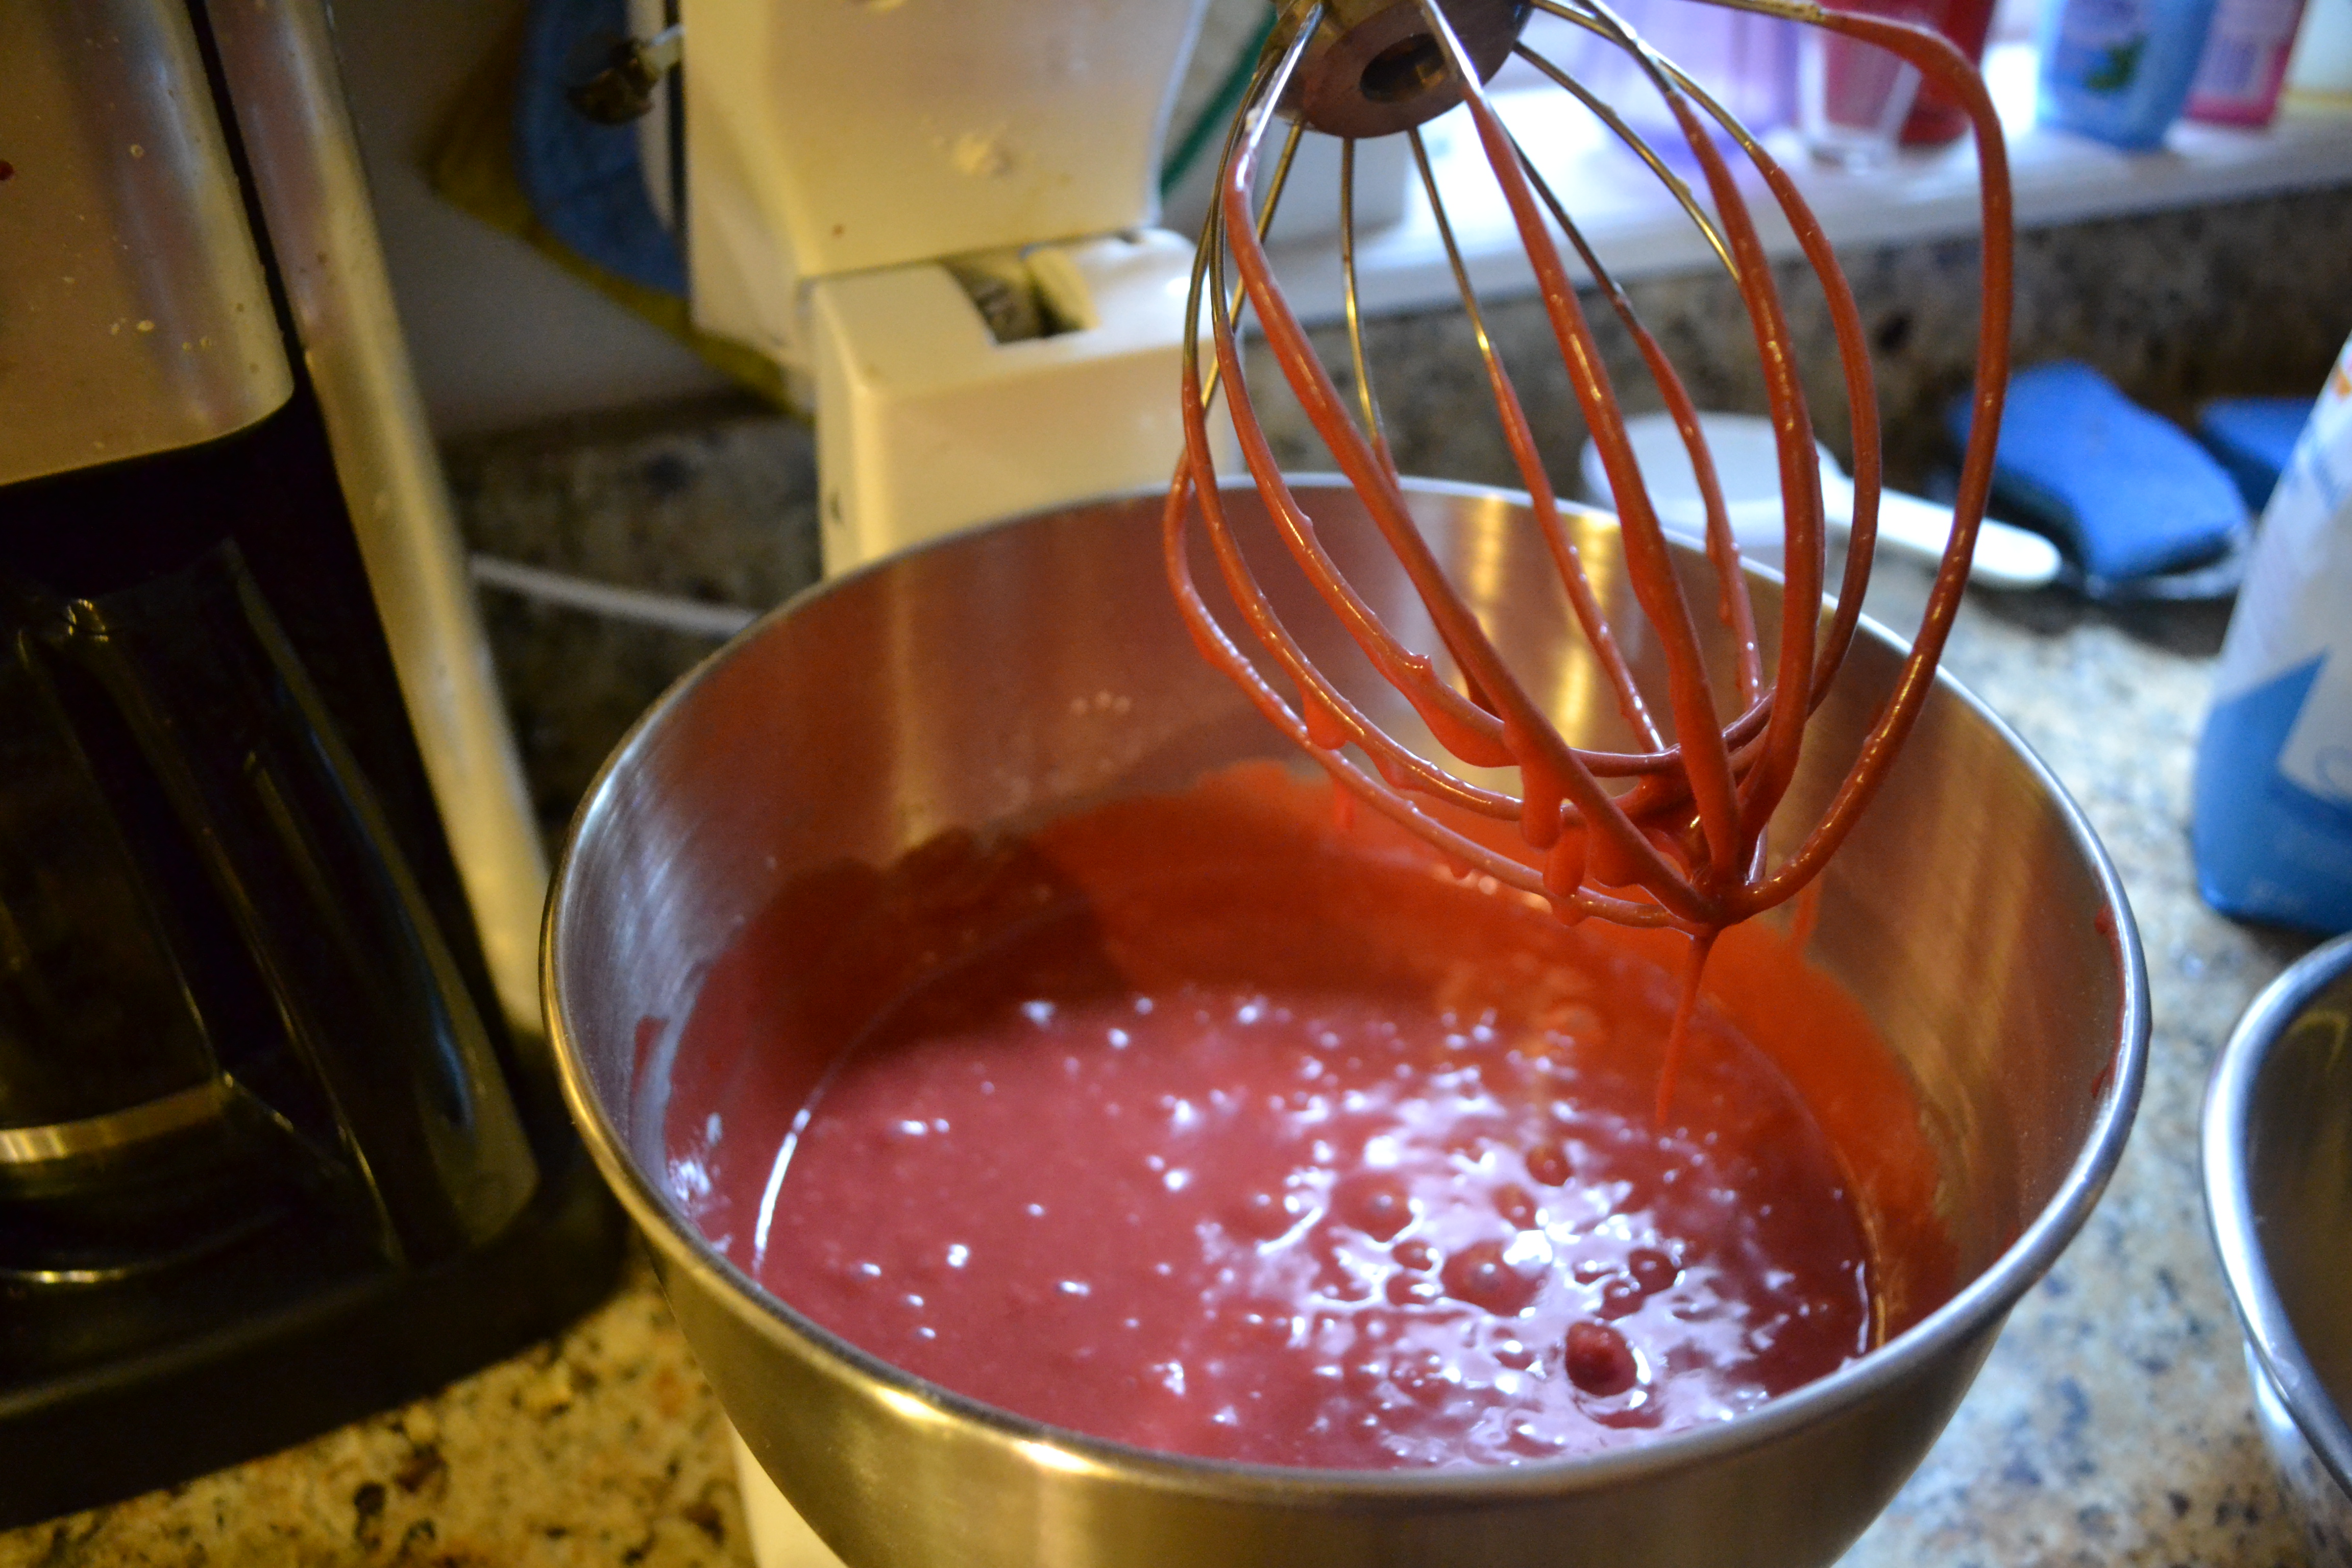
Stir until smooth and silky.

Batter_GF

This batter’s a little bit on the thin side, so I transfered my batter from a bowl into a pitcher to ensure less mess when filling my cupcake liners. Fill cupcake liners.

DSC_0788

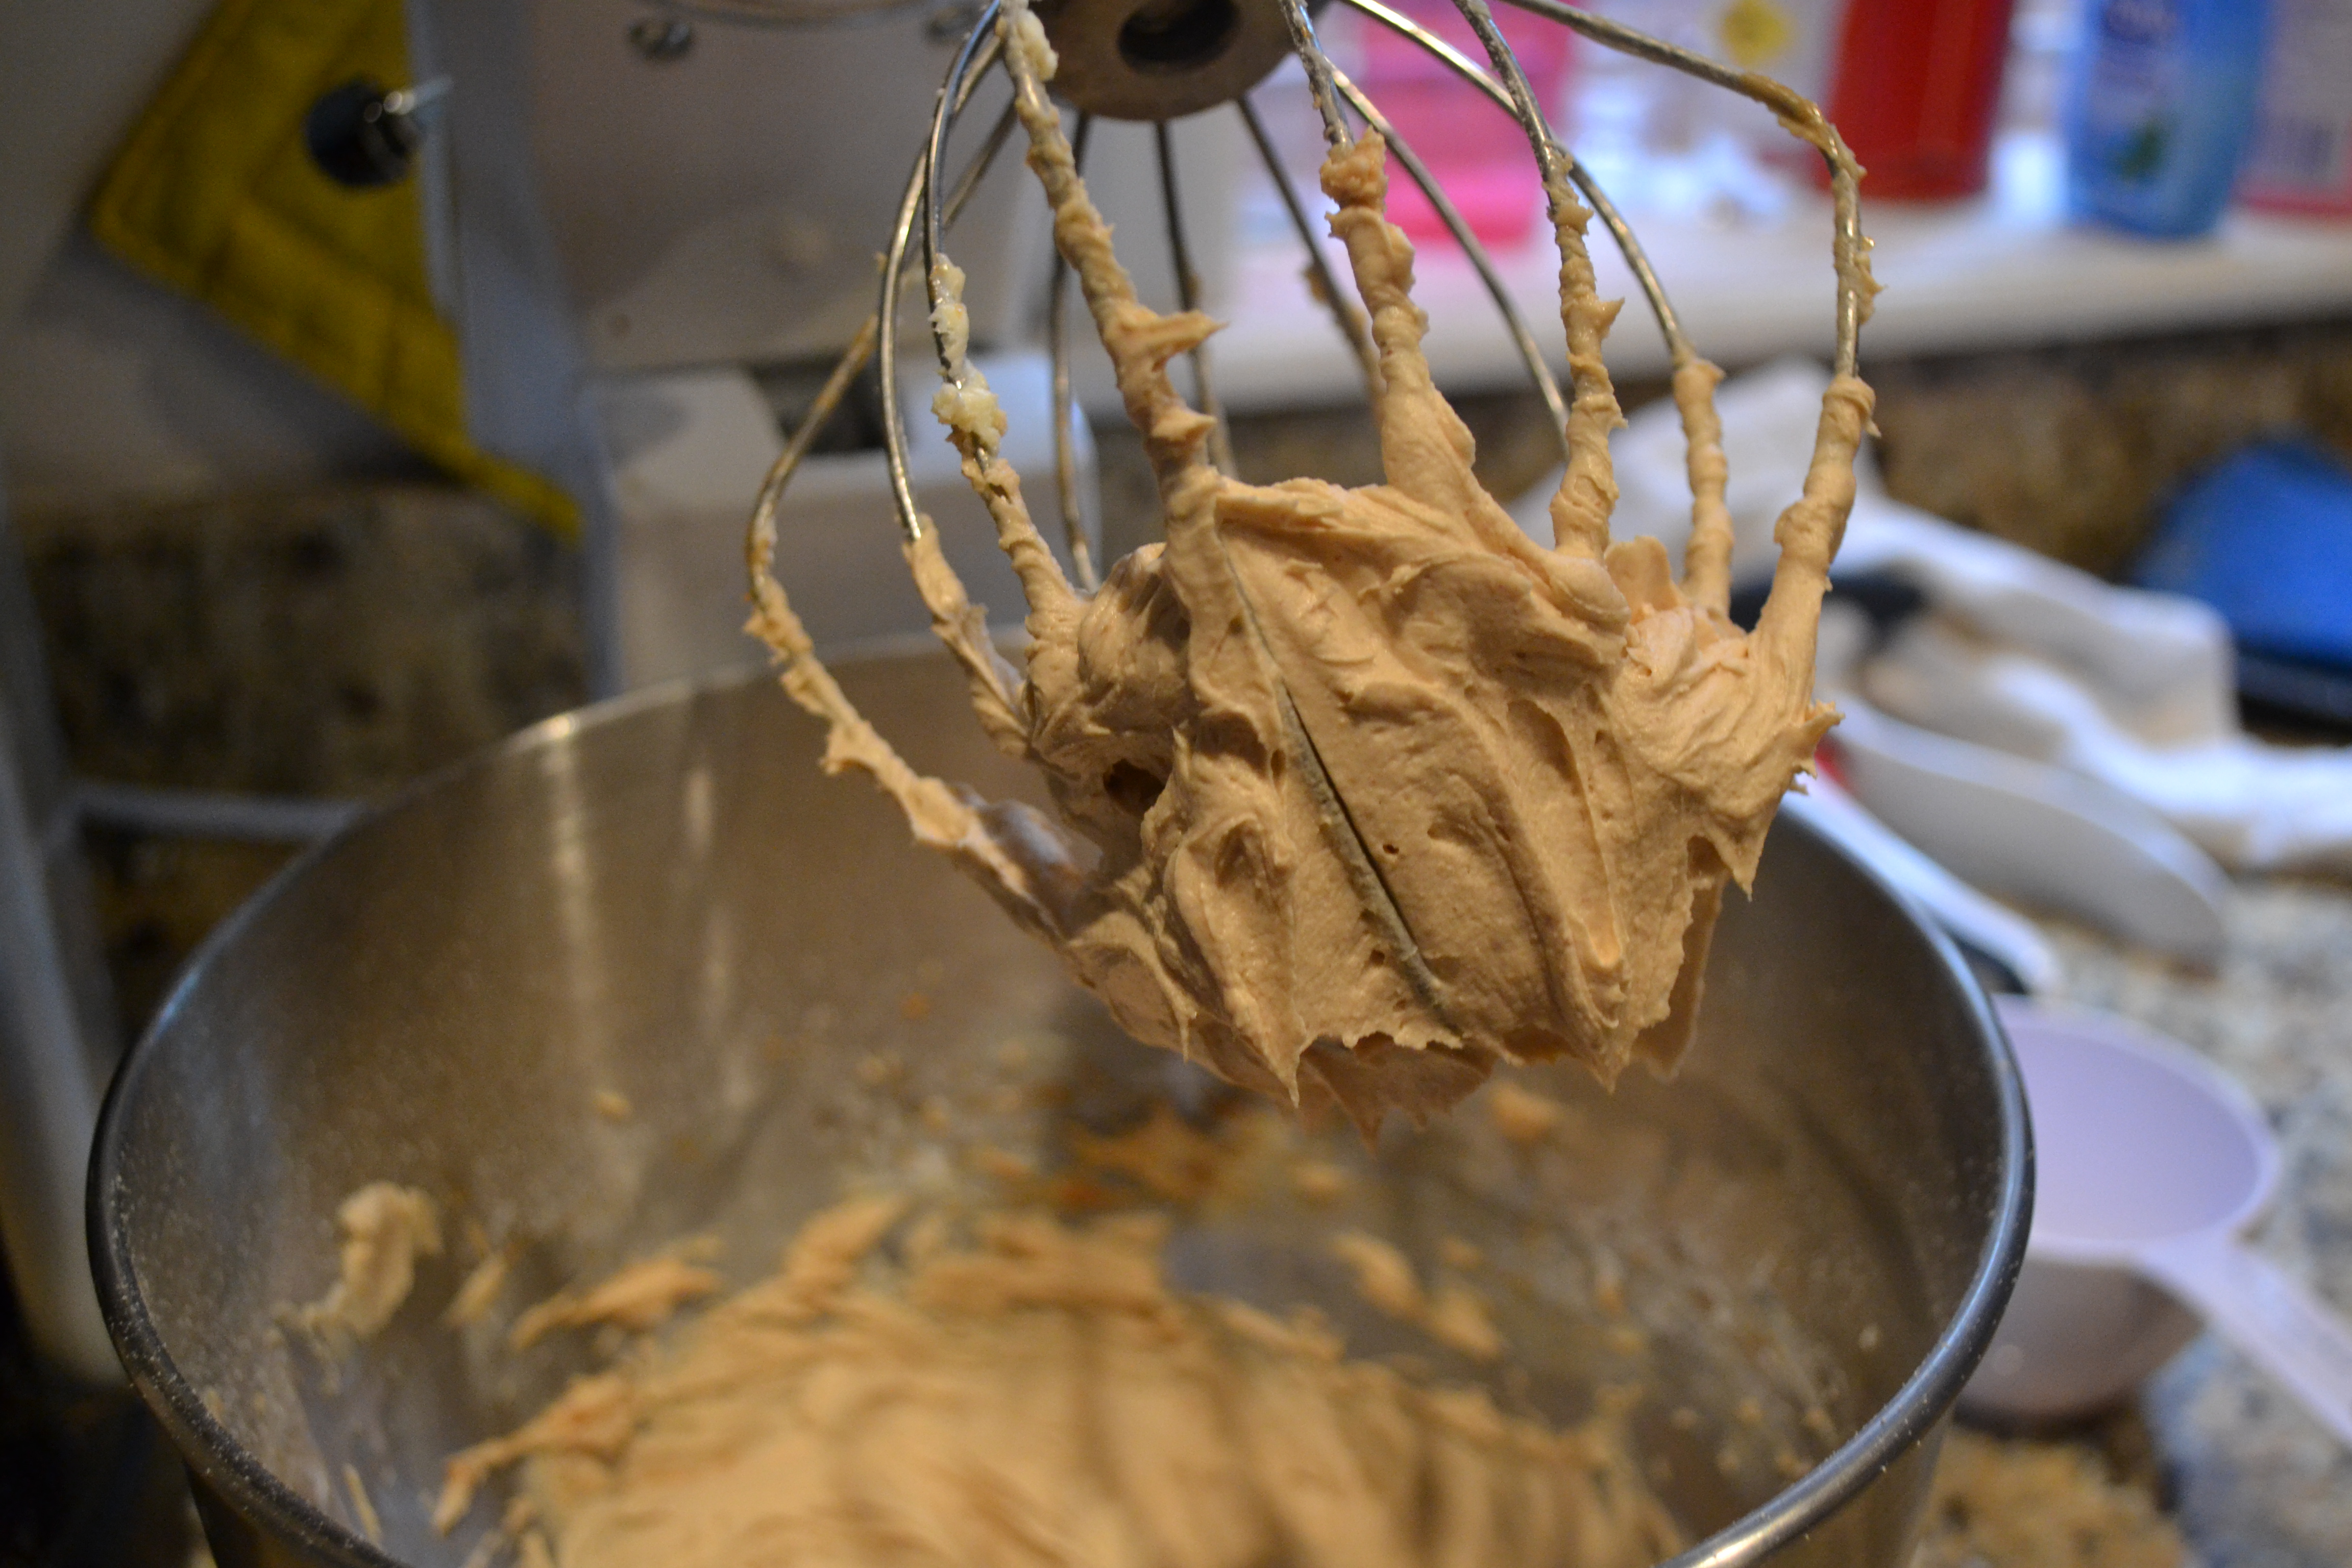
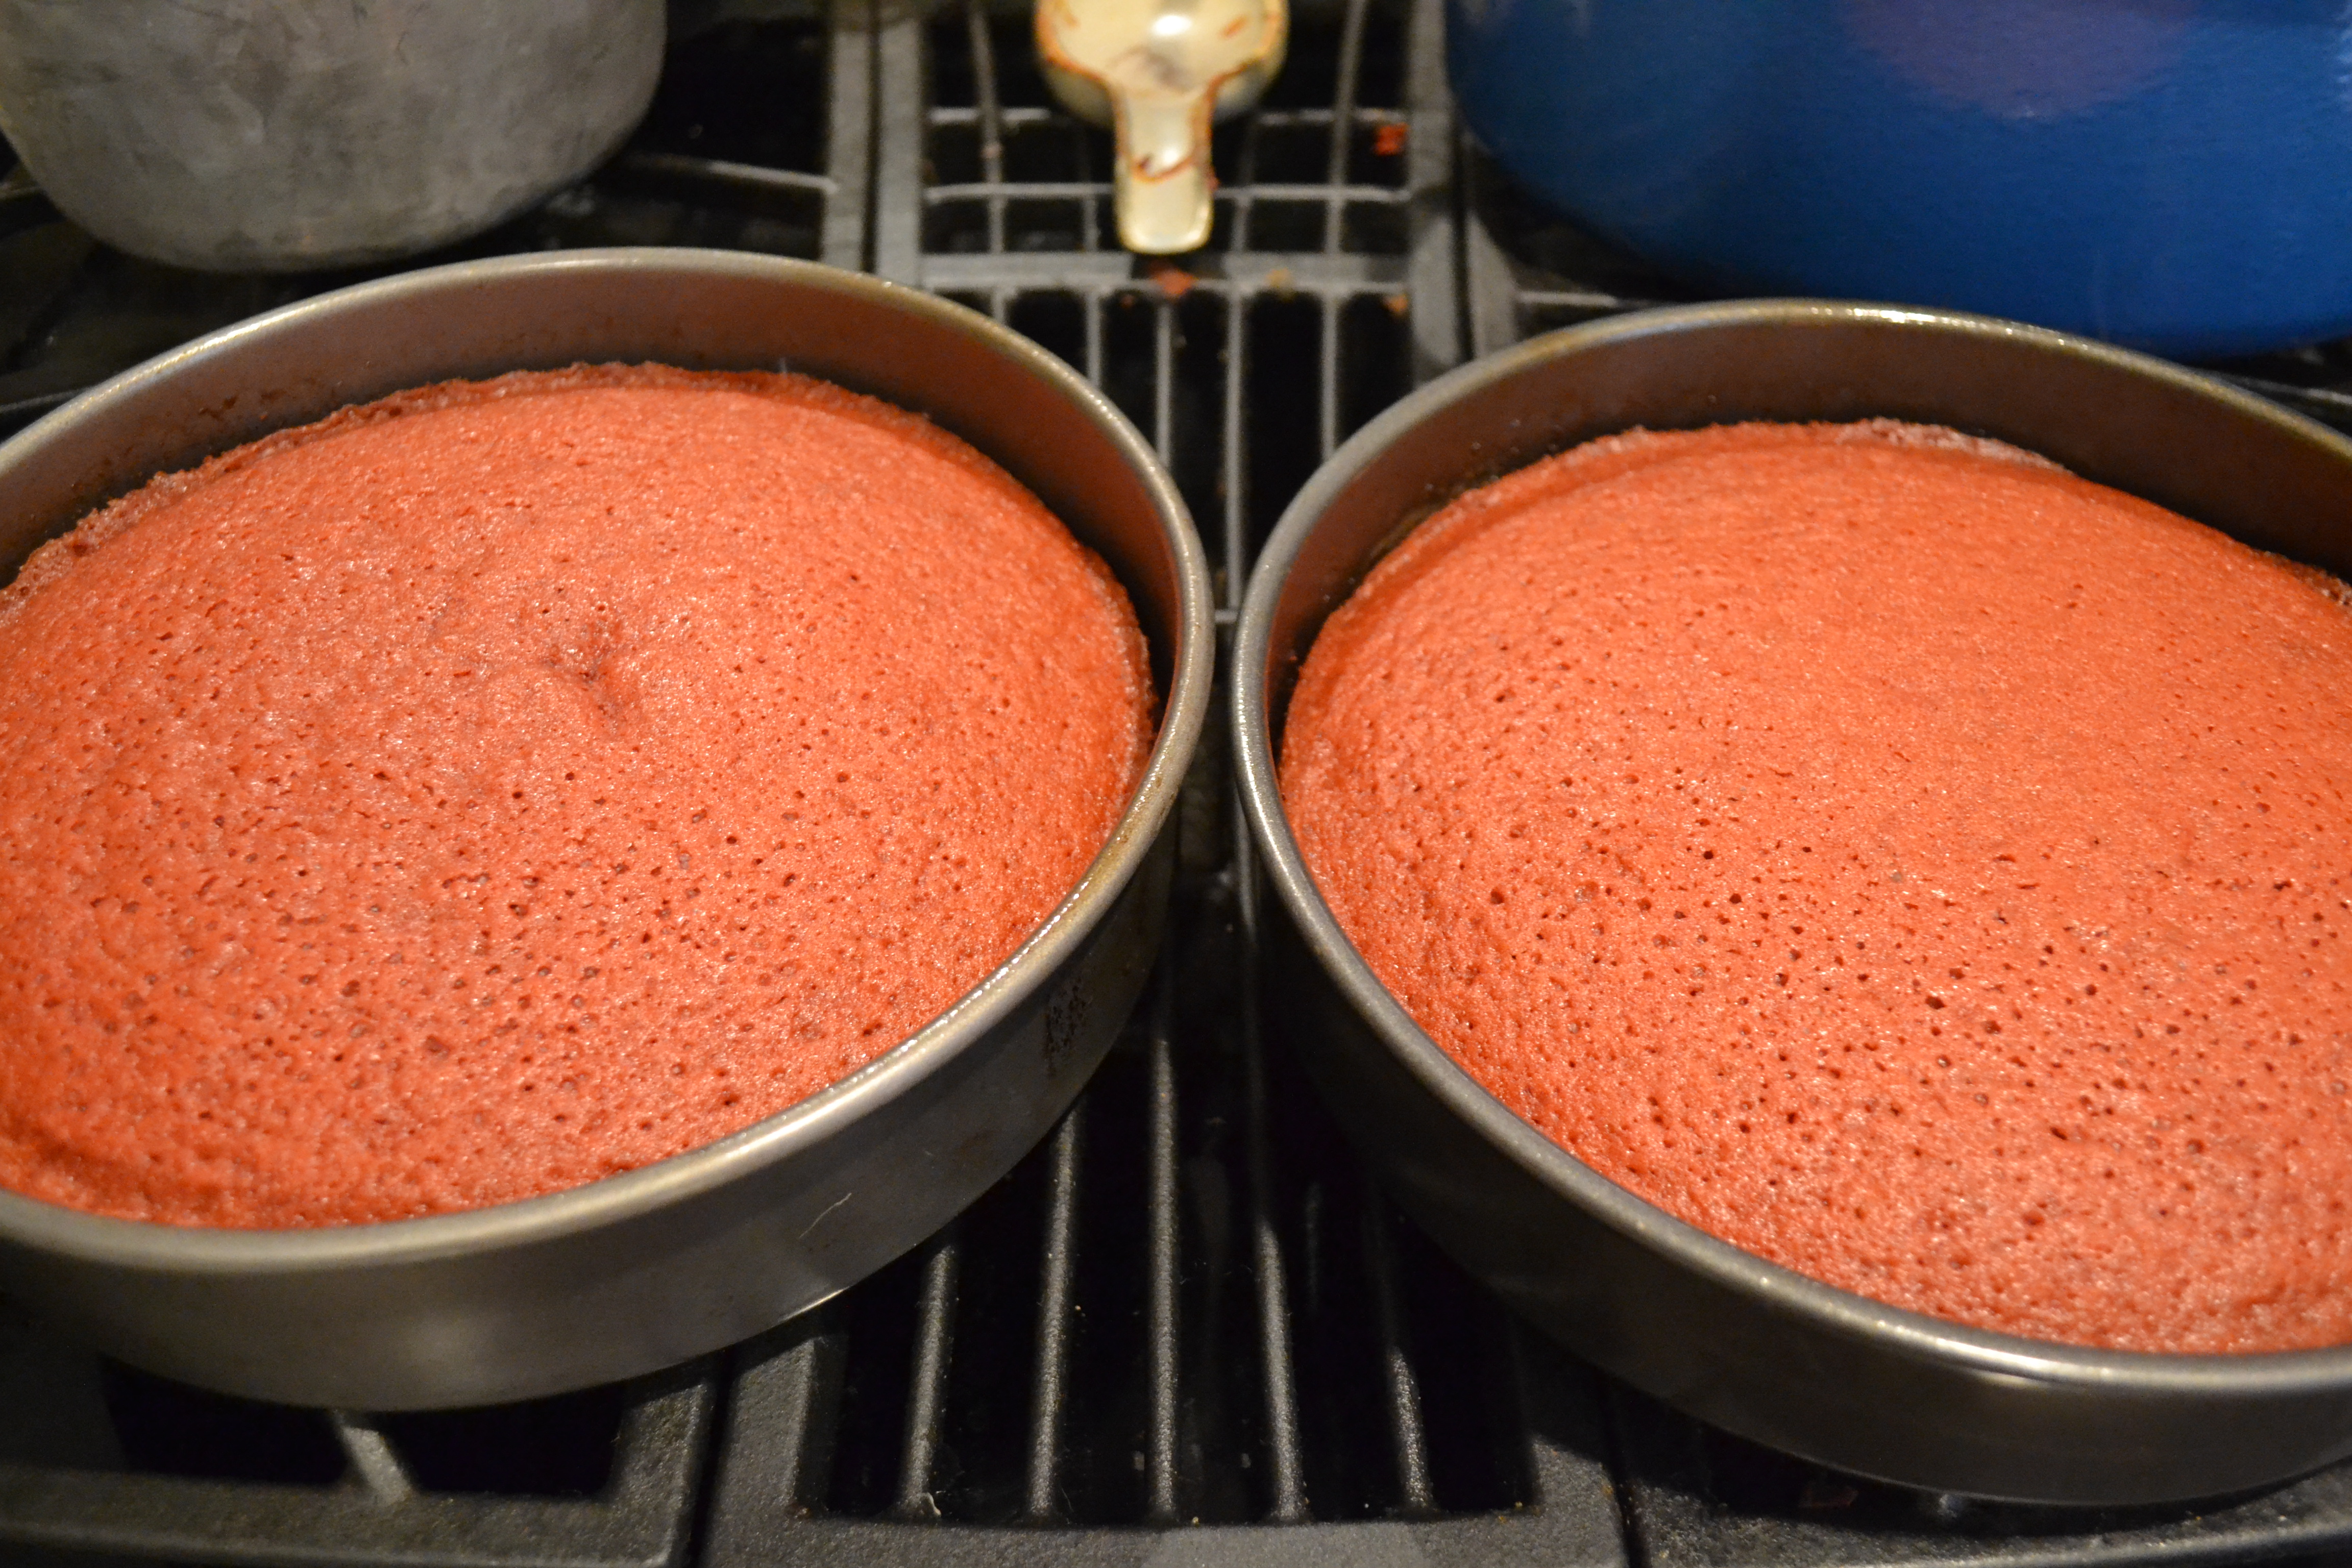
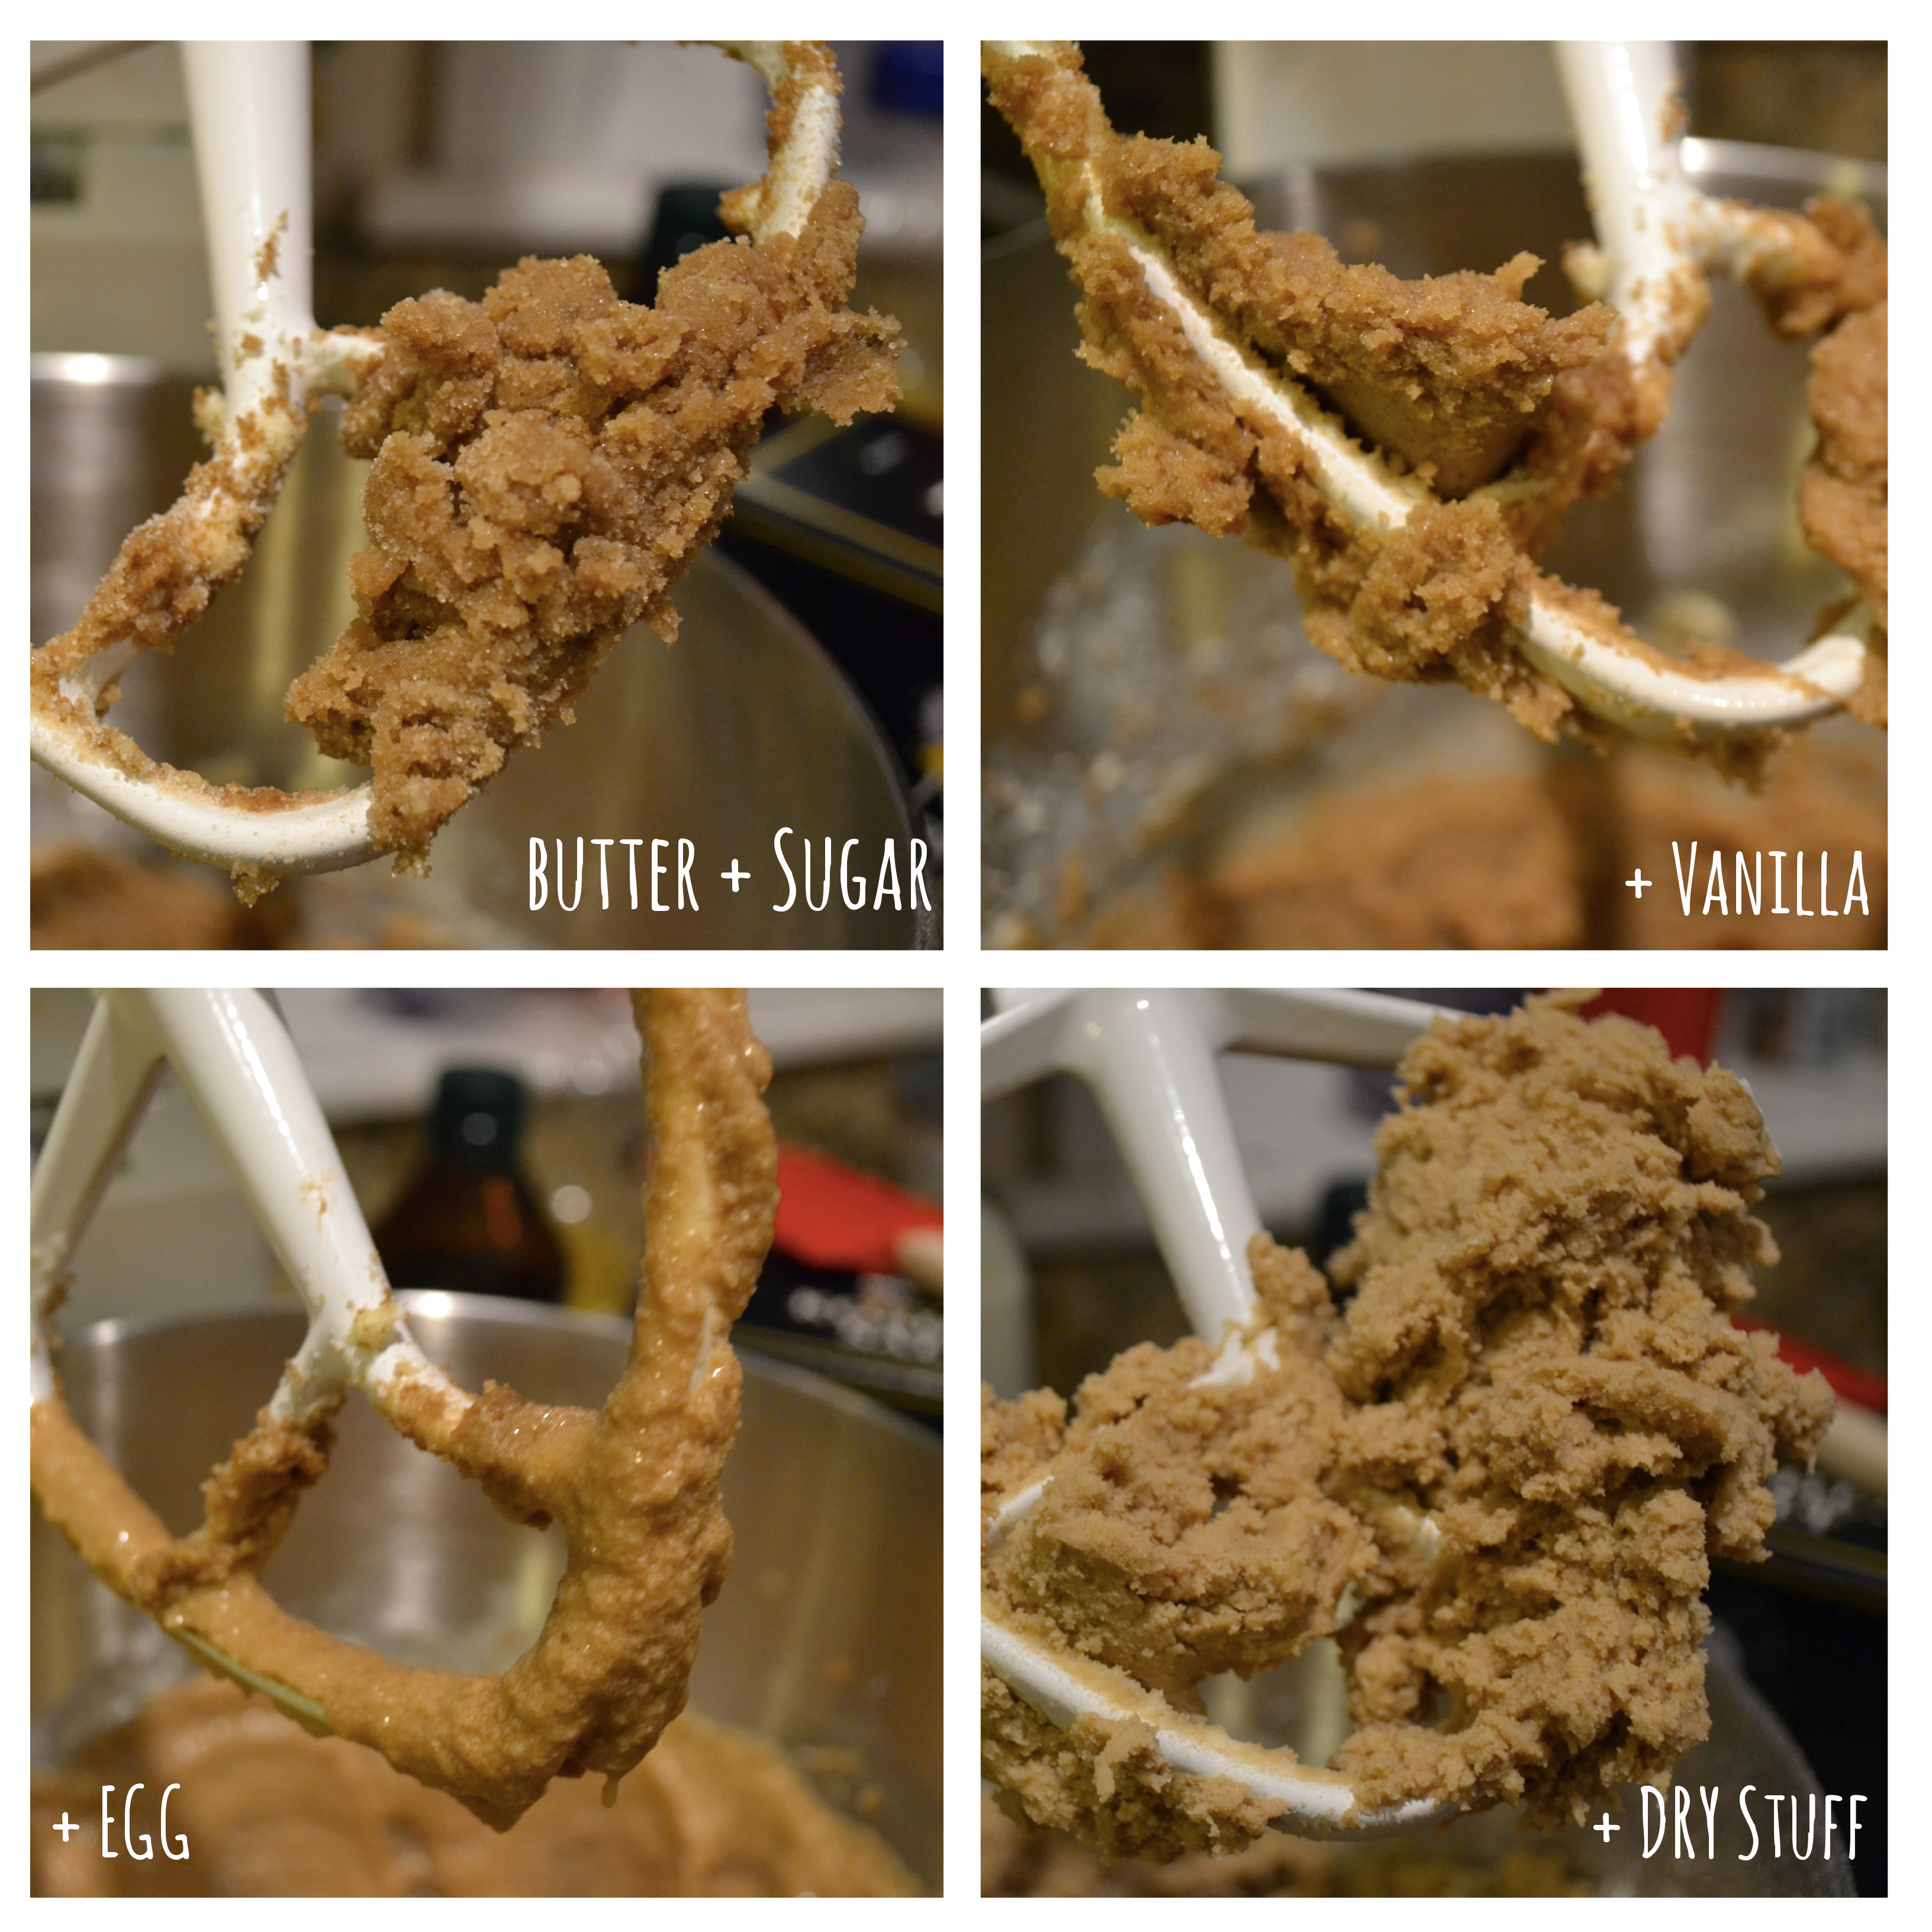
Bake at 350 for about 25 minutes. While baking, make your icing by creaming together butter, peanut butter, vanilla & powdered sugar together in the bowl of a stand mixer.

DSC_0805

Remove cupcakes from oven and let cool completely before frosting!

DSC_0800

xoxo,

Julia

Advertisement

red velvet cake

CakewithBerries_RedVelvet

Last night the Saucy San Diegan grilled a full aquarium (squid, oysters, swordfish, salmon, cod) in honor of Amy Boo Boo’s birthday celebration, and the Hungry Texans were in charge of apps and zerts. SSD requested red velvet, so red velvet it was! I was a little apprehensive as more often than not I feel like red velvet kind of dry, lackluster cake whose primary purpose is to make copious consumption of cream cheese frosting socially acceptable. That said, I put my biases aside and made a few modifications to a Saveur recipe that turned out super moist, flavorful, and good enough that I went straight for a slice for breakfast this morning.

For the cake:

Ingredients

2 1/2 cups cake flour
1 1/2 cups sugar
1 tsp. baking soda
2 tsp. cocoa powder
1 tsp. salt
2 eggs
1 1/2 cups vegetable oil
1 cup buttermilk
2 tsp red food coloring
1 1/2 tsp. vanilla extract
1 tsp. apple cider vinegar

For the icing:

Icing Ingredients

1 stick butter
1 package cream cheese
1 1/2 cups powdered sugar
2 tsp vanilla

This cake couldn’t be quicker to whip up. Start by preheating your oven to 350. Combine all your dry ingredients – sugar, flour, baking soda, salt, and cocoa powder together in a bowl. Then, in the bowl of a stand mixer combine – vegetable oil, eggs, buttermilk, vanilla, vinegar.

Liquid Mixing

Add your food coloring and combine.

Red Batter

Add your dry ingredients to your sanguine red batter.

Wet & Dry

Pour batter into two round parchment-lined and sprayed cake pans.

Finished Batter Batter in Pans

Bake for 25-30 minutes until your cakes pass the toothpick test. Set cakes aside to cool.

BakedCakes

While cakes are cooling, make your icing. In the bowl of your stand mixer cream together butter, cream cheese, and vanilla. Gradually add your powdered sugar until the icing reaches the desired flavor and consistency.

Assemble your cake. I achieved the coveted double-flip for this cake – making sure the round part was on top. I recommend, you do your first flip onto a plate, then flip back into your cake pan, and then flip on top of your first layer. Cake flipping is a delicate art, so you do you and figure out what works.

Layer1

Layer1Iced

Ice and decorate as desired.

IcedCake

Light the candles, slice and serve with ice cream. We served with homemade buttermilk ice cream! Yum!

DSC_0751

Make a wish!

Julia

chocolate chip cookies

Chocolate Chip Cookies Hero

You know those weeks where everything goes more wrong than right? Maybe some boo boos happened at work, or you had to walk home in the rain without an umbrella, or you got a flat tire, or you’re running on relatively little sleep, or you flaunted bare legs expecting 60 degree temps when it dropped to the 30s, or you witnessed a borderline-fist-fight on your bus, or left your shampoo and conditioner at the gym and it’s taken you 4 days to replenish so you’ve been washing your hair with hotel samples – just to name a few things that might sour this Hungry Texans’ week. What better way to turn a sour week sweet than a comforting batch of chocolate chip cookies?

I made these cookies attempting to emulate Levain Bakery’s quarter pound cookies (out of this world!). Mine were far shy of a quarter pound (although 2 cookies deep & plenty of cookie dough later, I might be close to a quarter pound consumed). The beauty of these cookies is they combine the best of both worlds – crispy on the outside, soft and gooey on the inside. Yum! Yum!

Whip up a batch (this is a half batch) and watch all your sorrows melt away.

Ingredients_ChocChip cookies

1 stick butter
½ c brown sugar
¼ c sugar
1 egg
1 tsp vanilla
¼ + ⅛ tsp baking powder
⅛ tsp baking soda
¼ + ⅛ tsp sea salt
¼ + ⅛ tsp cornstarch
1 ¾ c flour
½ cup semi-sweet chocolate chips
½ cup dark chocolate chips

Steps_ChocolateChipCookies with labels

In the bowl of a stand mixer start by creaming together your butter and both sugars. Add your vanilla. Add an egg. Add your dry ingredients. Remove the bowl from the stand mixer, remove the paddle attachment, and fold in your chocolate chips.

Chocolate Chip Cookies + Fold Chocolate Chips

Start balling your dough (think golf ball size or bigger)– don’t pack them too tight & your dough balls can be a little sloppy — and place cookies on a parchment lined cookie sheet. Put your balled dough in the freezer to chill for 10-15 minutes while you preheat your oven to 350.

Ball 'em up! Chocolate Chip Cookies

Bake for 20-25 minutes. Don’t be scared to take these guys out while they’re still a little soft. They’ll harden as they cool and taking them out early will help ensure a nice rare center.

Beware of belly aches!

xoxo,

a sugar-rushed Hungry Texan

white chocolate walnut fudge

white chocolate walnut fudge

Looking for a last minute holiday treat for your Christmas festivities? Whip up a batch of this super simple white chocolate walnut fudge and you’ll be a hit. You need 6 ingredients and just over 6 minutes (plus time for the fudge to chill), and you’ll have a delicious non-cookie, non-chocolate sweet treat that will easily travel and makes a great gift!

Ready, set, fudge!

1 1/2 bags white chocolate chips

1 can sweetened condensed milk

2 generous tsp of vanilla

1/4 tsp baking soda

a big pinch of salt

3/4 to 1 cup chopped walnuts (pecans would also be yum!)

white chocolate fudge steps

In a true (or makeshift!) double broiler, melt your chocolate chips. Stir continuously to facilitate the melting until the chips are all beginning to soften & get creamy. Add your sweetened condensed milk & vanilla. Keep stirring until it’s all melty, combined, delicious white goop and stir in your soda & salt. Once everything’s all mixed, remove your white-chocolate wonder from the heat & stir in your walnuts. Quickly pour into a parchment-lined pyrex & then chill. Once until the fudge is frigid and solid, cut into your desired sized pieces & enjoy!

Variation: You could easily use this same base for a peppermint bark! Substitute the walnuts for crushed peppermints or candy canes & swap 1 of the tsps of vanilla for a tsp of peppermint extract! Yum!

inside-out peppermint patties

inside out peppermint patties

I’m sure you all have many a nostalgic childhood memory of York Peppermint Patties (who doesn’t?). Maybe your grandmother always had peppermint patties on hand or there was one of these cardboard dispensers at one of your favorite restaurants. My favorite burrito cart–Pedro & Vinny’s–hands out peppermint patties to soothe the palette post-over-indulgence in the spice of their famous goose & spicy cilantro sauces, and this simple & satisfying after-meal sweet helped rekindle my love for these shiny silver treats & I encountered the homemade inside-out version at a friend’s Thanksgiving party. Assembly is slightly time-consuming, but preparing the components of these PepPats couldn’t be simpler!

Peppermint Patty:

1/2 a stick of softened cream cheese

2 tbl butter

1 lb box of powdered sugar

2 tbl peppermint extract

Chocolate Ganache:

6 oz semi-sweet chocolate

1/2 cup half & half

Peppermint Patties_patty

Start by creaming together your cream cheese & butter, then gradually begin adding your powdered sugar. Add the peppermint extract and take a taste to make sure the minty-ness suits your tastebuds. Chill your creamy patty mixture. Then, make your ganache. Chop, chop, chop your chocolate and heat your half & half in the microwave. Dump your chopped chocolate into the hot milk and stir, stir, stir like crazy. Your mix will be pretty thick, but I recommend chilling for at least 30 minutes in the fridge or 15 minutes in the icebox.

Once both have had an opportunity to chill, start rolling & piping. Take a small spoon and scoop tiny balls, roll them between your palms (you may want to lightly grease your hands with a neutral oil). I rolled ~6 at a time and then piped the chocolate ganache on top. You could of course use a real piping bag, but these HungryTexans prefer Ziplocs. Put your ganache in the bag, snip the tip, and start piping. Just a dollop of chocolate on each patty! Voila, inside-out peppermint patties.

I recommend keeping these PepPatts chilly. These treats will make everyone from coworkers to mingling singles smile.

Put some “pepp” in your step!

one bowl brownies

1bowlbrownies

Consider yourself warned, you’ll be a hazard to yourself with these brownies nearby. The Saucy San Diegan made quite the feast of collards, kale & pork chops, so I volunteered to whip up dessert last night. Since our kitchen is just now, two weeks later, beginning to recover from our Pre-Thanksgiving Thanksgiving festivities, nothing sounded better than only dirtying one bowl & I had all the ingredients on hand for brownies. I improv’d a little with my chocolate varietals & I encourage you to do the same, but let it be known these brownies turned our to be better than I could have ever imagined, so it might be worth sticking to this choco ratio. My perfect dessert – a tad bit of crunch on the outside & gooey goodness on the inside. I began devouring them the second they got out of the oven (the roof of my mouth is still recovering), enjoyed round II as a midnight snack, and woke up promptly this morning to enjoy a few nibbles for breakfast. I can’t quit these brownies. Also important to note, Boston Boy & Saucy San Diegan–both of whom have slim to no sweet tooth–loved ’em too!

Gather the following:

1/3 cup cocoa powder

1/2 cup + 2 tsp boiling water

3 oz finely chopped Belgium chocolate (it’s all we had on hand thanks to one of One Sock Wonder’s friends who visited from Belgium!)

1/2 cup coconut oil

1/4 cup butter

2 eggs + 2 egg yolks

2 tsp vanilla

2 1/2 c sugar

1 3/4 c flour

3/4 tsp salt

6 oz semisweet chocolate chips

Preheat your oven to 350. First, dump your cocoa powder into the bowl & dissolve it with your 1/2 cup of boiling water. Then add your belgium chocolate & whisk, whisk, whisk until it’s all melted. Melt your coconut oil and butter together and then pour that into your mix until it’s combined. Add your two full eggs & two yolks & your vanilla. Then whisk in your sugar & finally, slowly add your flour/salt mixture. The final touch is to fold in your chocolate chips. There you have it! One bowl, a couple utensils, a liquid measure, a dry measure and a few guesstimates later and you have yourself One Bowl Brownies.

It’s important that you prep your pyrex accordingly. I used a square dish and lined the bottom with parchment so they popped out perfectly! Pour your batter into your prepped pan and lick the bowl (not joking! taste the batter, it should be sweet sweet with a hint of hmmm…what is this delicious vanilla, coconuty sweetness?). Pop the brownies in the oven and wait oh, so patiently as the sweetest smells start wafting from your oven. These babies took longer than I expected (~1 1/2 episodes of Homeland) or 45-60 minutes. Remove from the oven once the top is set and your brownies pass the toothpick test on the edges (I took mine out when the center was still a little rare!).

I recommend taking these to a party, where you can have as many bites as you want, but it’d be uncouth to take the whole pan home with you. If you keep them around the house too long, you’ll be like me desperately scavenging for crumbs & desperately resisting the temptation to lick the chocolate that’s smudged between your “r” & “t” keys directly from the keyboard.

basics: homemade nutella


Admission: This Hungry Texan is not so hungry.  After an incredible, veggie-rich thanksgiving dinner at Boston Boy’s family in New York (the Lone Star State was a tad far for me to travel for just a couple days), plus leftovers, PLUS some amazing bagels, I’m totally stuffed.  But that doesn’t make this recipe for homemade Nutella any less appealing.  I whipped this up with sister Emily, here forth known as Lemur Lady- she spent the last few months in Madagascar with a cast of lemurs and the girl knows a thing or two about baking.

I get it- people are crazy for nutella.  There are probably entire religions devoted to Nutella.  And when you can get a vat of it at Costco, it may seem silly to make your own.  But trust me, this homemade version is an incredible rendition- sweet from the dark chocolate but with no sugar added, nutty and rich from the toasted hazelnuts.  Plus, this comes out silky instead of becoming congealed  like the jarred stuff- double win!

Also, it takes 5 minutes to make.  So you have no excuses.  To the recipe!

You’ll need:

10 oz semi-sweet dark chocolate (if you want something sweeter, use a milk chocolate or your favorite)
1 cup hazelnuts
1 tbs oil
1 tsp salt

First, you’ll need to make your fancy double boiler.  Fill a medium saucepan 1/4 the way with water and heat to a boil.  Reduce to a simmer and fit an appropriately sized stainless steel bowl over the saucepan.  Add your chocolate to the bowl and stir constantly until the chocolate is melted and smooth.  

Take the chocolate off of the heat and toast your hazelnuts with 1 tbs of oil in a large pan for about 4 minutes.

Add your hazelnuts to a blender or food processor and pulse 5-10 times, until the hazelnuts are ground.  Add your chocolate to the blender and blend until smooth.

Serve immediately or in a jar in the refrigerator (who are we kidding).  We ate it over fruit, but decided that the silky delight would be perfect drizzled over popcorn, spread on toast, or over pecan pie (ok, i did that).

xoxo,

the hungry texans

Boozy Chocolate Nut Balls

The title leaves no surprises. These ‘lil babies were quite boozy, so boozy you almost feel bad bringing them to the office an asking your coworkers to indulge in a flavorful bomb of chocolaty rum before 5 pm on a Tuesday. They say “candy is dandy, but liquor is quicker, ” but with these treats you don’t have to choose one or the other! If I made these again, I think I’d try Bourbon, and I think I’d try serving them alongside after dinner drinks, but with this basic recipe in our back pockets the opportunities to innovate upon it are endless.

Start with:

1 package chocolate teddy grahams

1 1/2 cups pecans

1 1/2 cups powdered sugar

1/2 cup rum

1 tbl vanilla

3 tbl cocoa powder

1 1/2 tbl honey

All you need to do is mix your teddies and nuts in the food processor until you have a coarse crumb. In a separate bowl stir together your rum, cocoa, honey, and powdered sugar, then dump your crumbs to the liquid mix. Mix, mix, mix it all together and then chill until the dough is cold and you’re ready to ball. Shout out to RyBei who rolled this dough into perfect little balls. Once you have your balls, roll in powdered sugar and they’re ready for eats. These balls are super forgiving, chill well for days, and would be pretty precious stacked on top of each other in a cellophane bag and a red ribbon tied around them (#Holidays2012, I’m just sayin’!).