 Happy Pi Day, Hungry Texans! In celebration, I wanted to share a Lovett family favorite. We fell in love with this pie during childhood trips to Emeril’s Delmonico in New Orleans, and it wasn’t long before Big Daddy perfected it and this coconut cream pie became the dessert de résistance of every dinner party.
I took a couple creative liberties with Daddio’s classic – 3 mini pies instead of one big one (it’s the closest I could get to 3.14!) & adding coconut oil to the crust, but the core is the same and the proof is in the pudding…or in this case, the coconut custard!
Try it for yourself!
Coconut Crust
1 ¼ cups all purpose flour
½ tsp table salt
1 tbl sugar
6 tbl cold unsalted butter, cubed
¼ cup coconut oil
2 tbl vodka, cold
2 tbl cold water
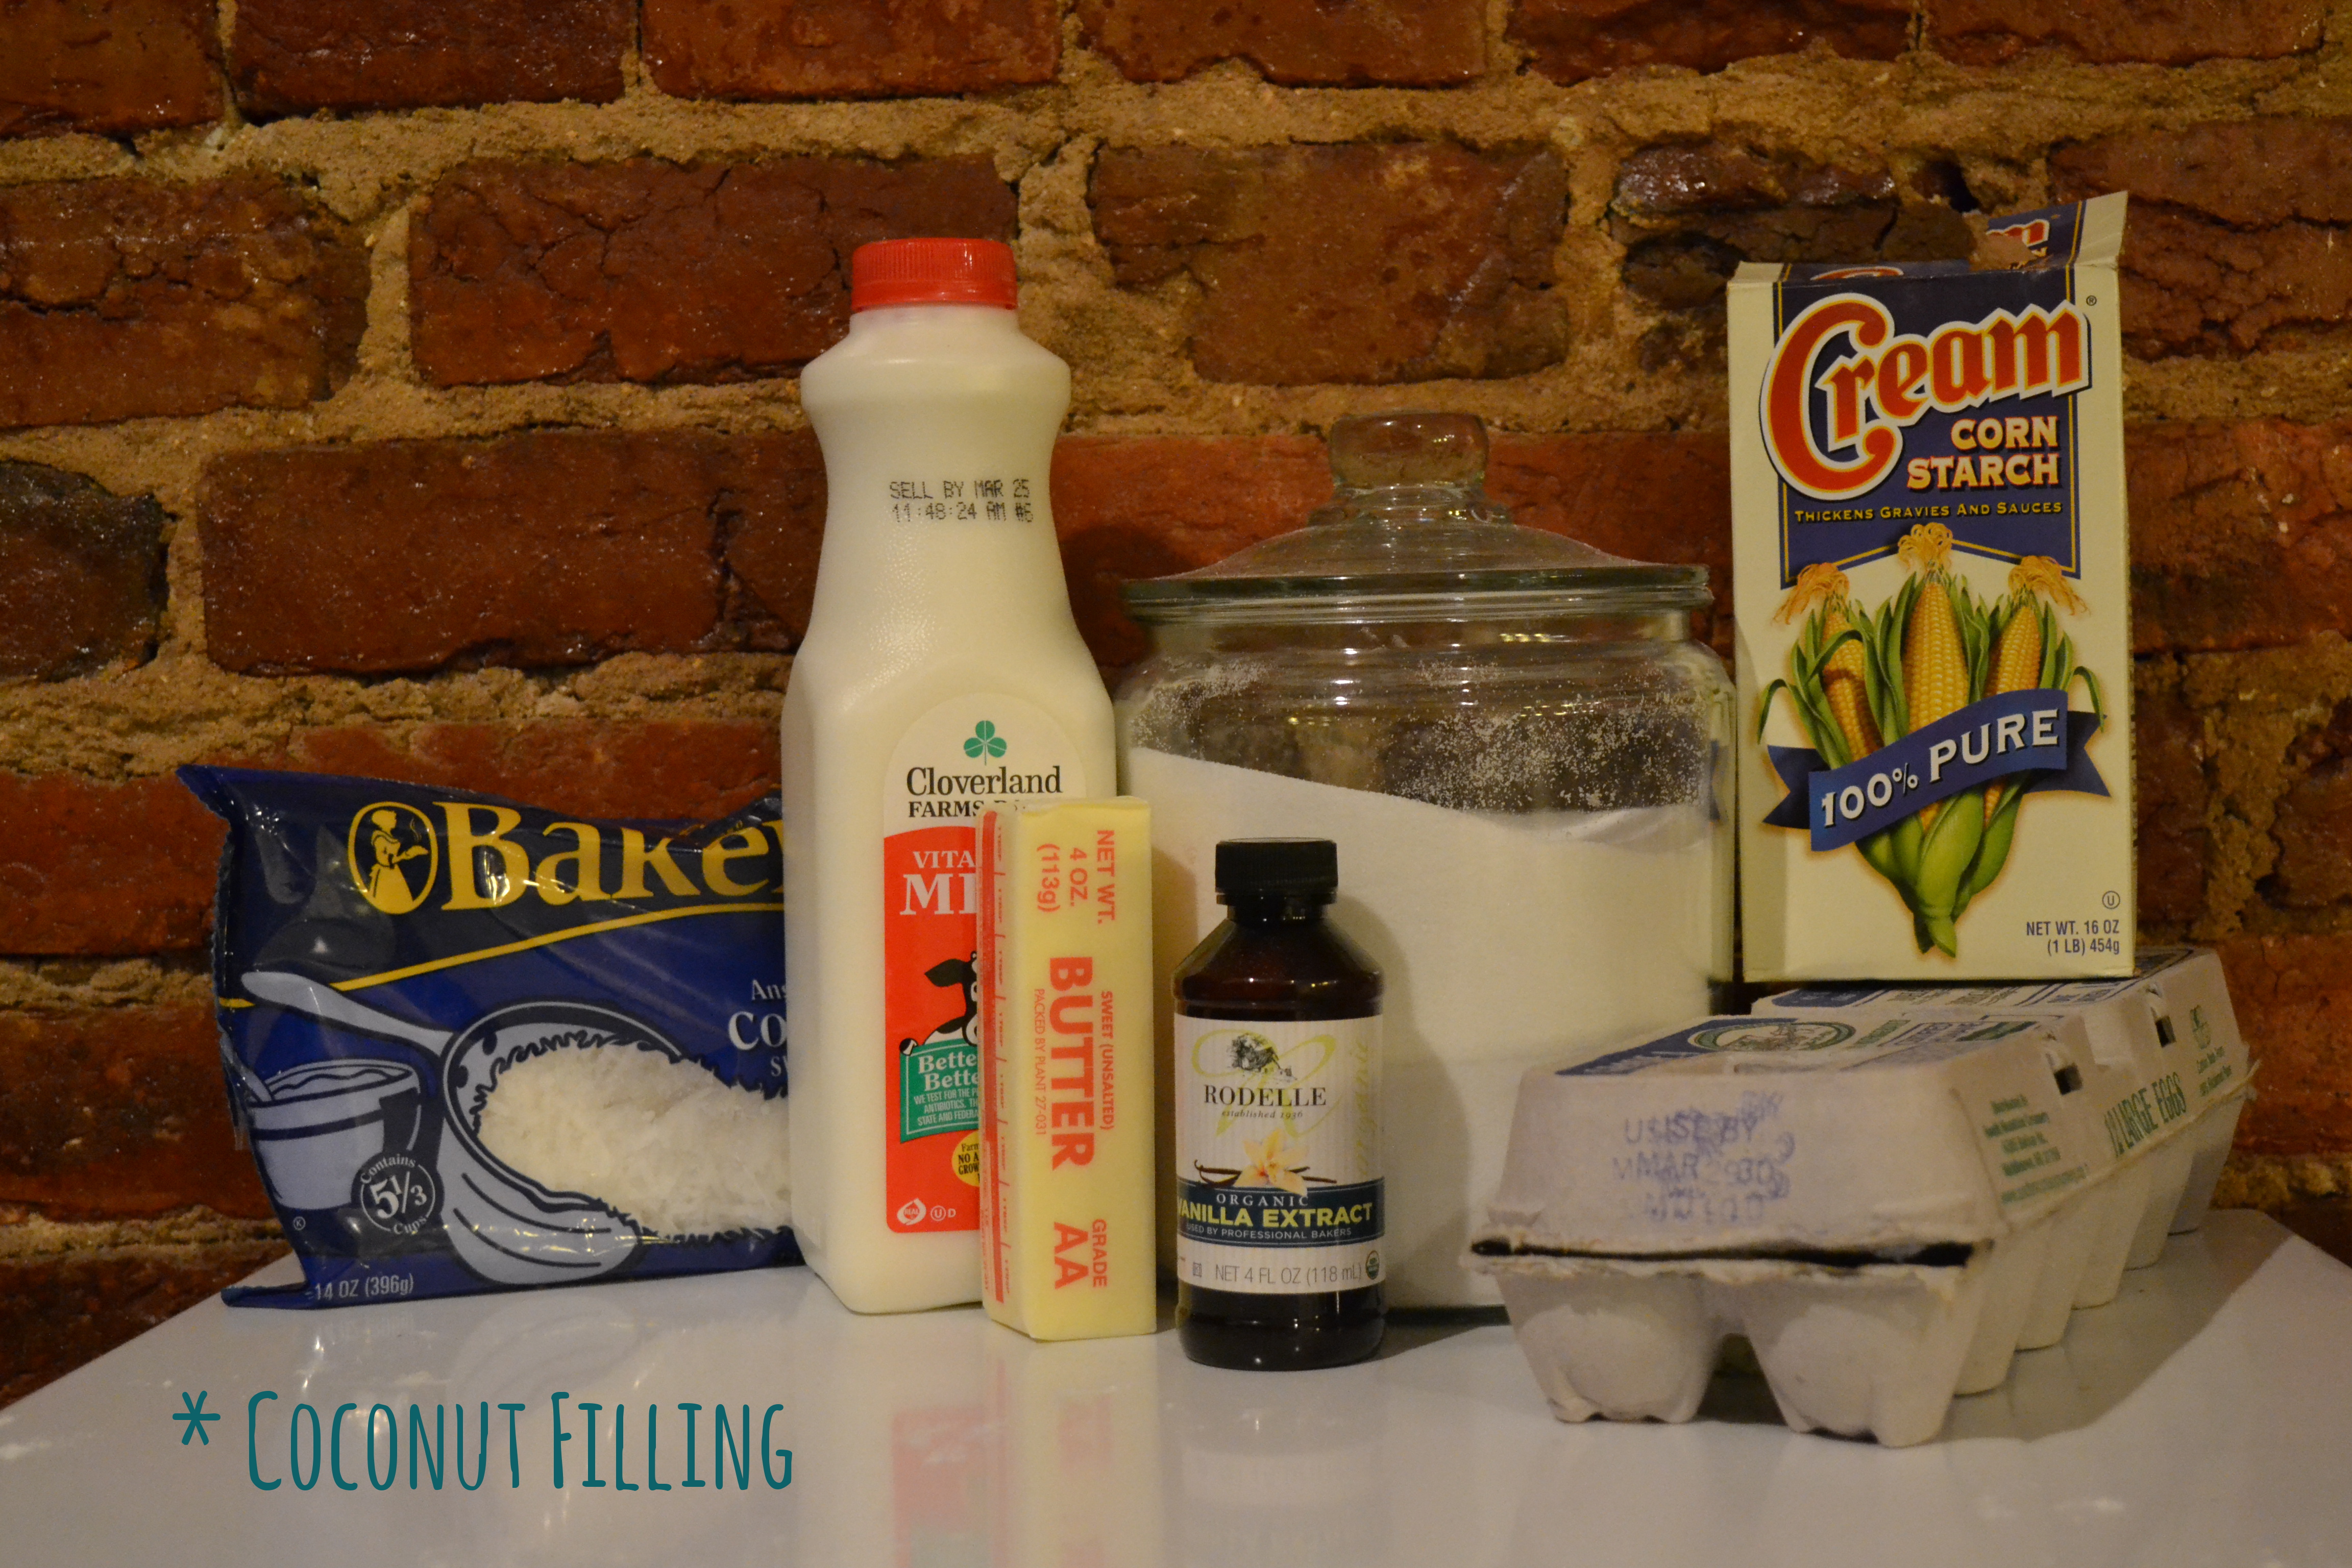
Coconut Custard
2 ¼ cups whole milk
¾ cup sugar, plus 1/4 cup for the egg whites
3 egg yolks
¼ cup cornstarch
1 ½ tsp vanilla
2 cups toasted coconut
1 tbl butter
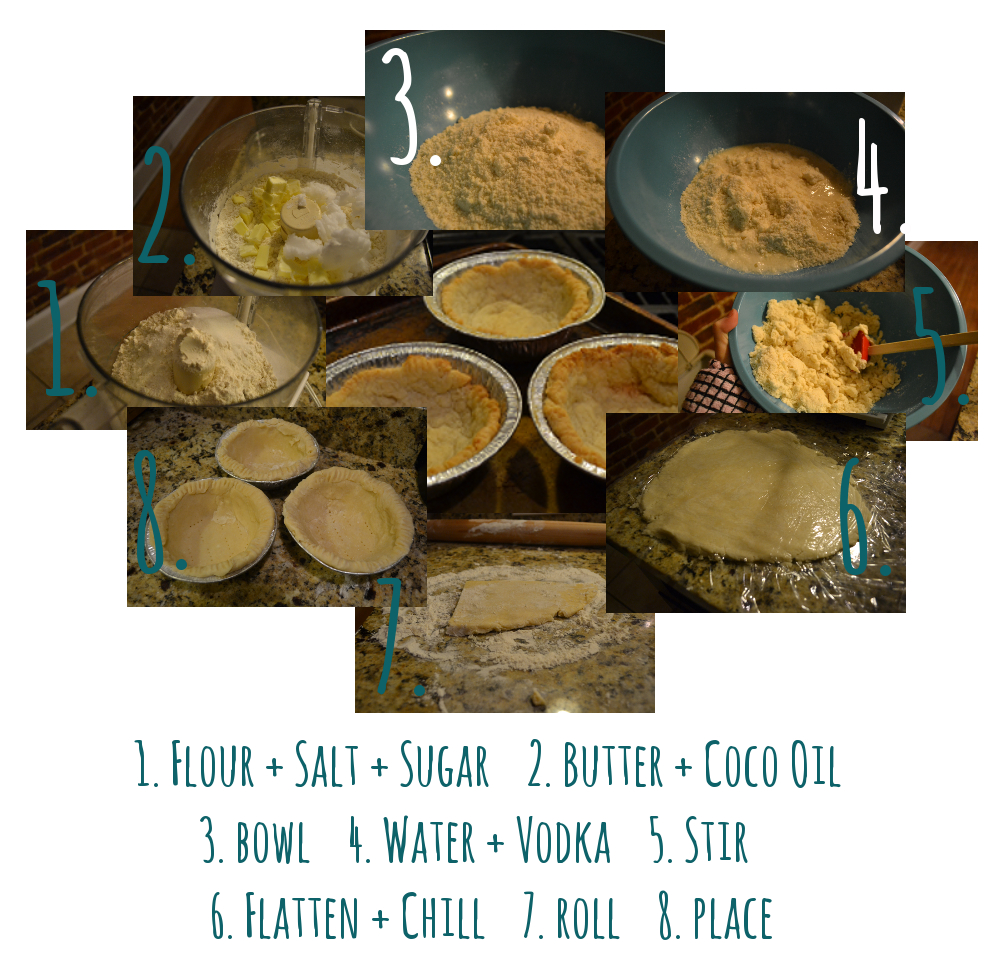
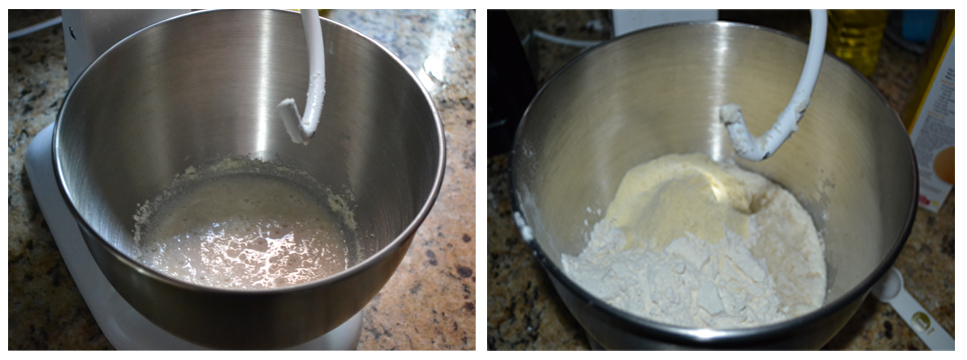
For your crust (which you can make a few days in advance if you’re feeling crafty!), start by pulsing sugar, 1/2 of your flour, and salt in a food processor. Add butter and coconut oil. Pulse, pulse, pulse and then add the rest of your flour. Remove from the food processor and transfer into a bowl. Trickle your water and vodka (vodka helps prevent pie crust from getting goopy & too sticky!) on top of your mixture and combine gently with a spatula. The coconut oil will give it a little bit of a crumblier texture, but it should get pretty smooth.
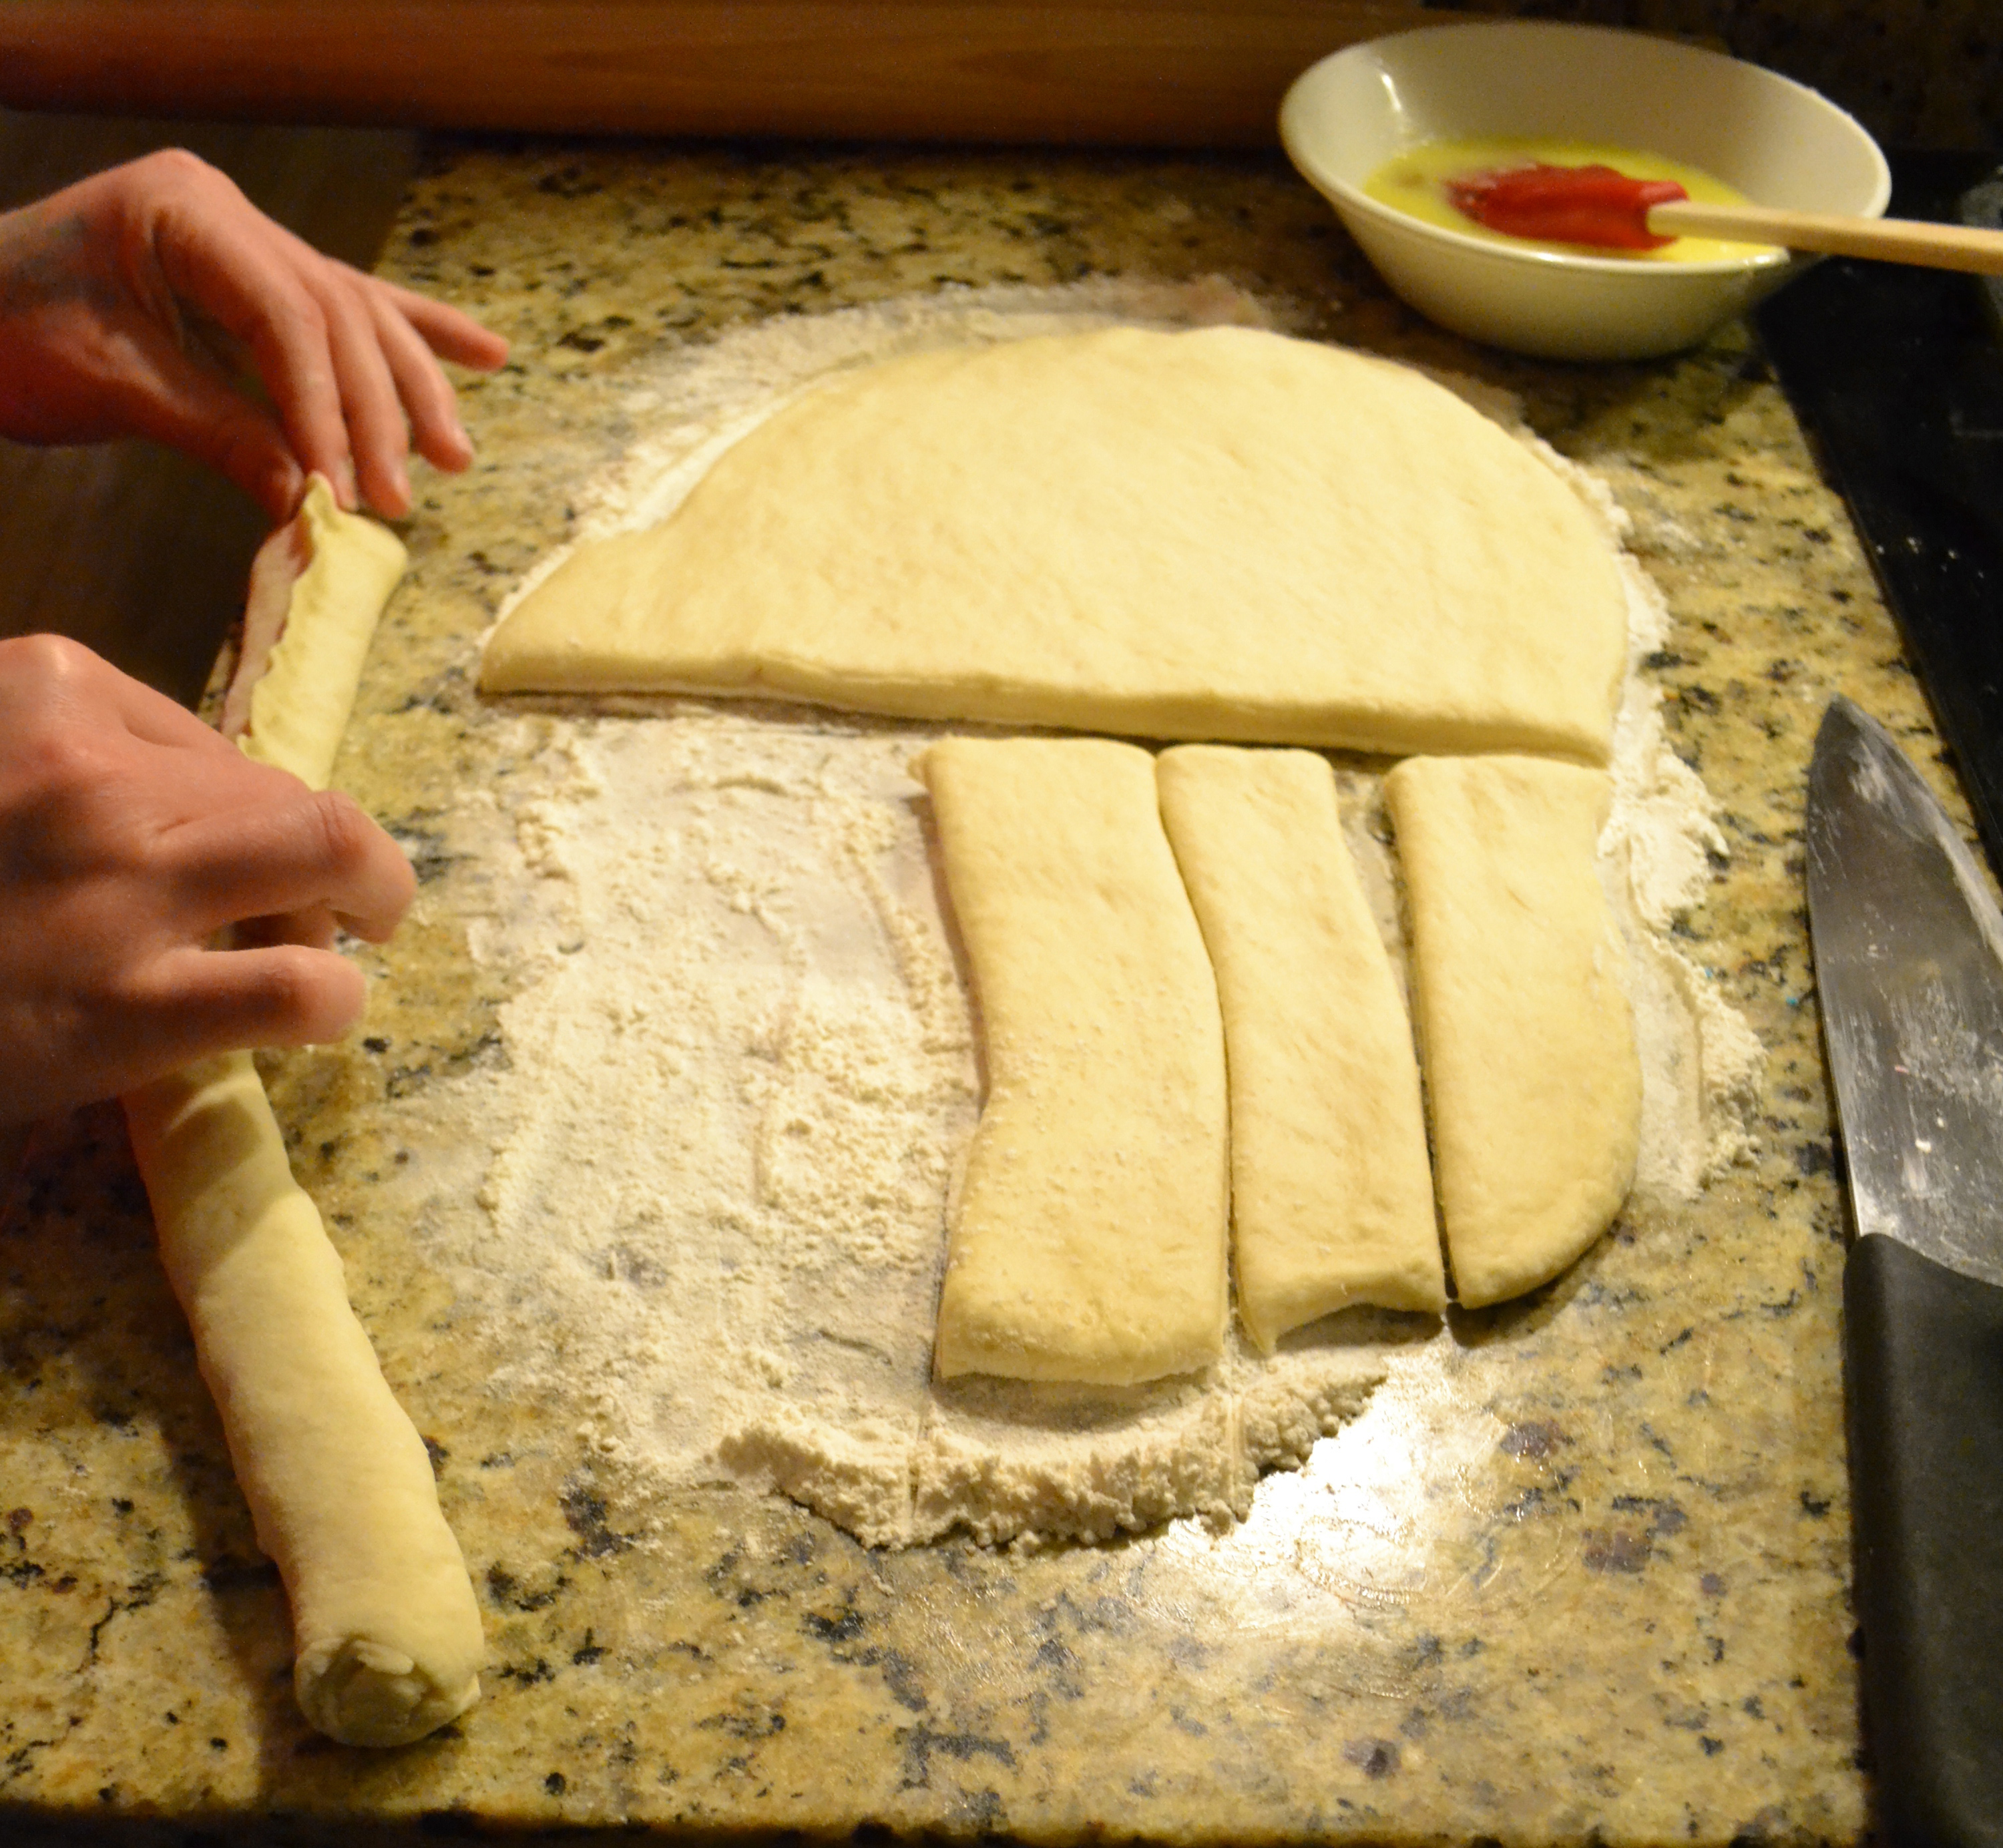
Next, press your dough between two sheets of plastic wrap and chill for at least 45 minutes in the fridge (or a quick 15 in the freezer). When you’re ready to bake, roll your dough out on a well-floured surface. I divided and rolled my dough into thirds for three itty bitty pies. Fold your dough into your lightly greased pie pan and then mold the crust to the pan (don’t forget to poke it!). Bake at 425 until golden brown. I admittedly could have used some pie weights for these itty bitty pies (my crusts won’t win a beauty contest!), but if your crusts start to rise, I recommend smooshing them down with the back of a spoon while they’re still warm.
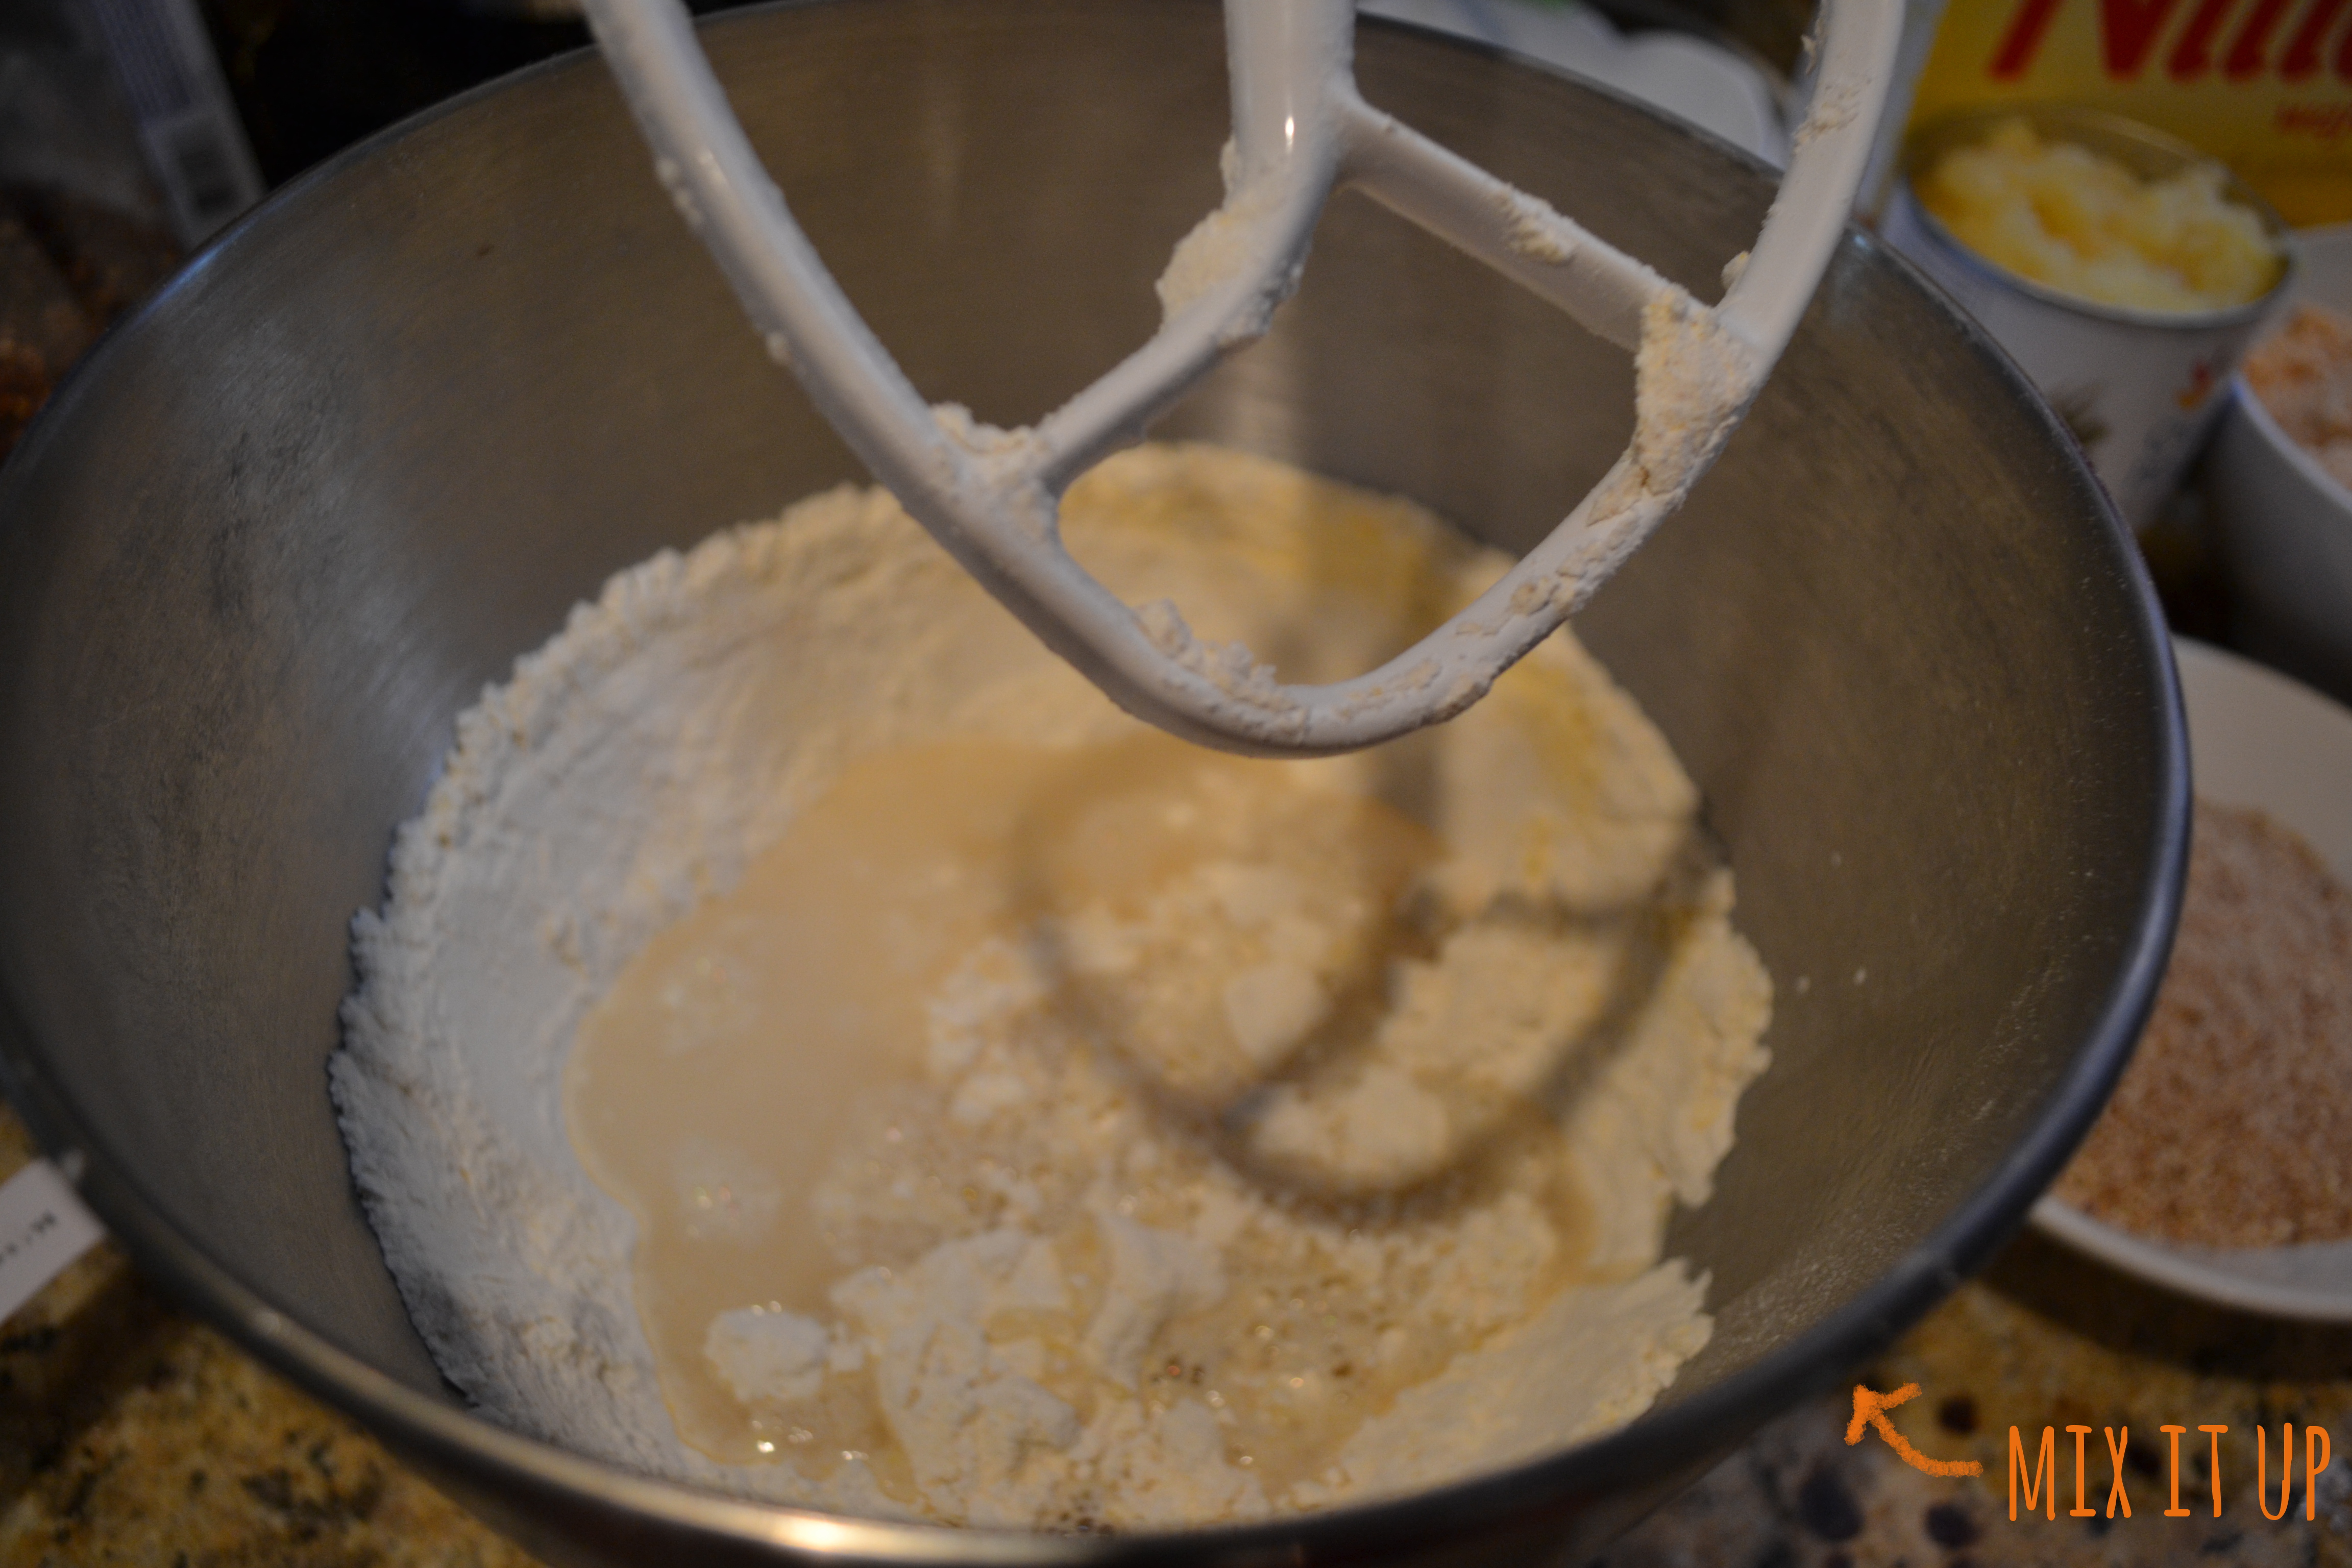
Now, for the custard. This custard’s super simple and quite similar to the custard we made for our Mardi Gras King Cake. Start by heating your milk and sugar in a small saucepan until it starts to simmer. While your milk is heating, whisk your egg yolks together and set aside. When your milk is the desired temp, pour a little bit into your egg mixture to temper the eggs (we want to make sure we don’t scramble our yolks!). Stir, stir, stir, and then combine the egg and milk mixture completely.
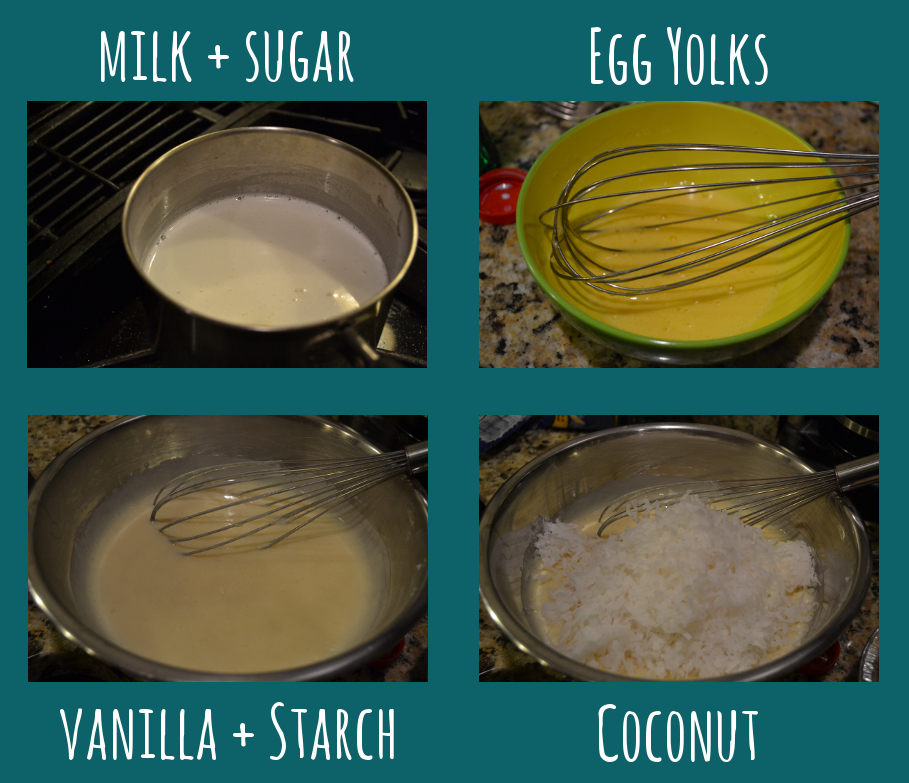
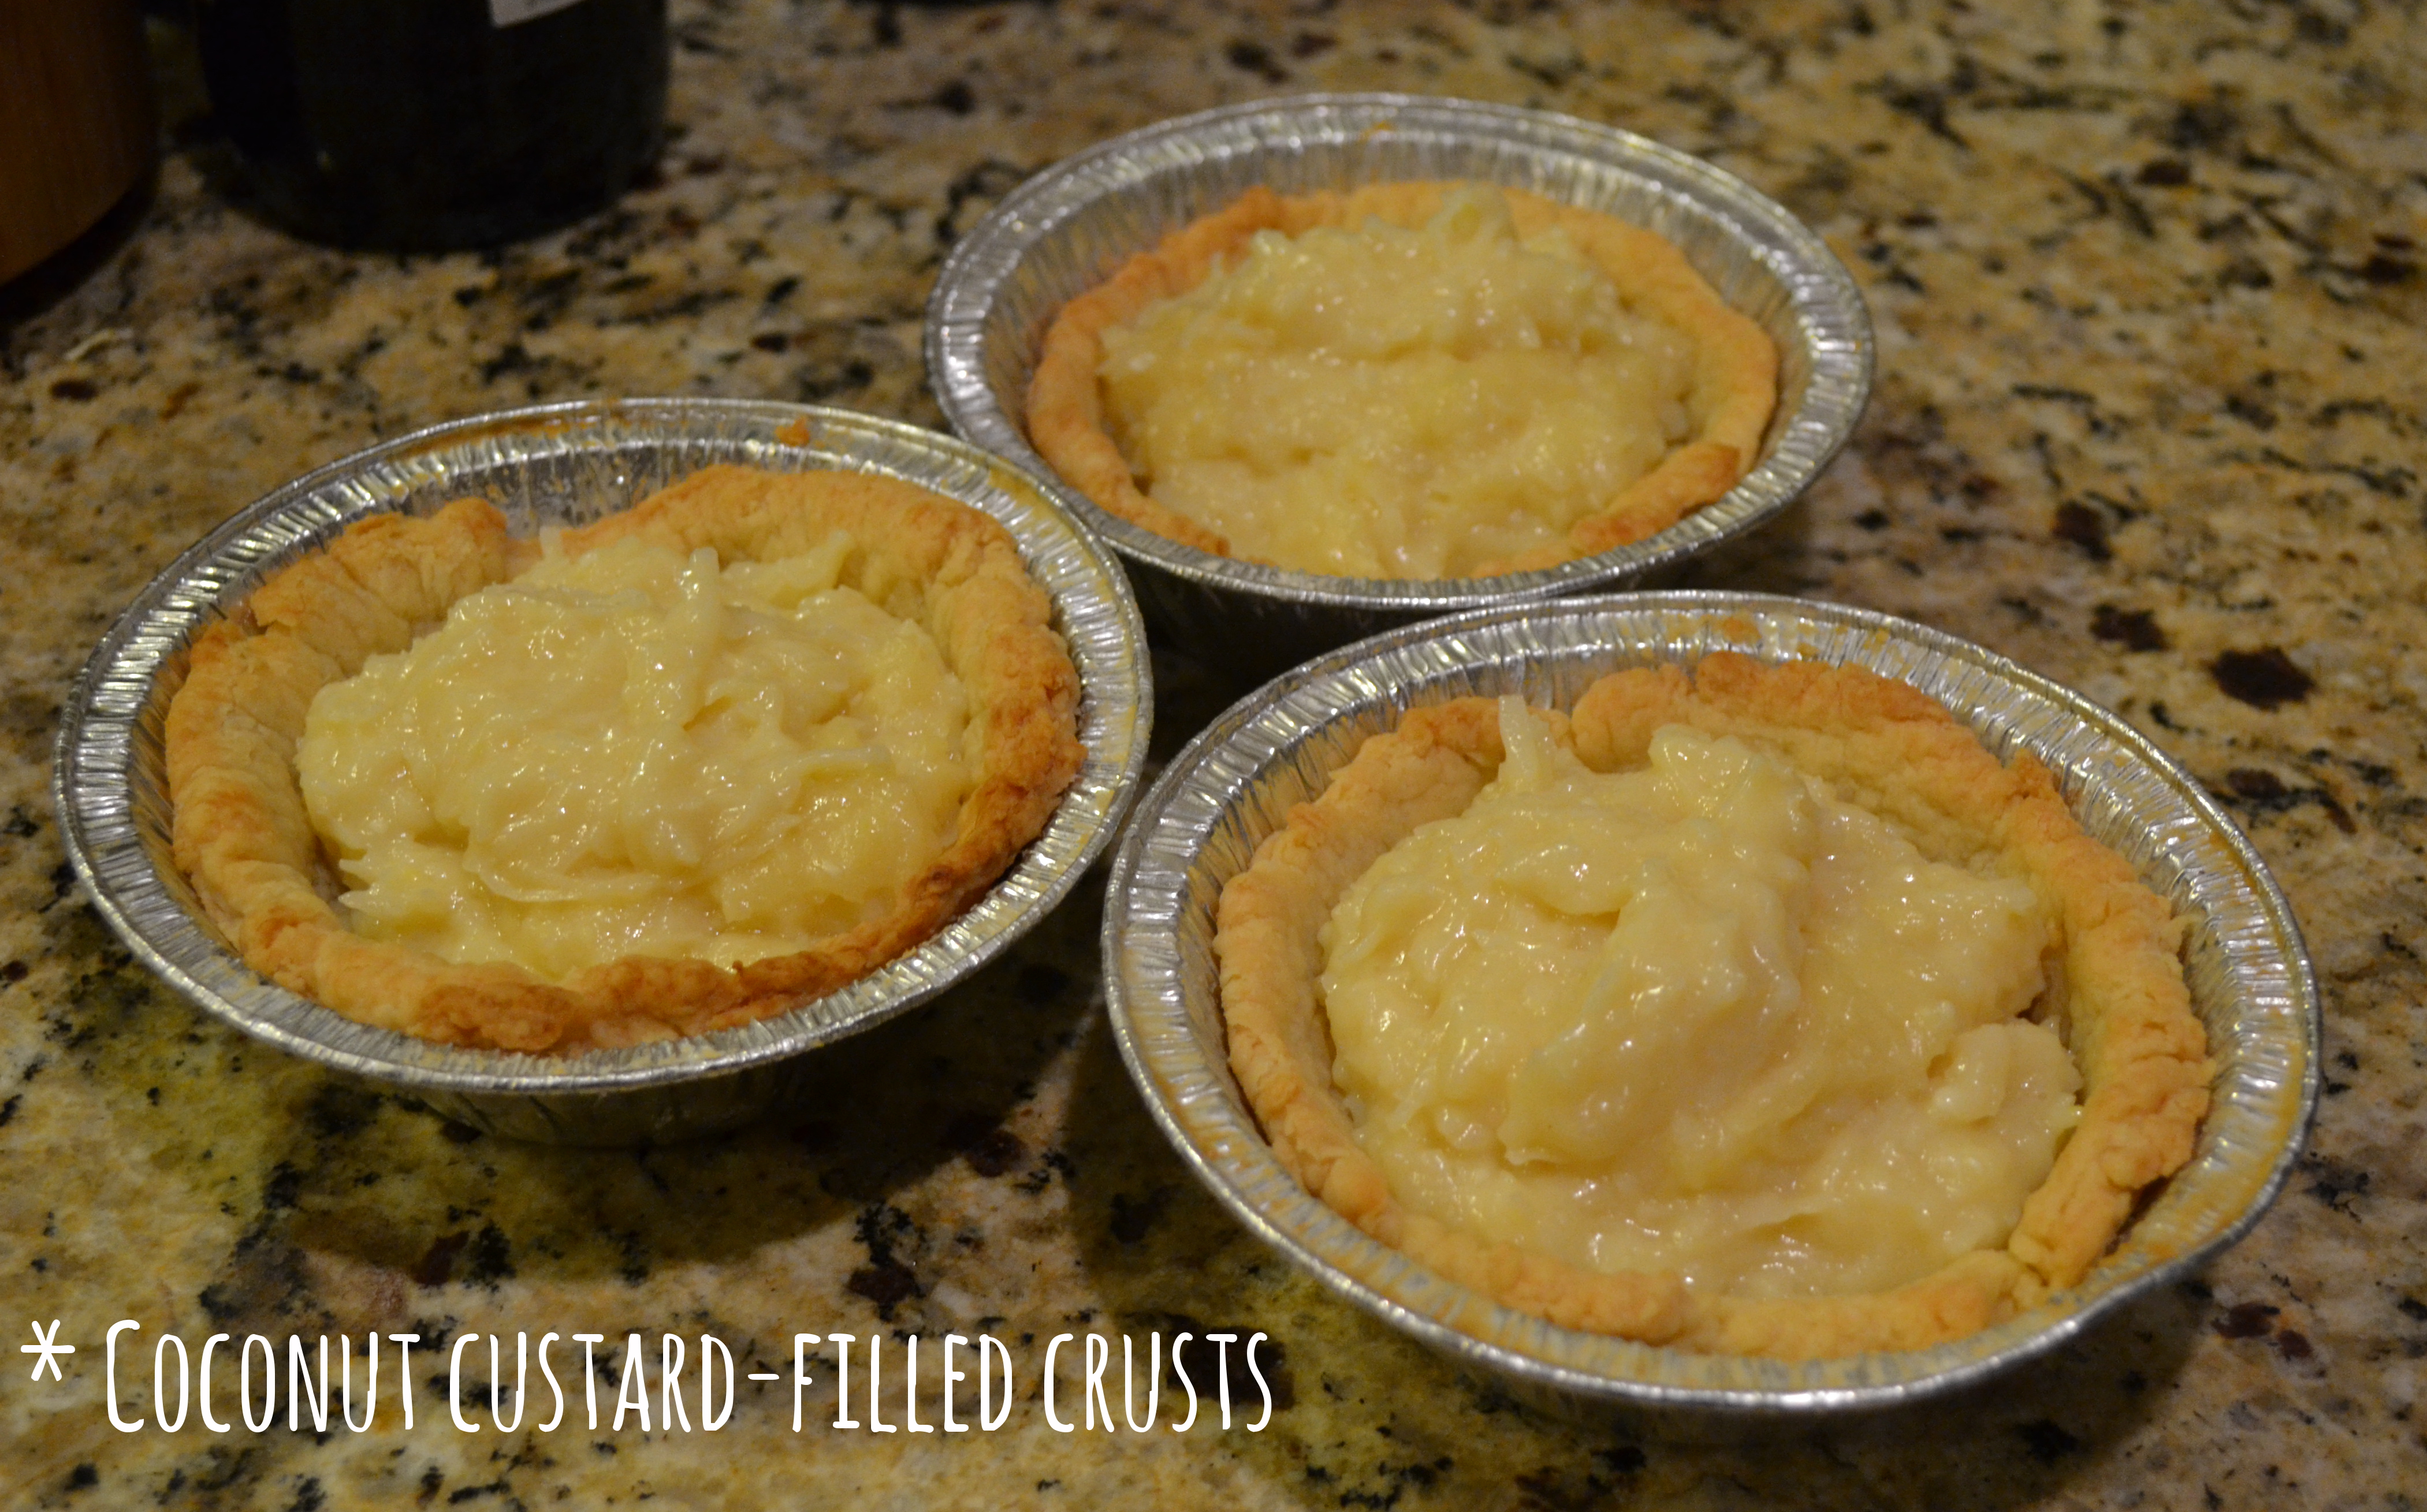
Return your milky-egg mixture to the heat and bring to a boil. Once it boils, add in your corn starch. Stir completely and then remove from heat. Allow mixture to cool slightly and then stir in vanilla & coconut! Let your custard cool completely before even thinking about filling your crusts (no one wants a soggy crust!). Once your custard has cooled, fill your crusts and refrigerate until ready to serve. Right before you’re ready to serve, top with whipped cream (or a meringue if you’re into that…these Hungry Texans prefer heavy whipping cream over egg whites, thank you very much!). Slice and enjoy, or if if you’re making the personal size – grab a fork and forget about swimsuit season!

You’d be (coco)nuts not to love this pie!
xoxo,
HungryTexans


